Embroidered Napkin to Tea Bag Wallet Tutorial
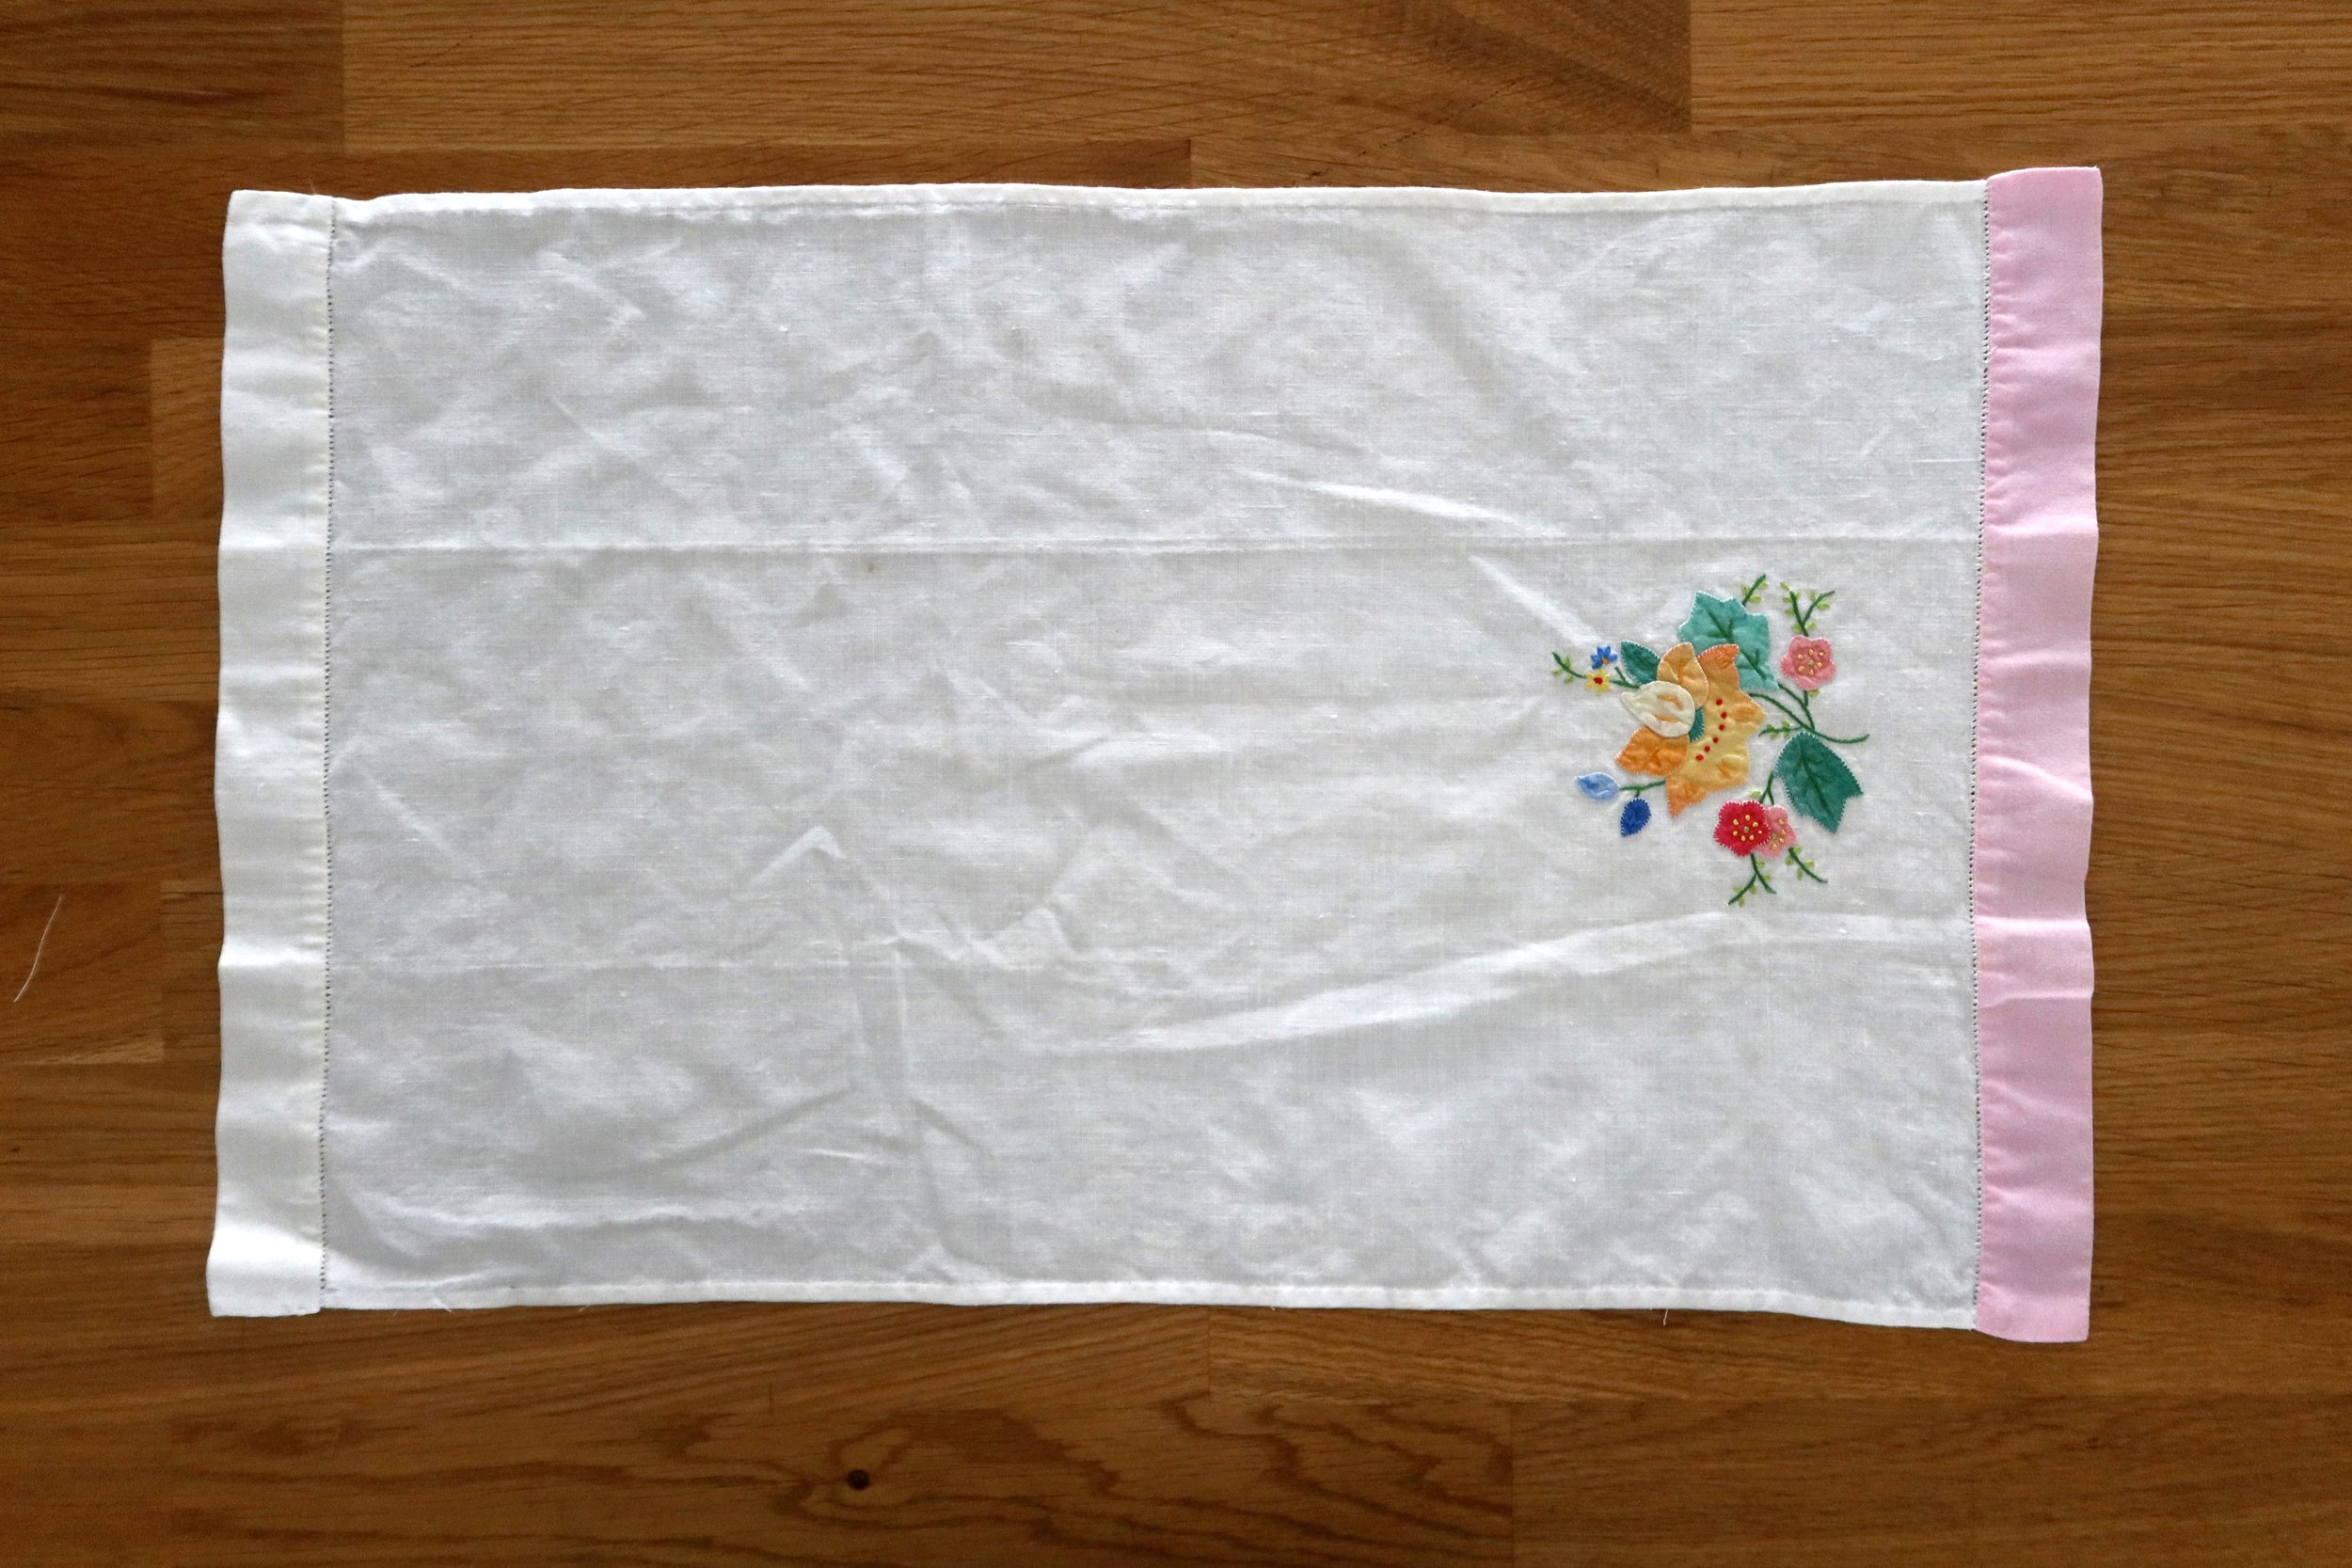
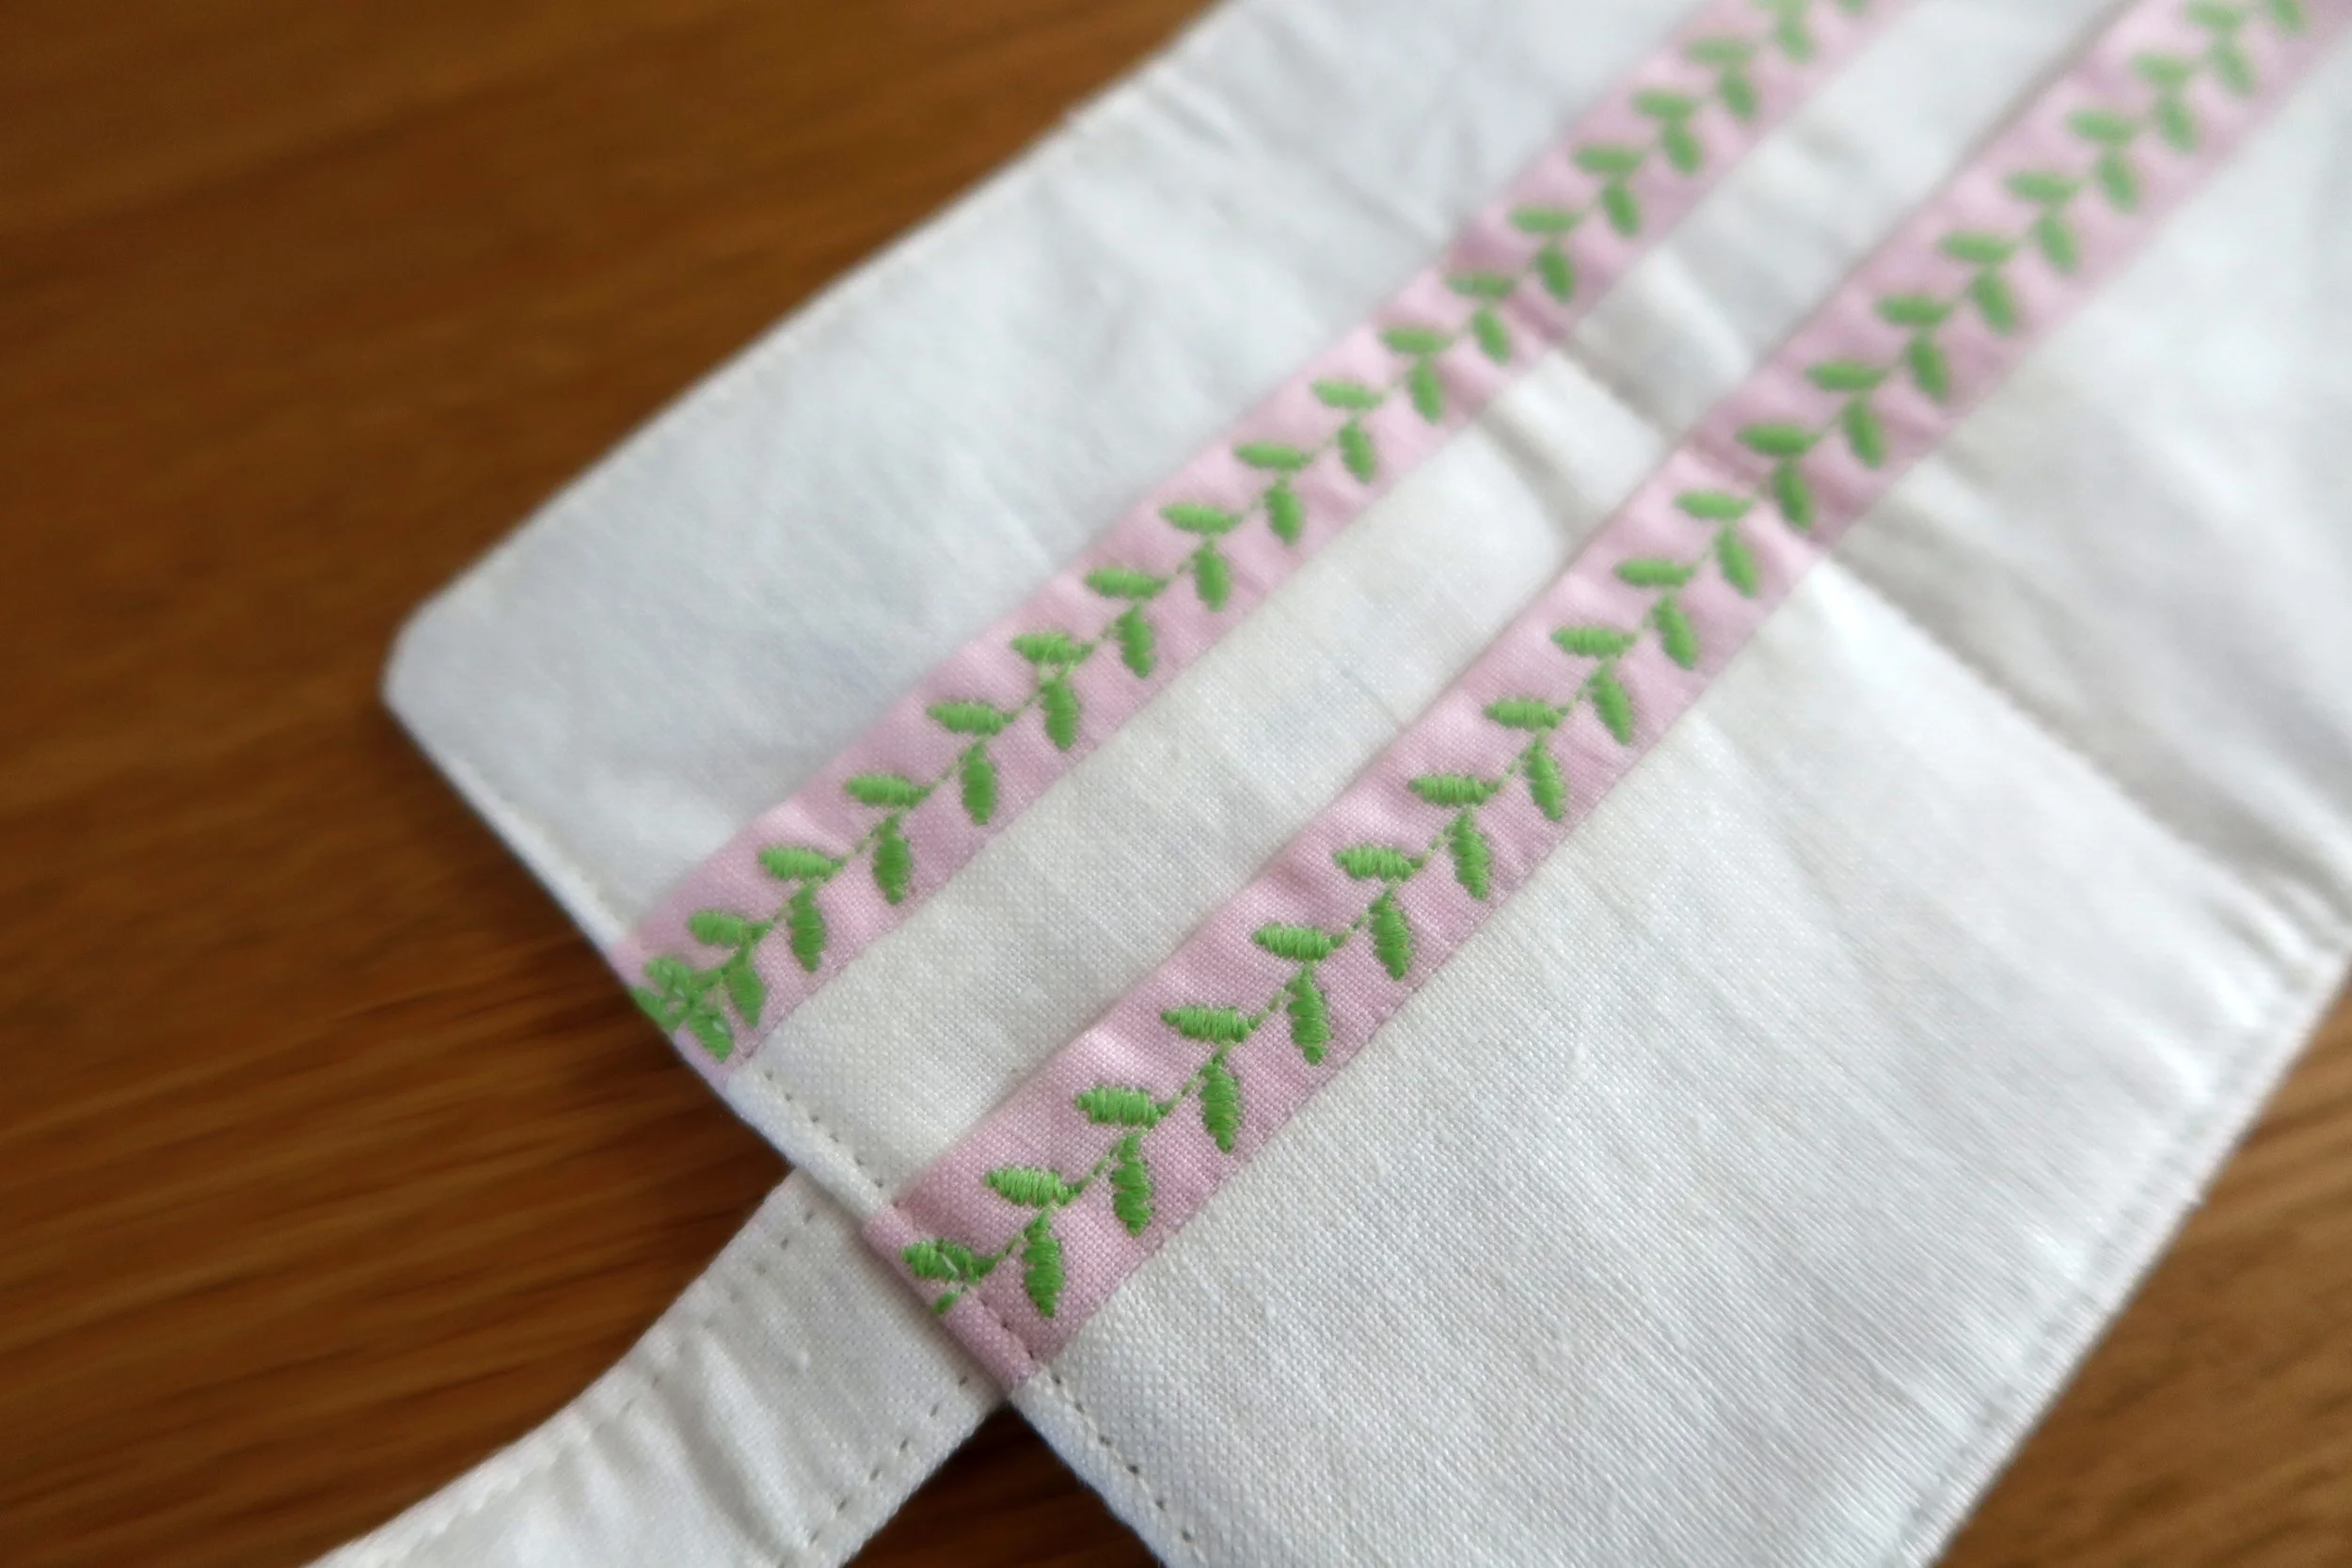
A few years ago, I found several embroidered napkins/tea towels at a local secondhand sale. They weren’t part of a complete set but they were too beautiful to leave behind, and at $2 each, I knew they could be turned into a new project. I decided to make a few into a tea bag wallets, and the embroidery was the perfect size for this project!
This is an updated tutorial for a tea bag wallet I made years ago - with added details. There is a youtube tutorial as well!
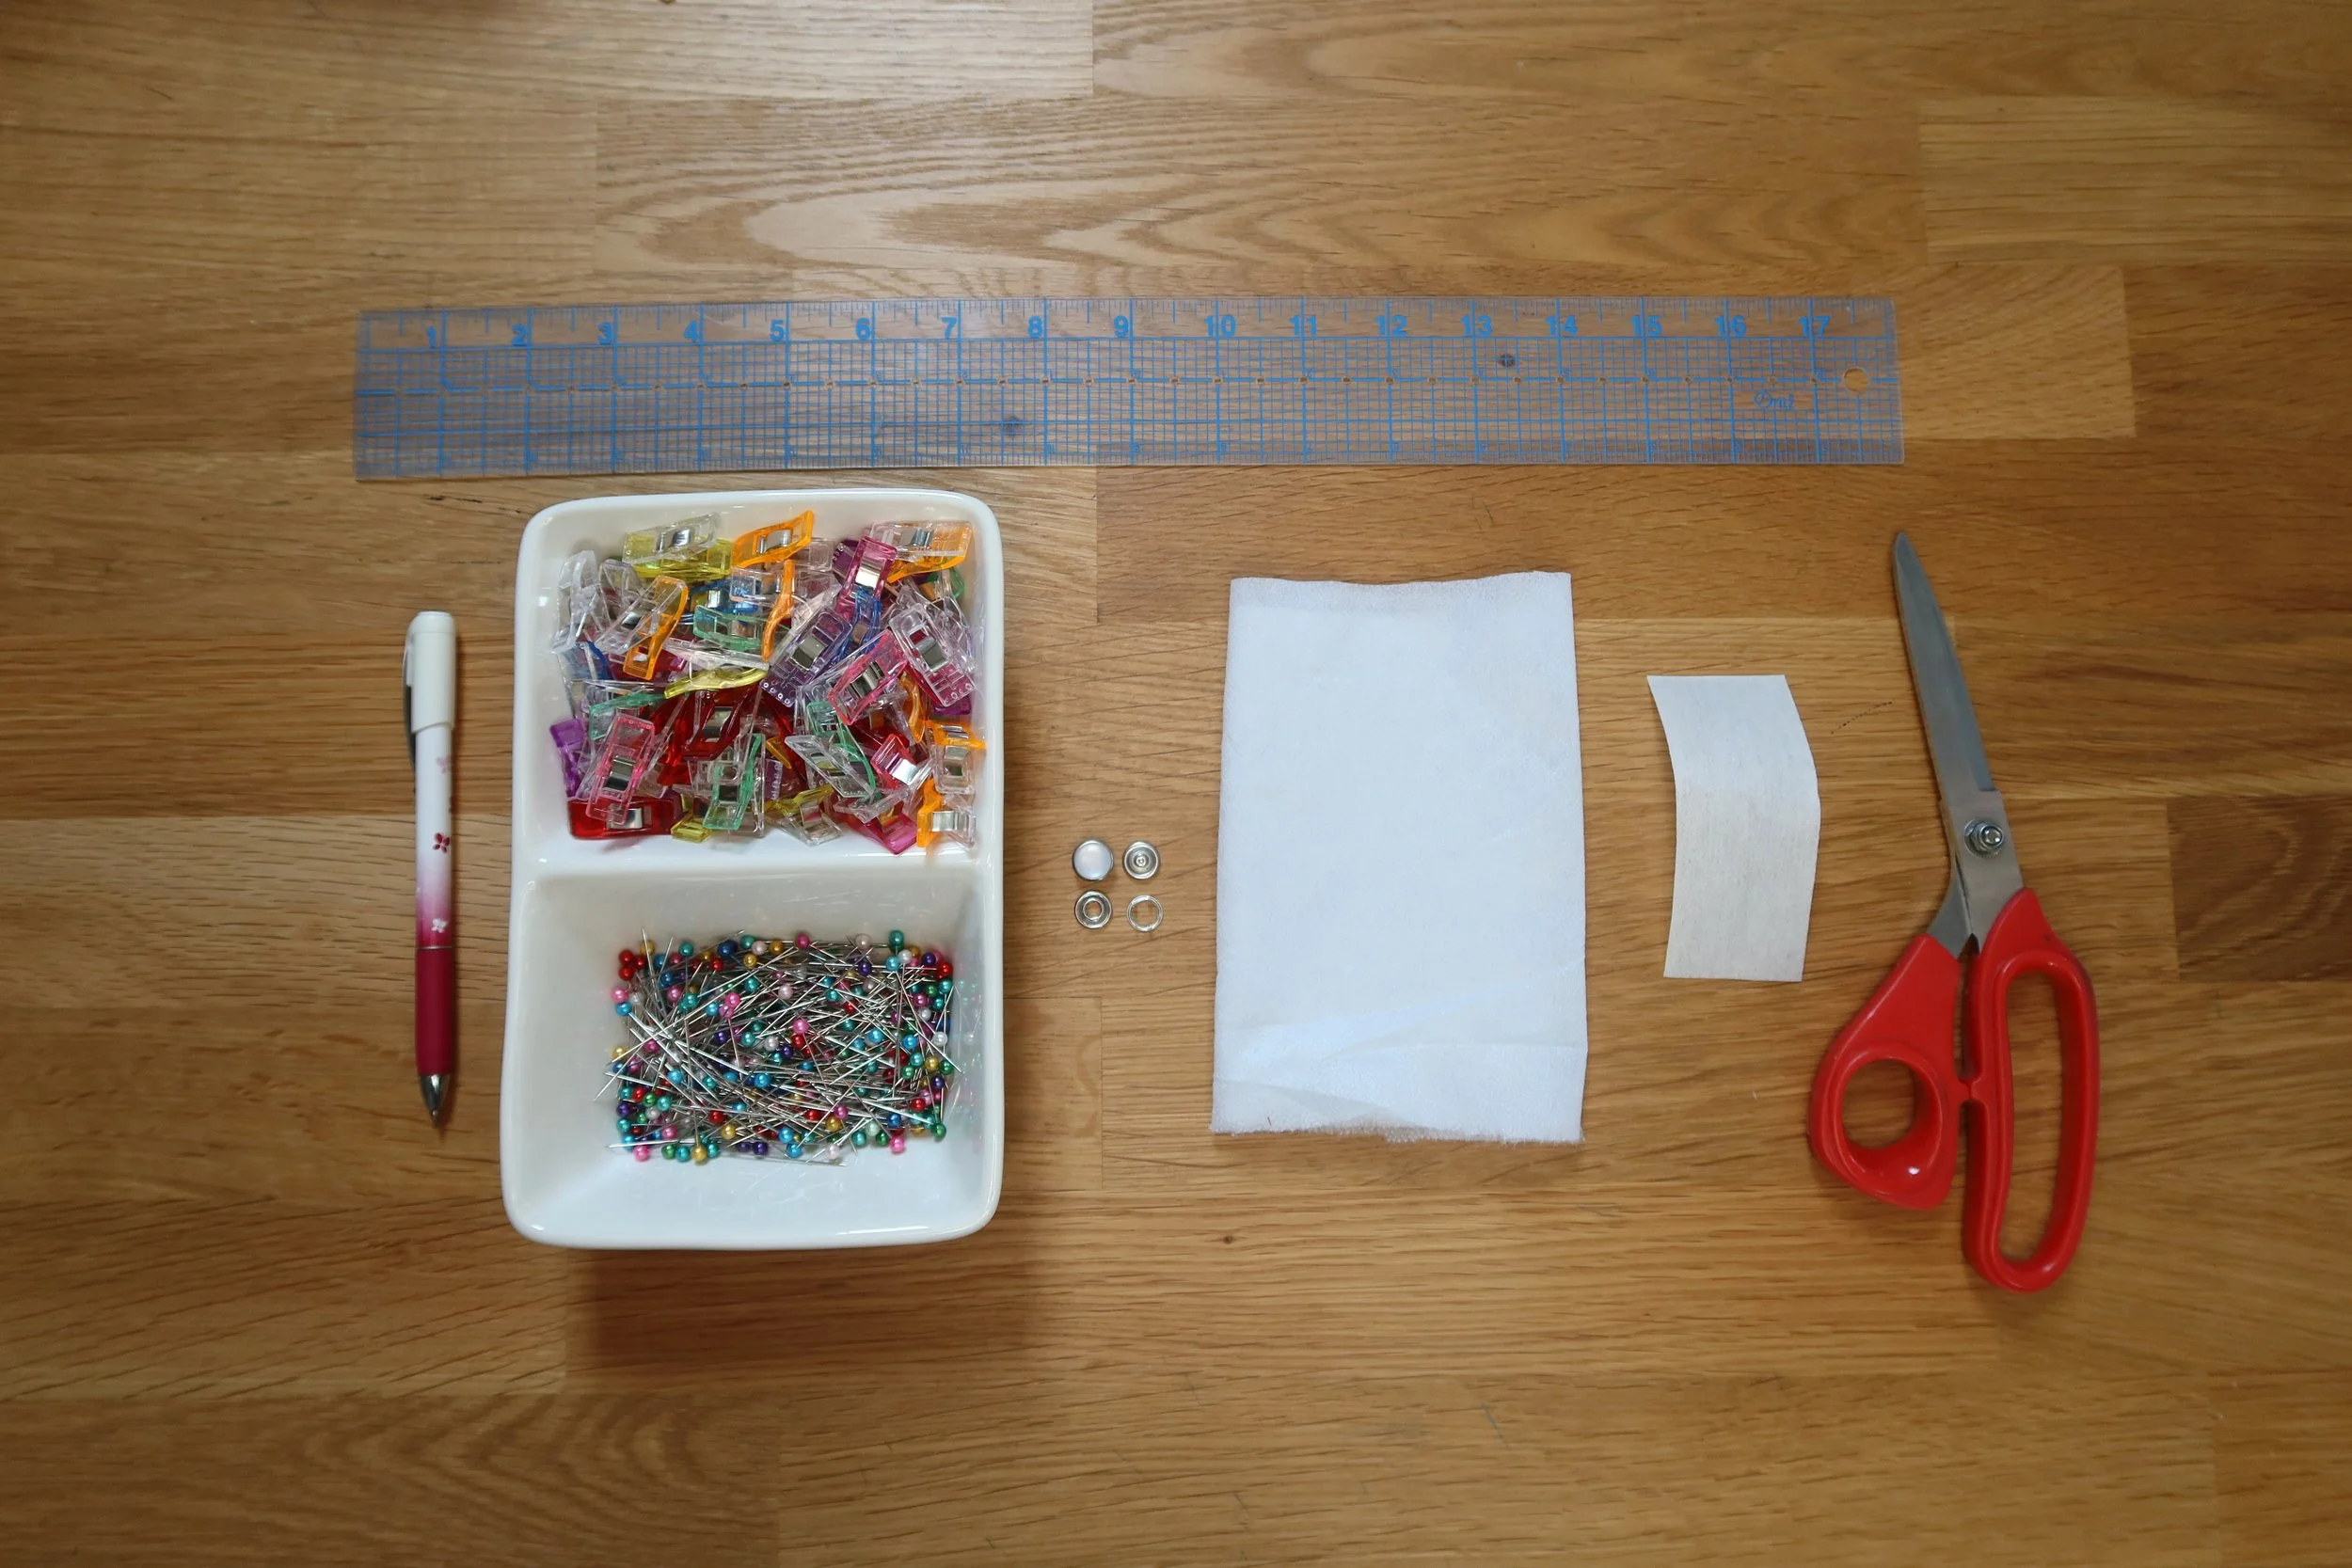
You will need:
A fabric napkin or fabric scraps. Lightweight cotton or quilting cotton is recommended
basic sewing tools including a sewing machine, thread, scissors, ruler, fabric marking tool, pins/clips, iron and ironing board
pearl snap or elastic and button (you can also use a regular snap, I prefer the look of the pearl snap but any snap will do! I used a size 16 for this project)
lightweight fusible, interfacing and small scrap of heavy interfacing
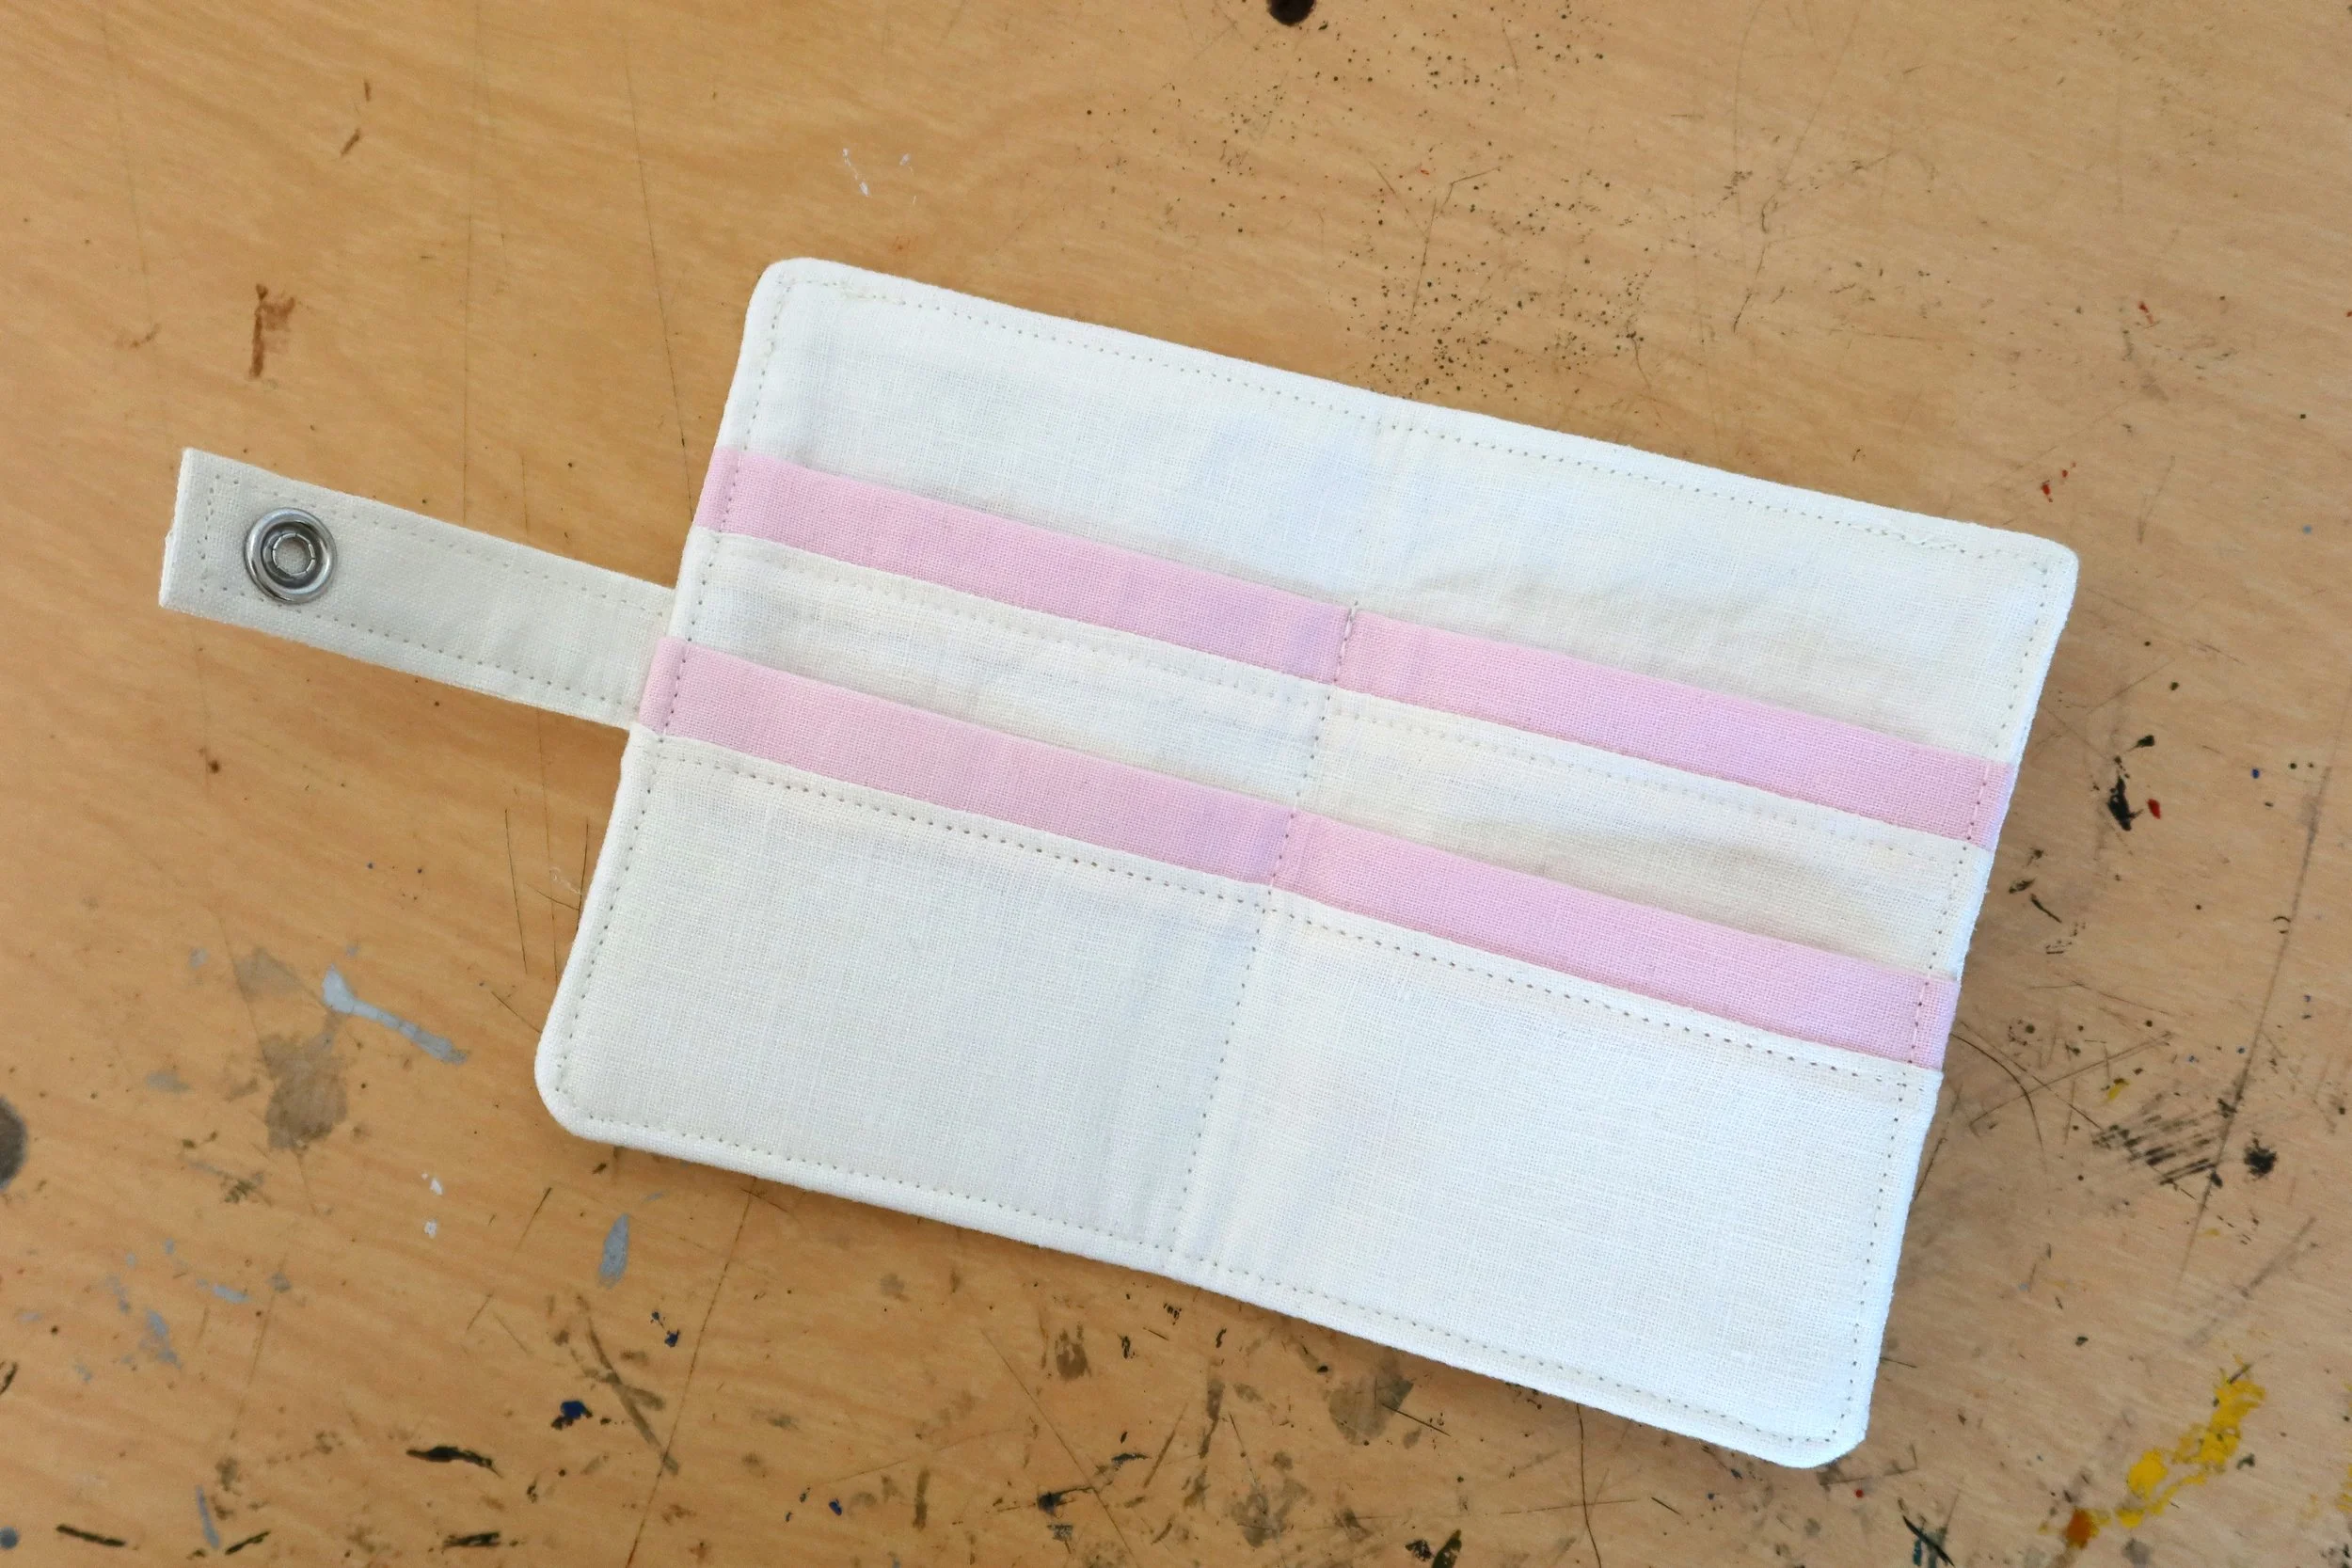
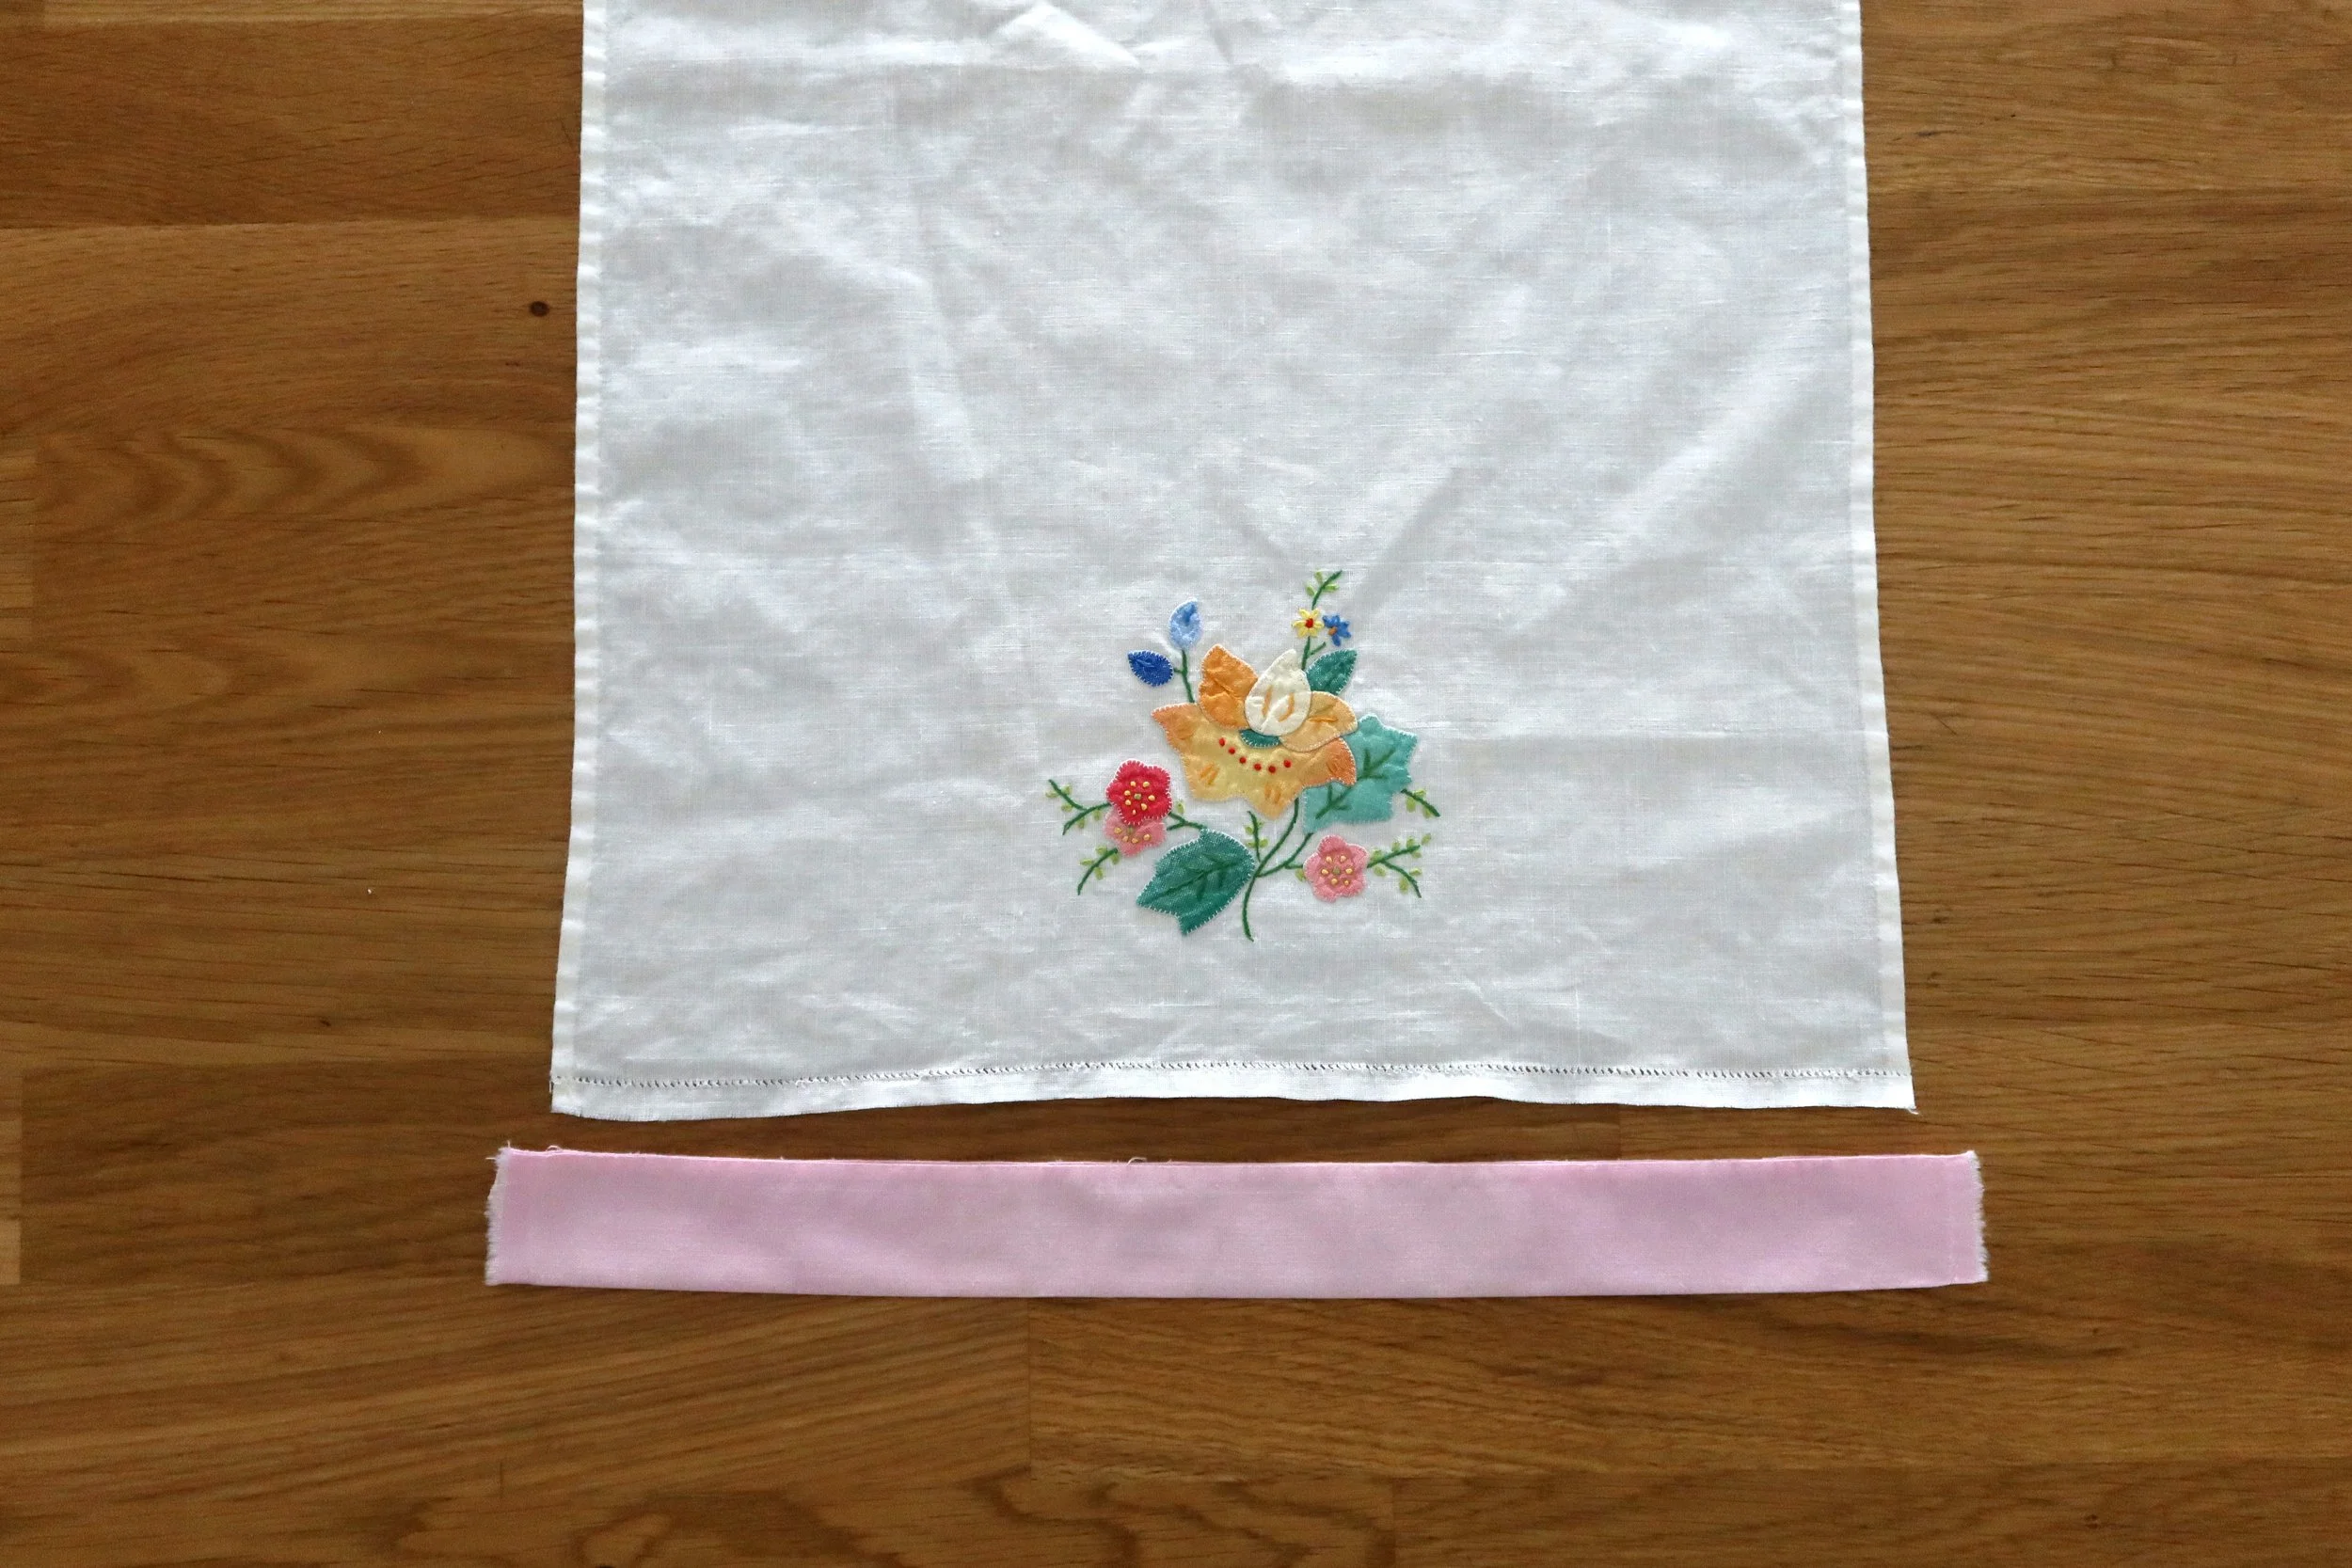
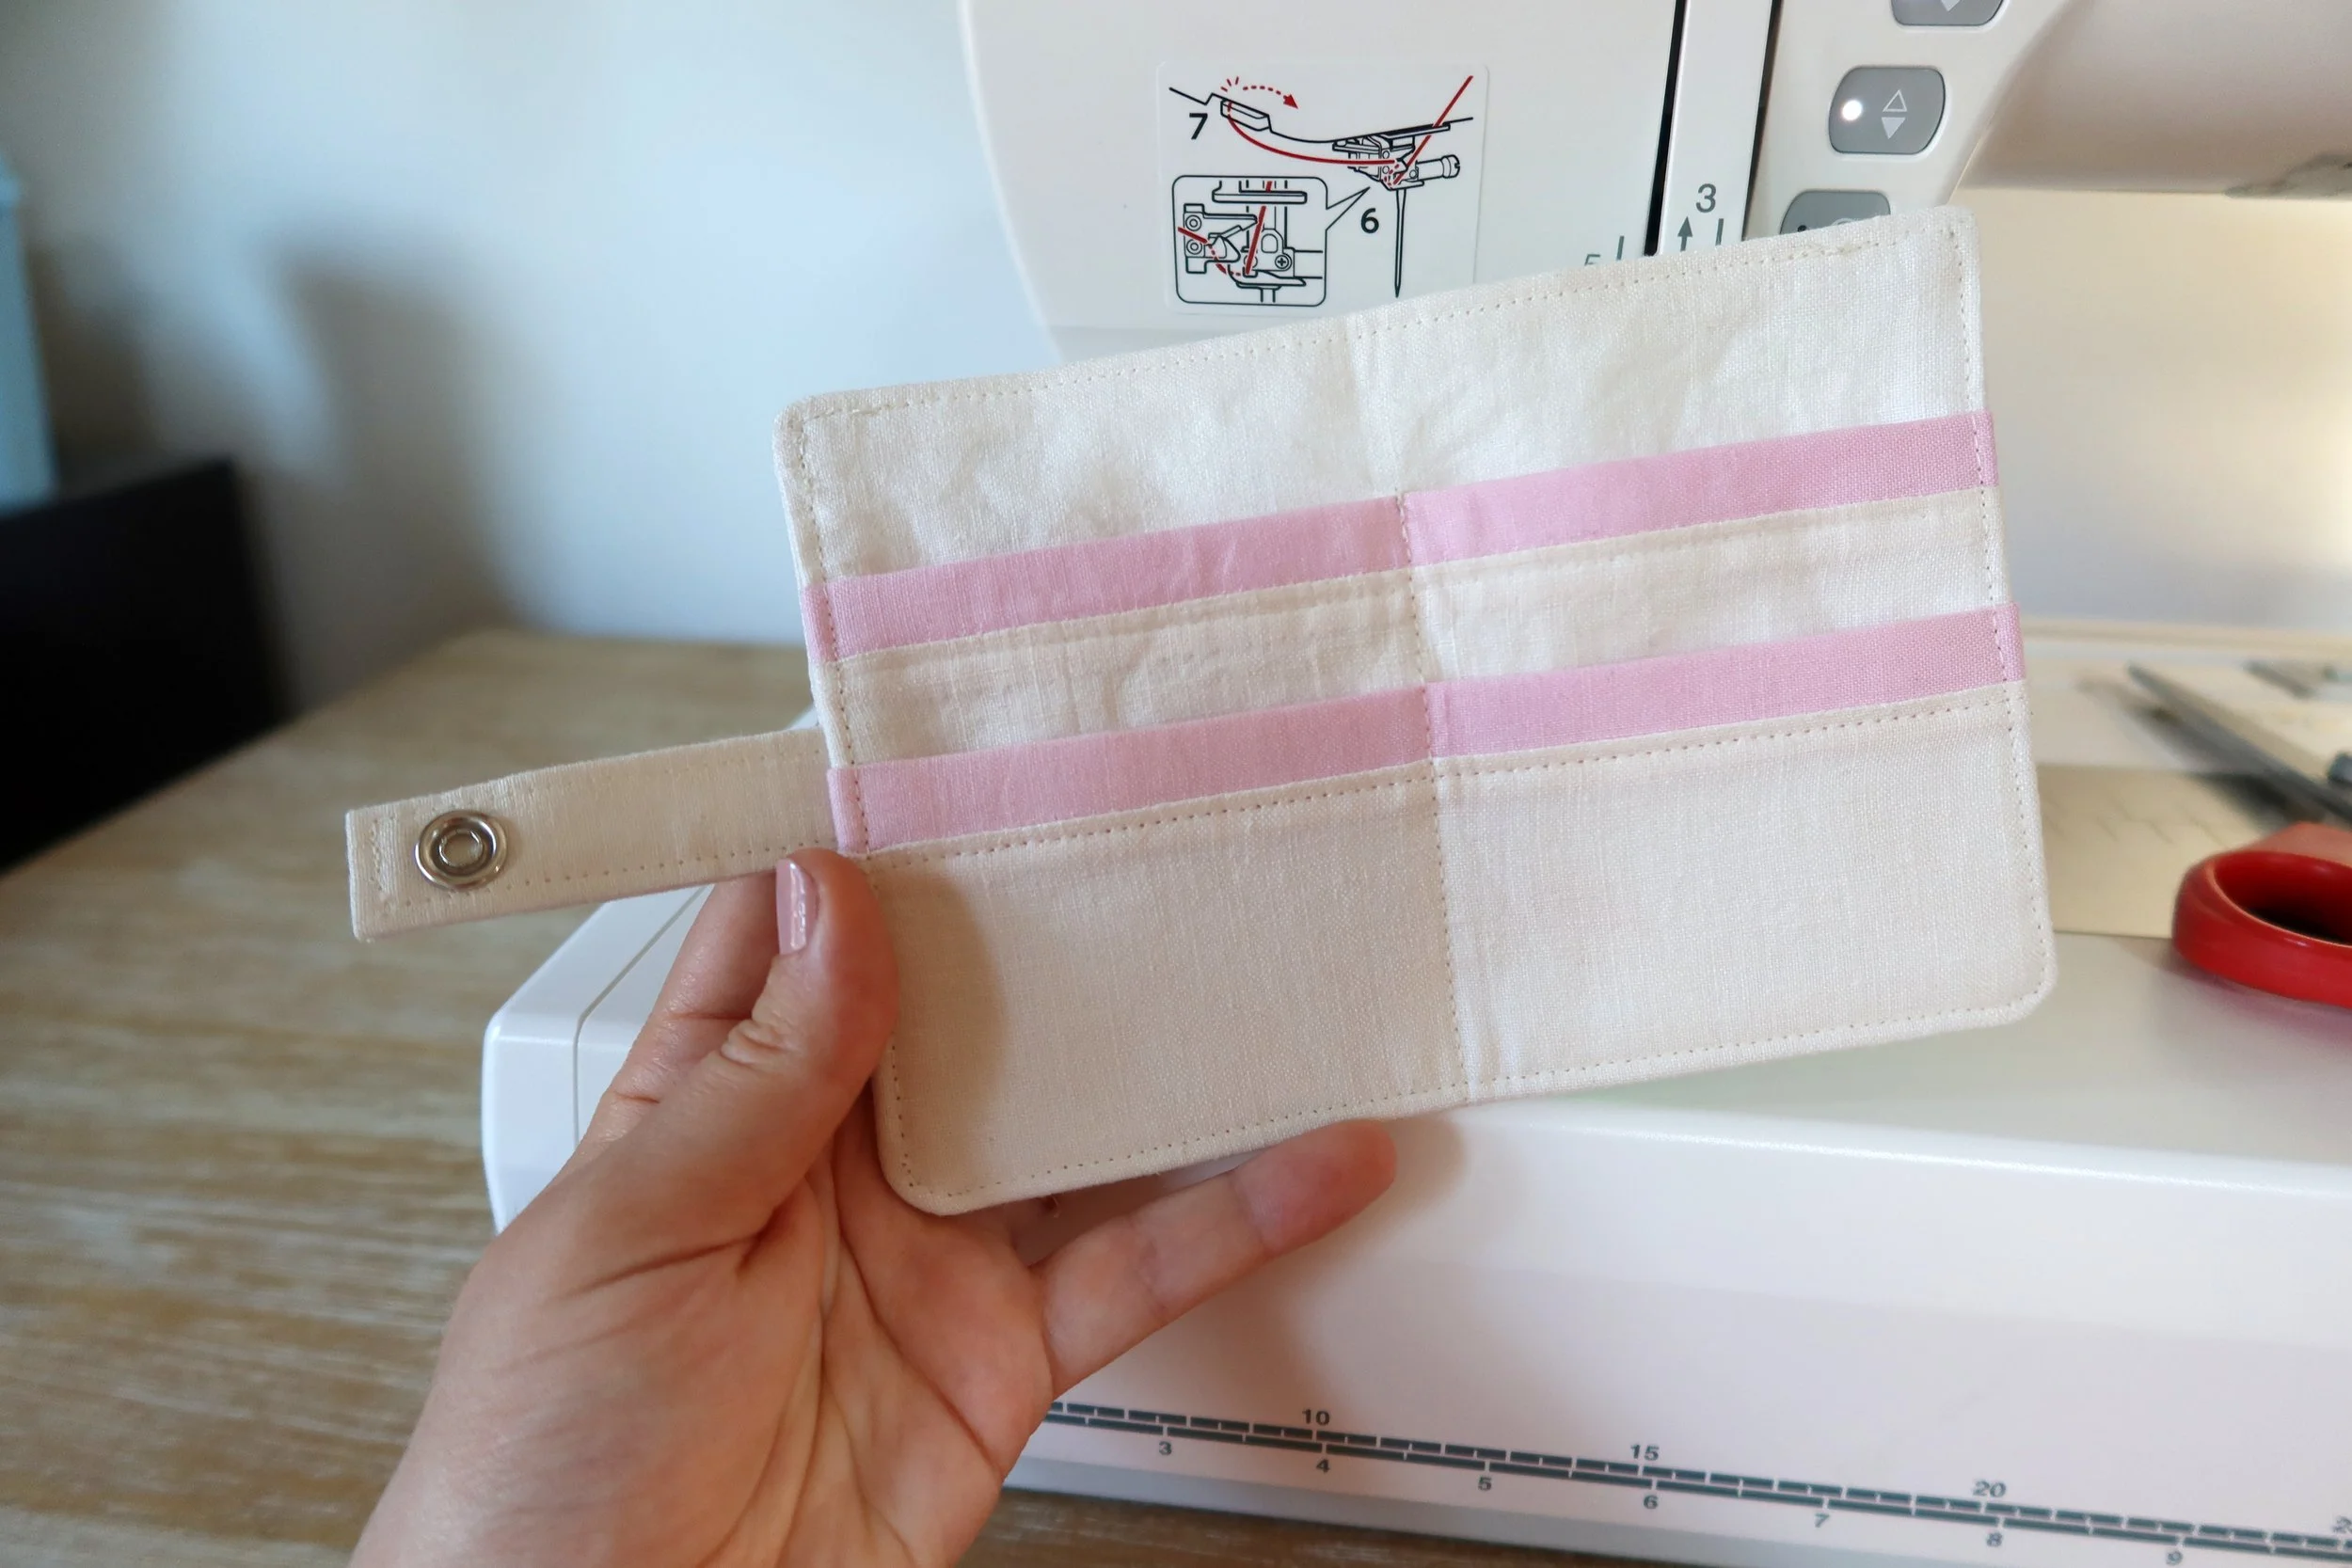
My napkin has a light pink folded edge attached to it, which I removed to add to my project as a decorative edge on the interior pockets. This step is optional, but if you have a similar napkin, this is a cute addition. You can use any coordinating fabric for this.
Let’s cut the wallet.
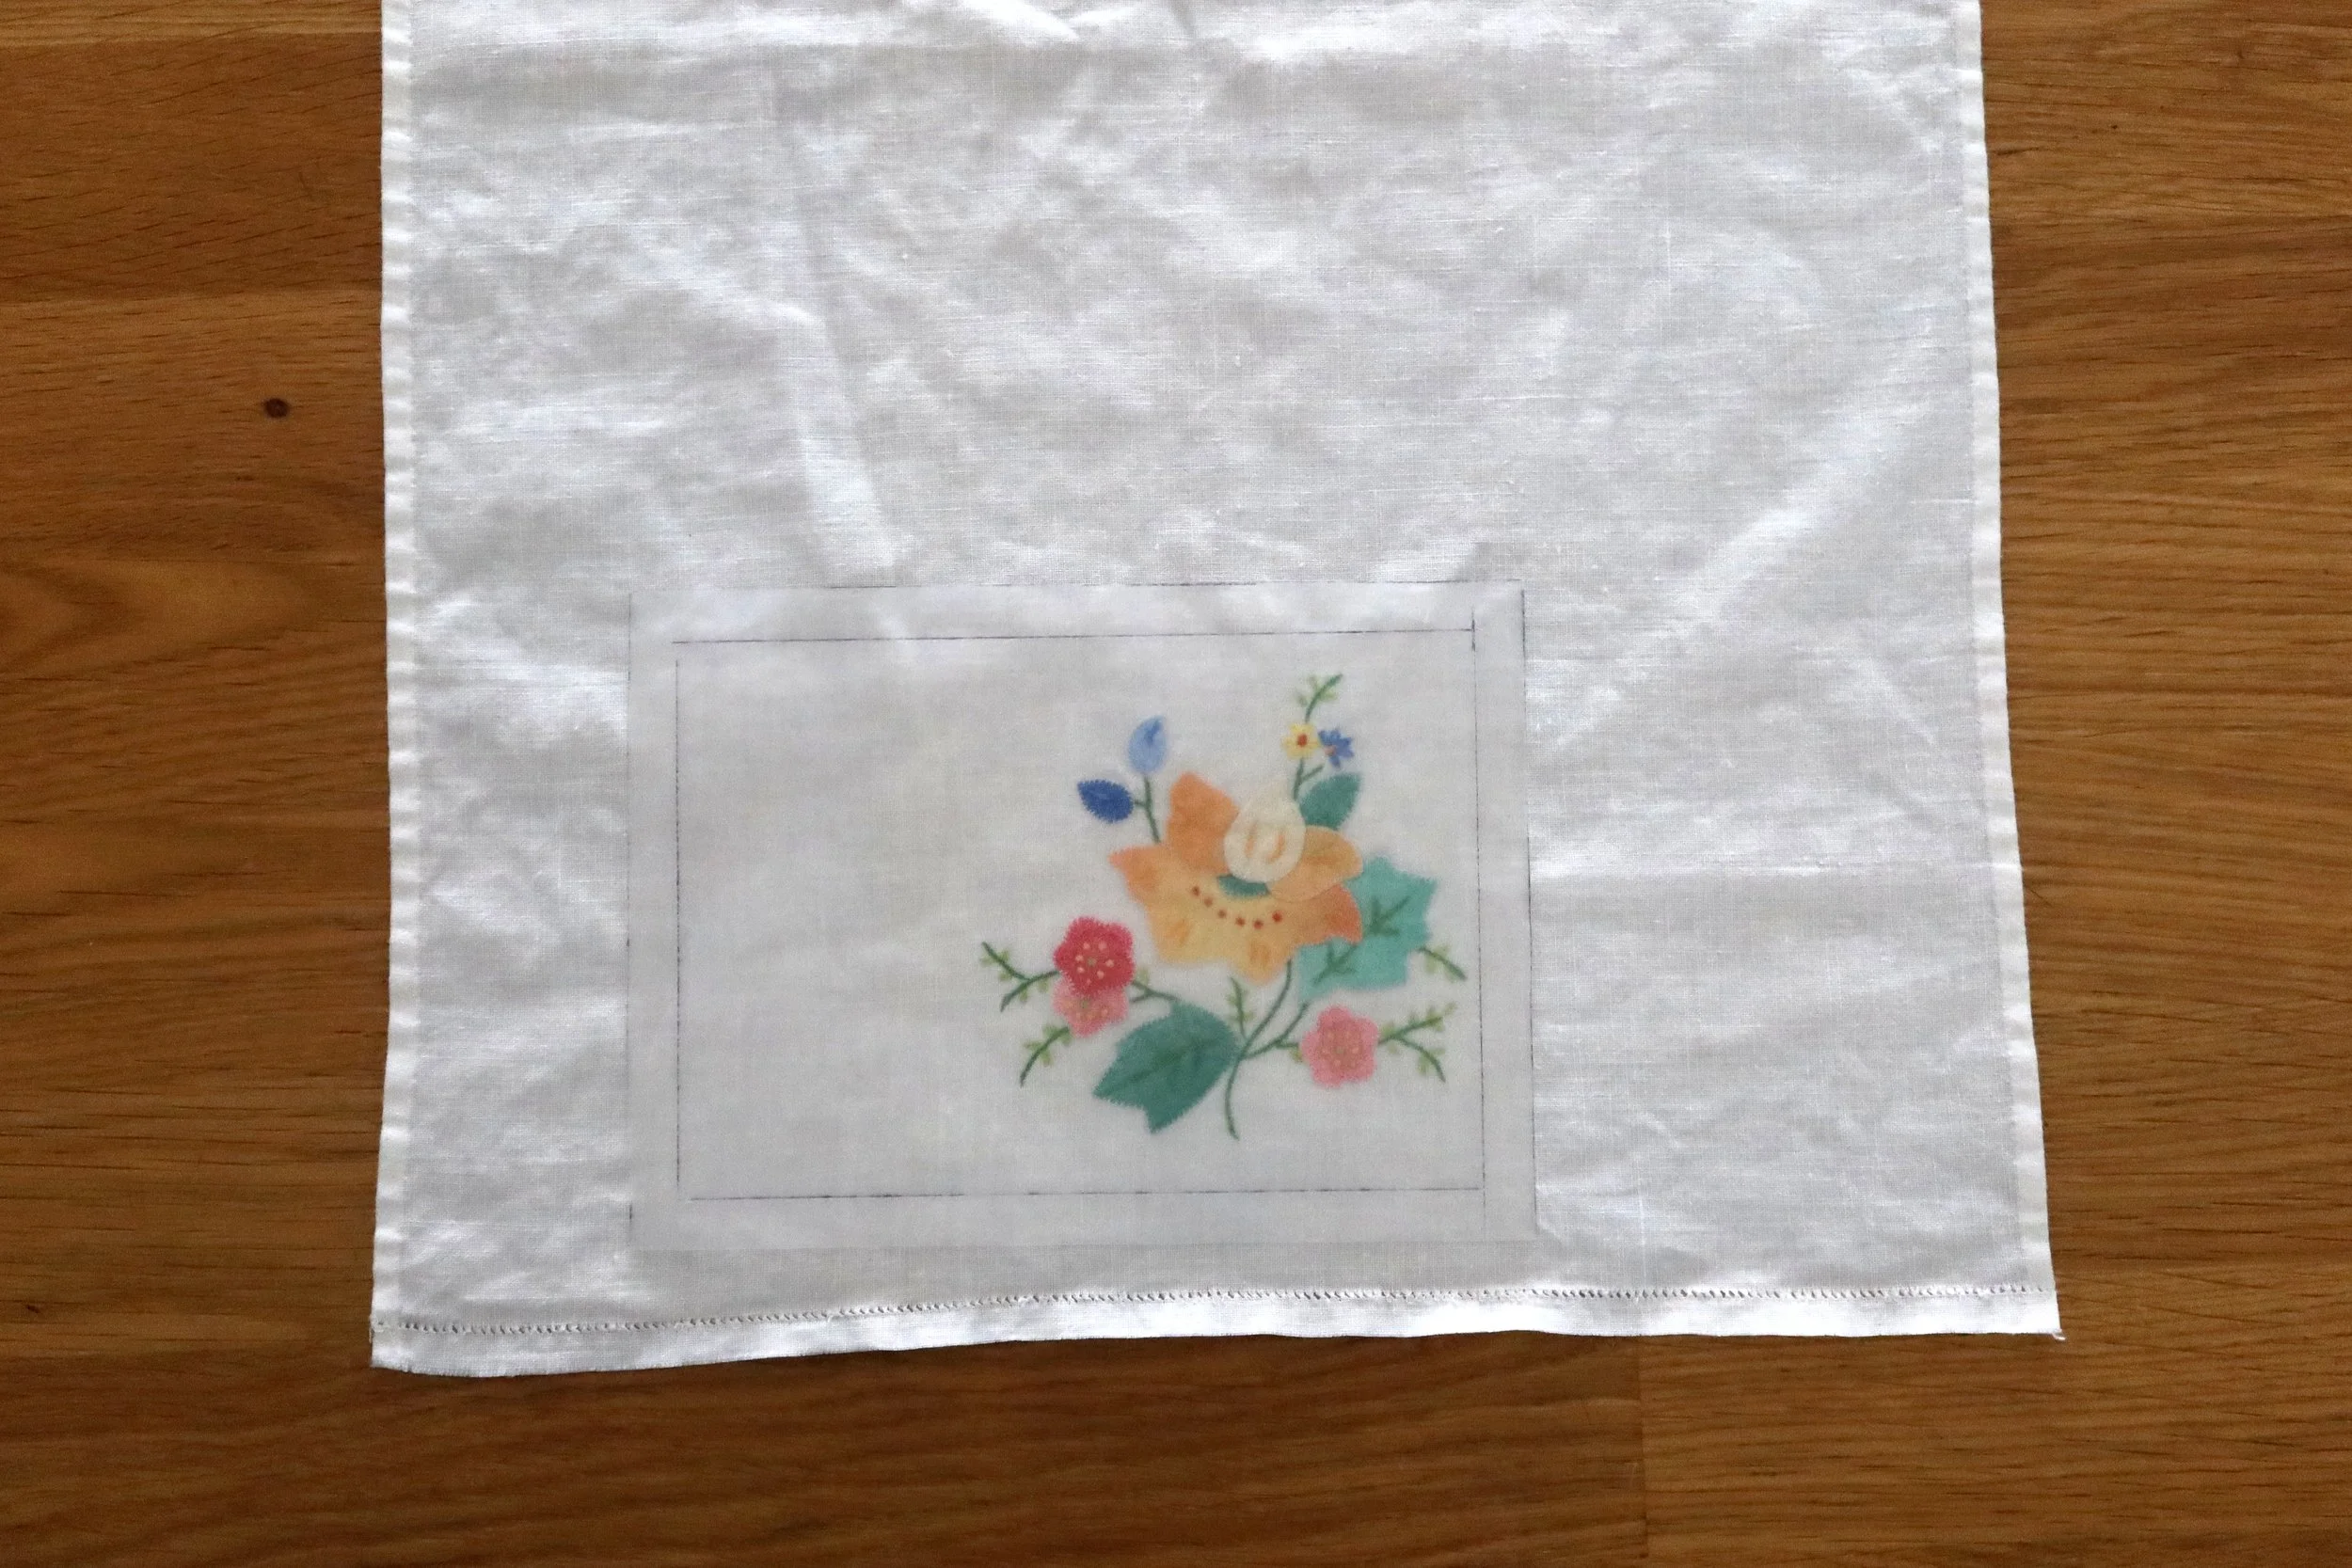
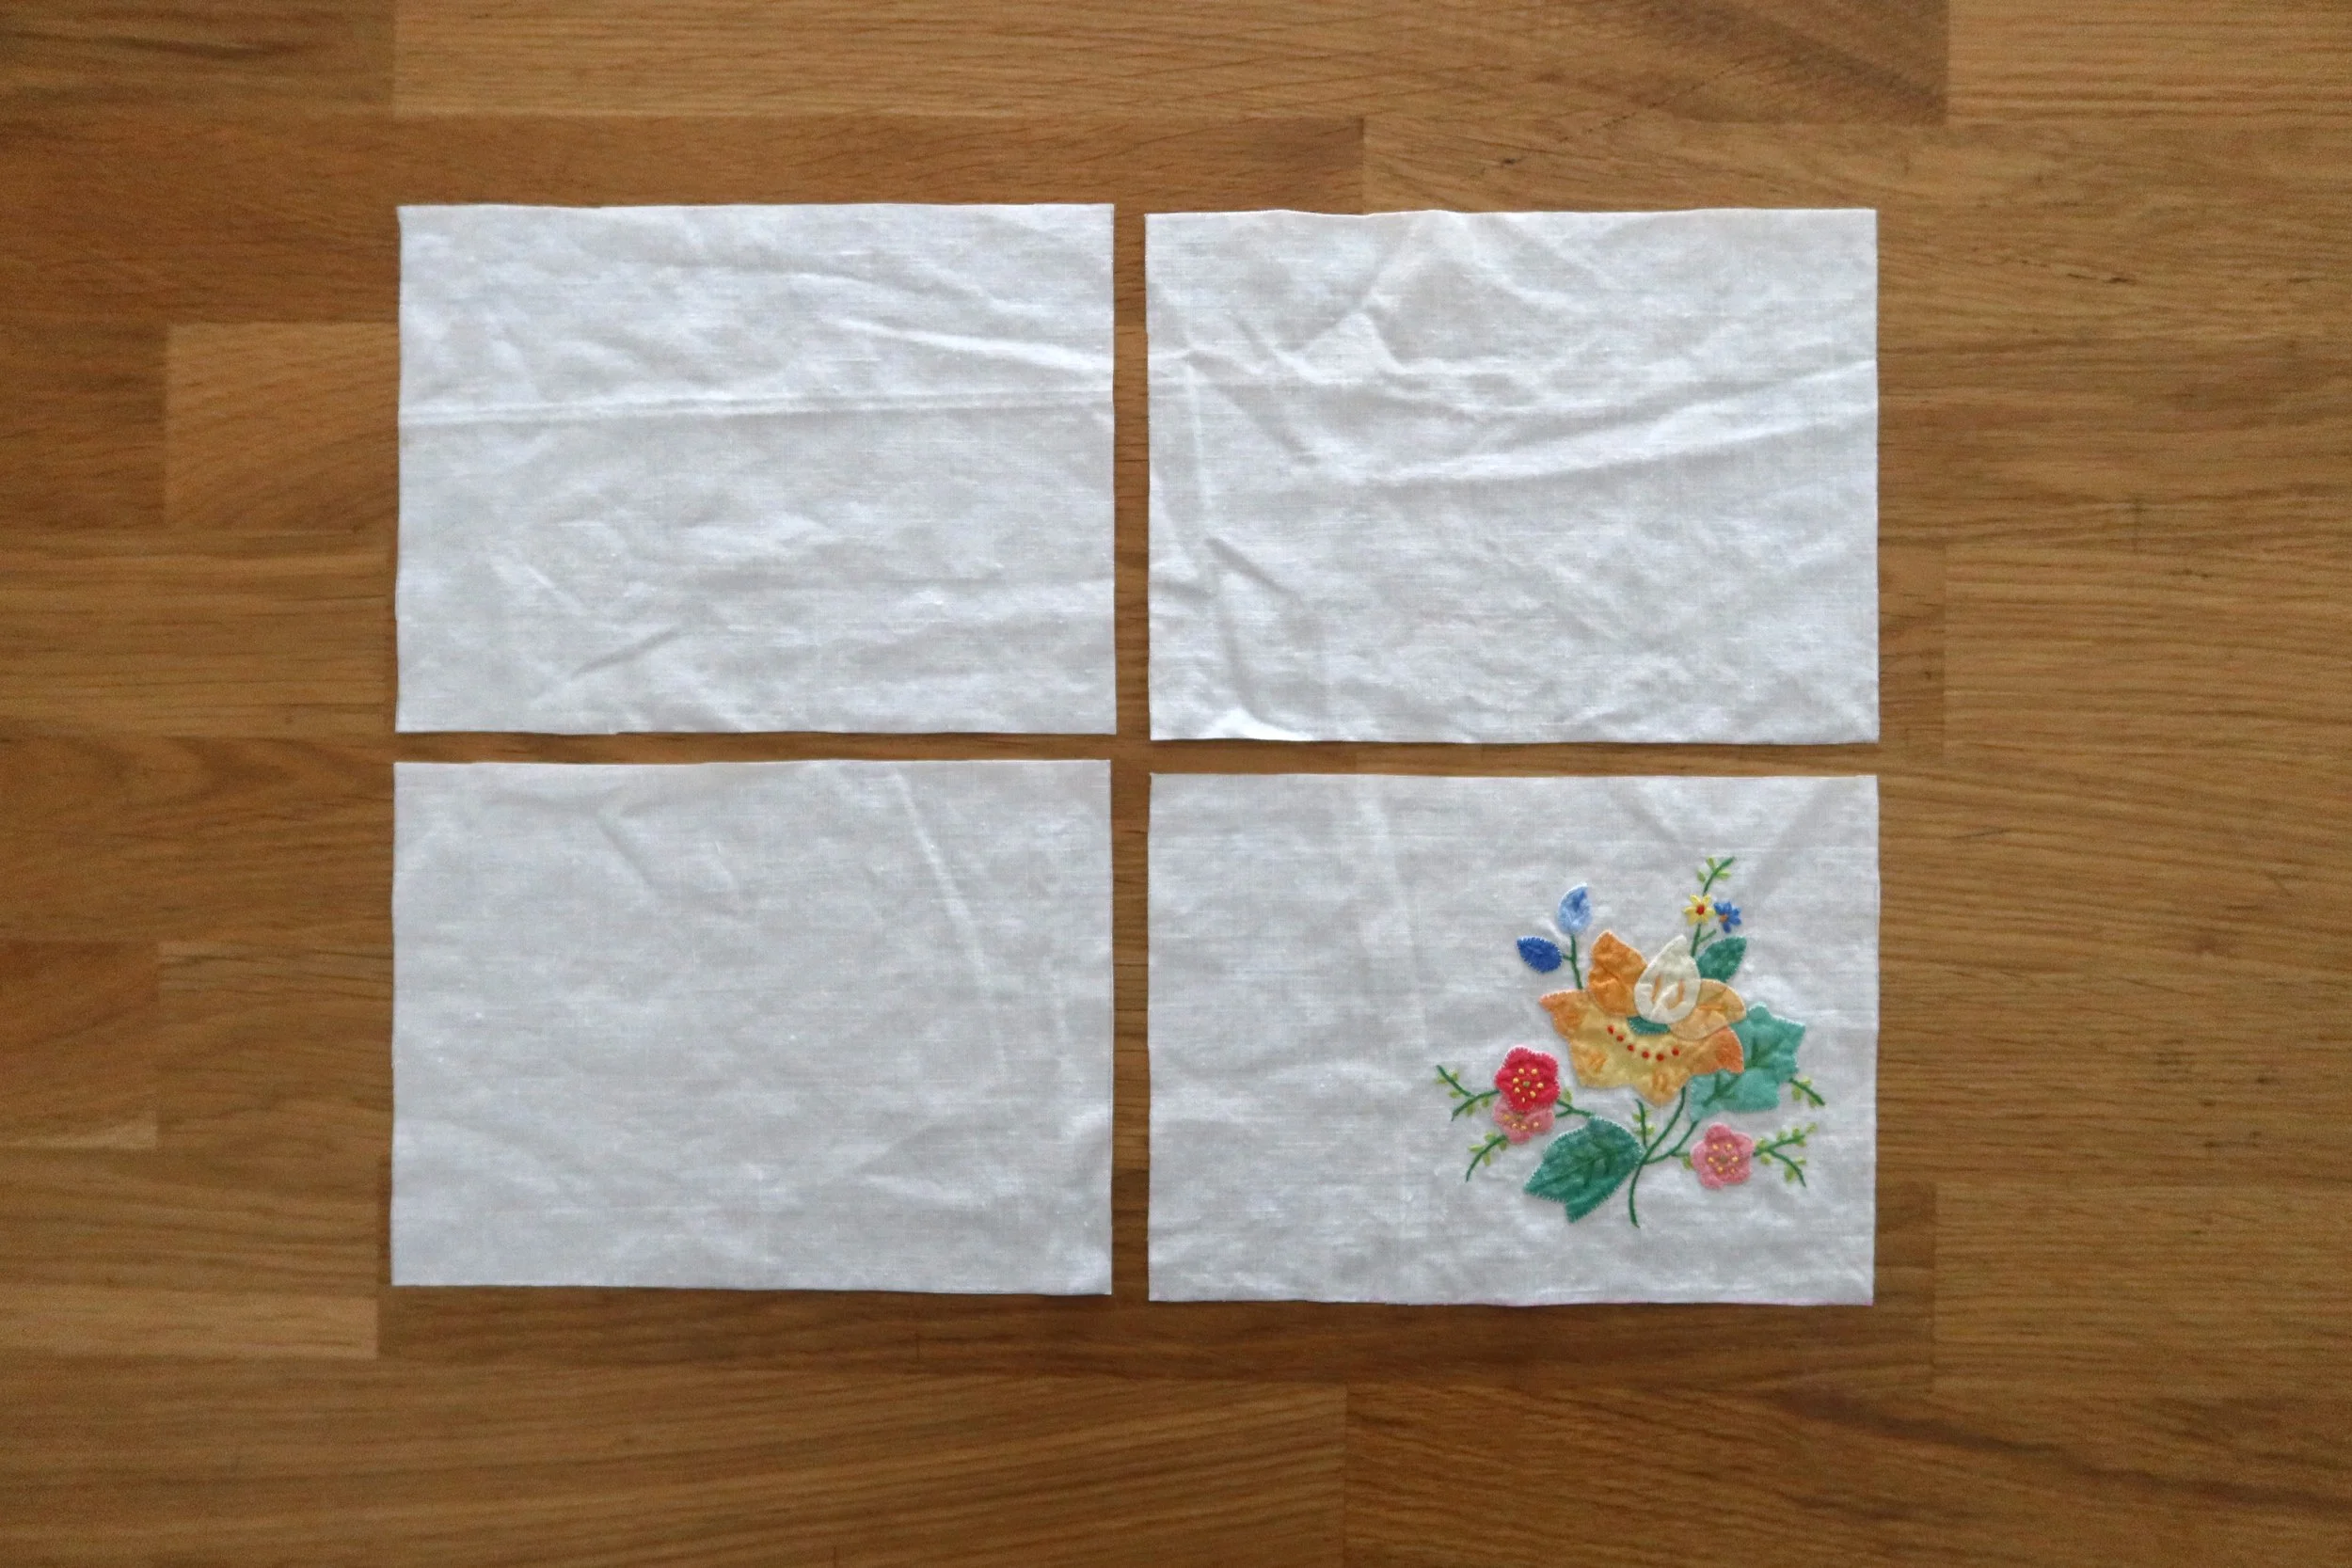
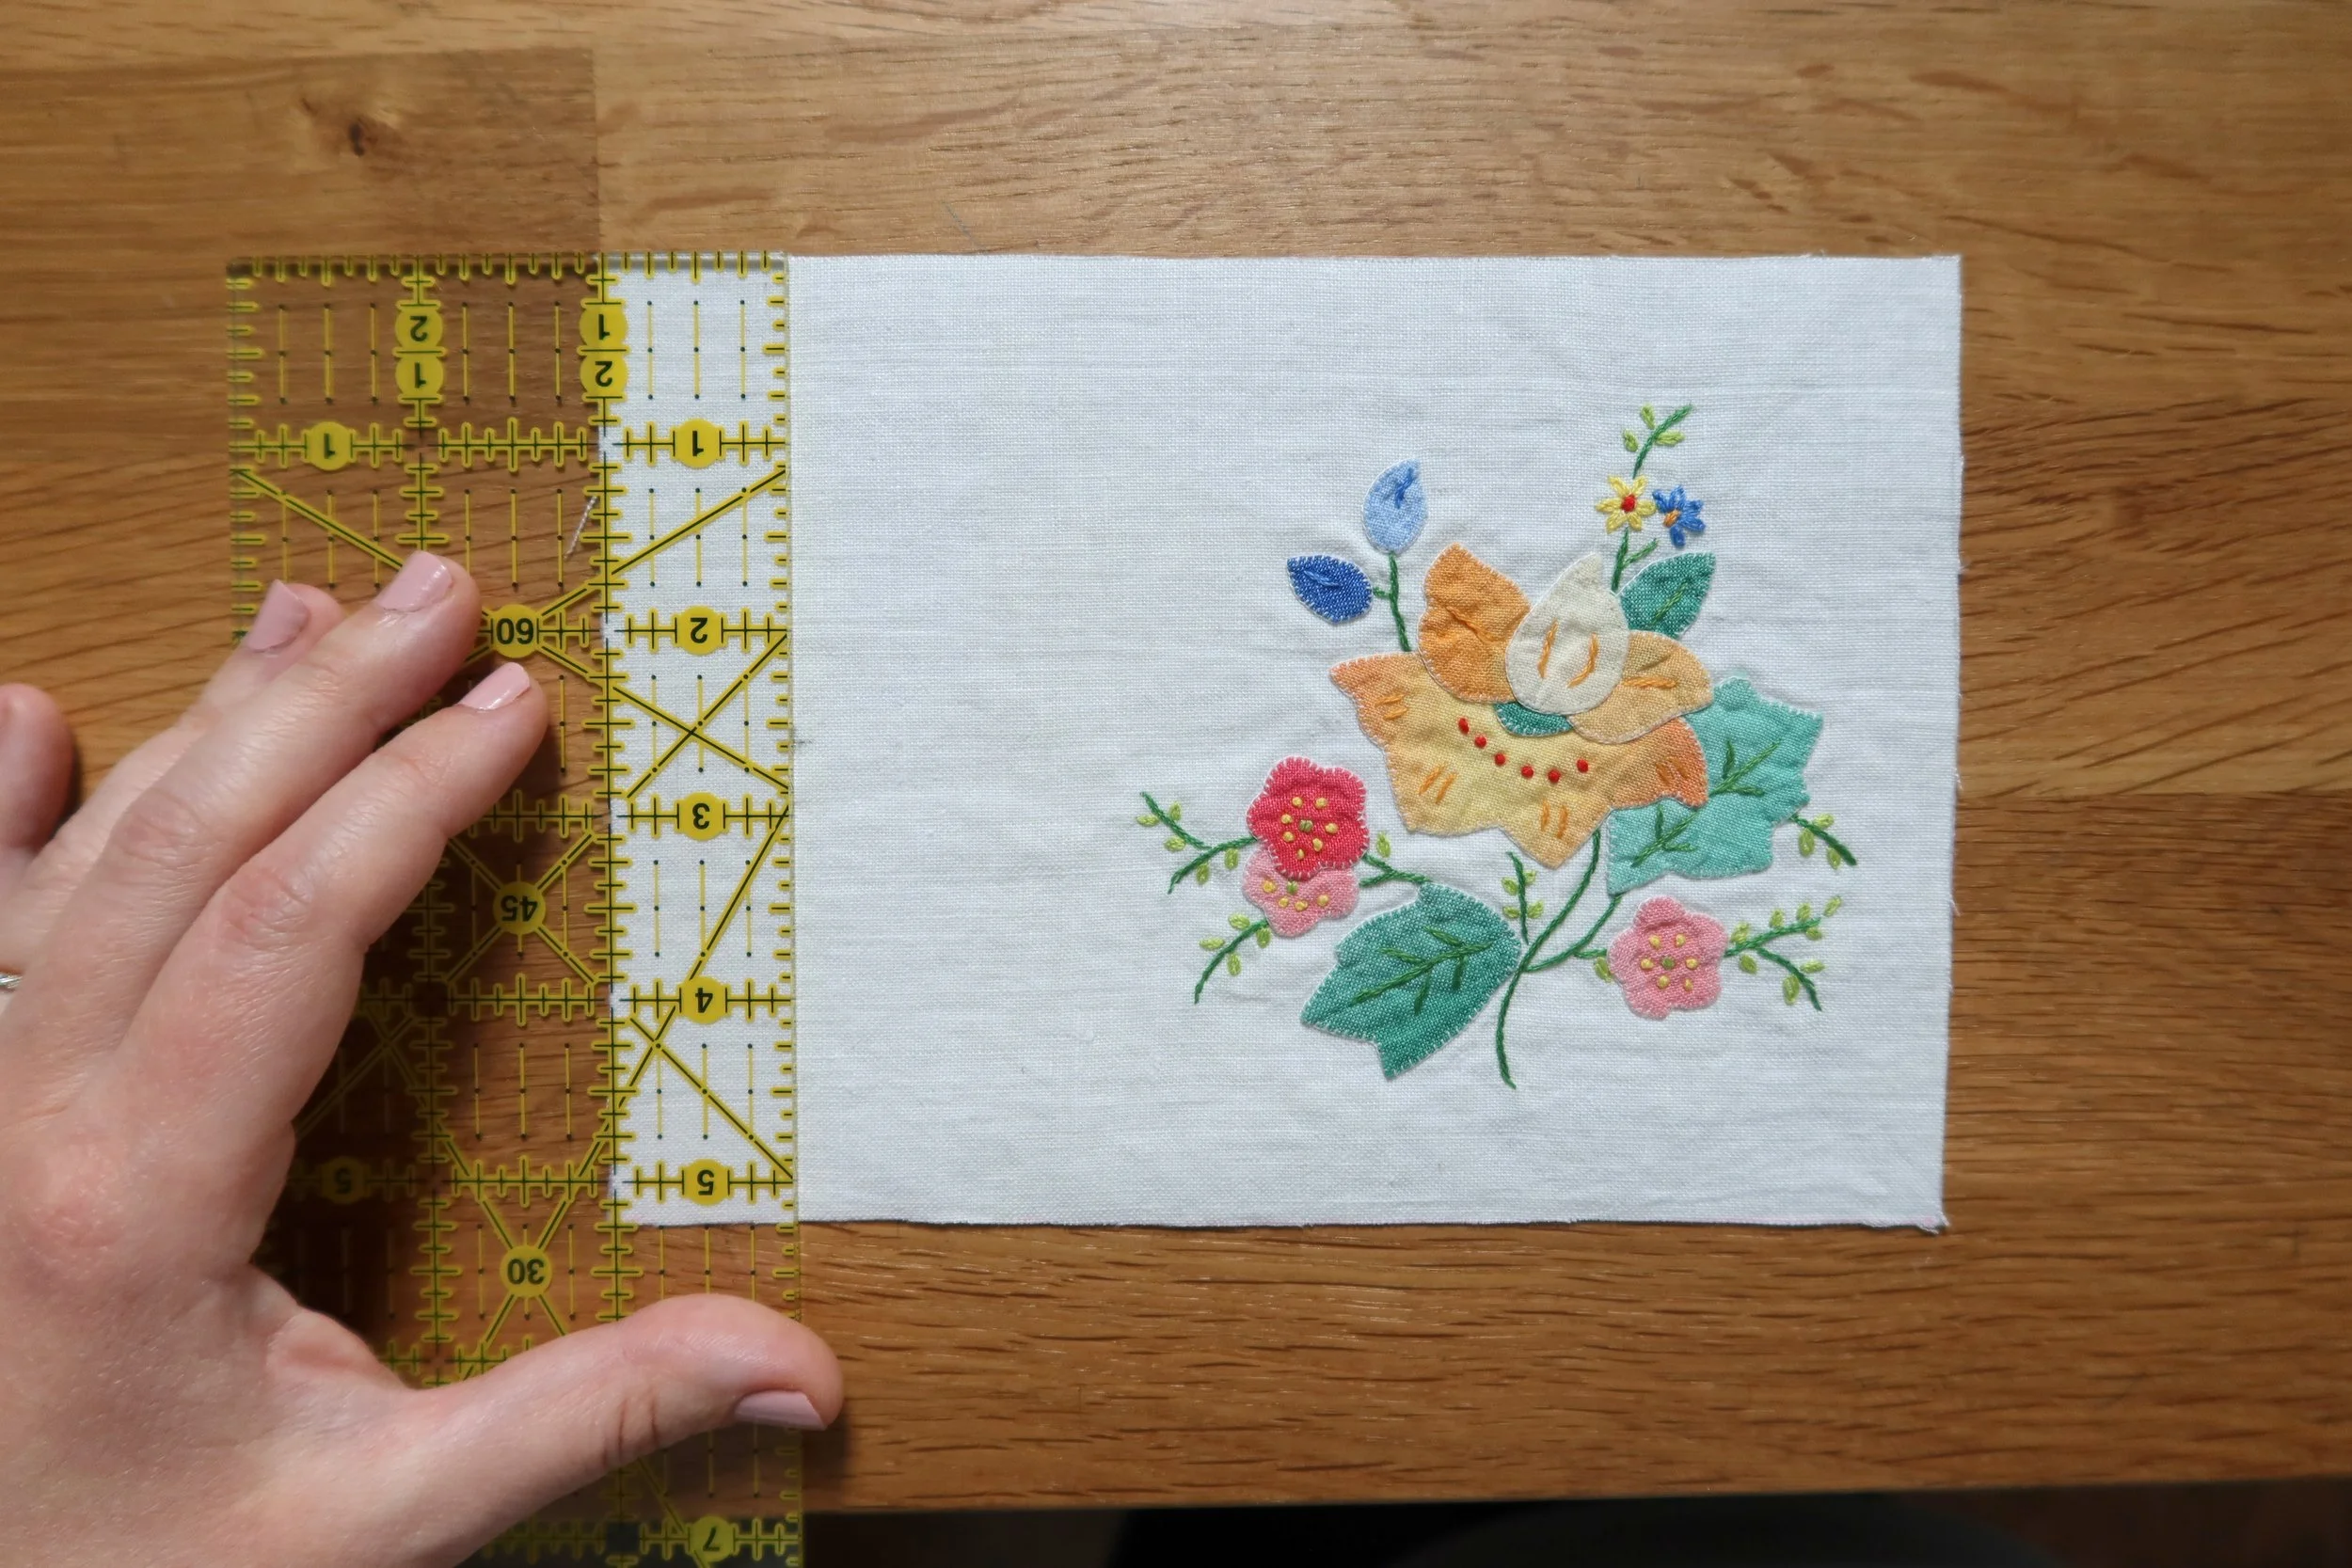
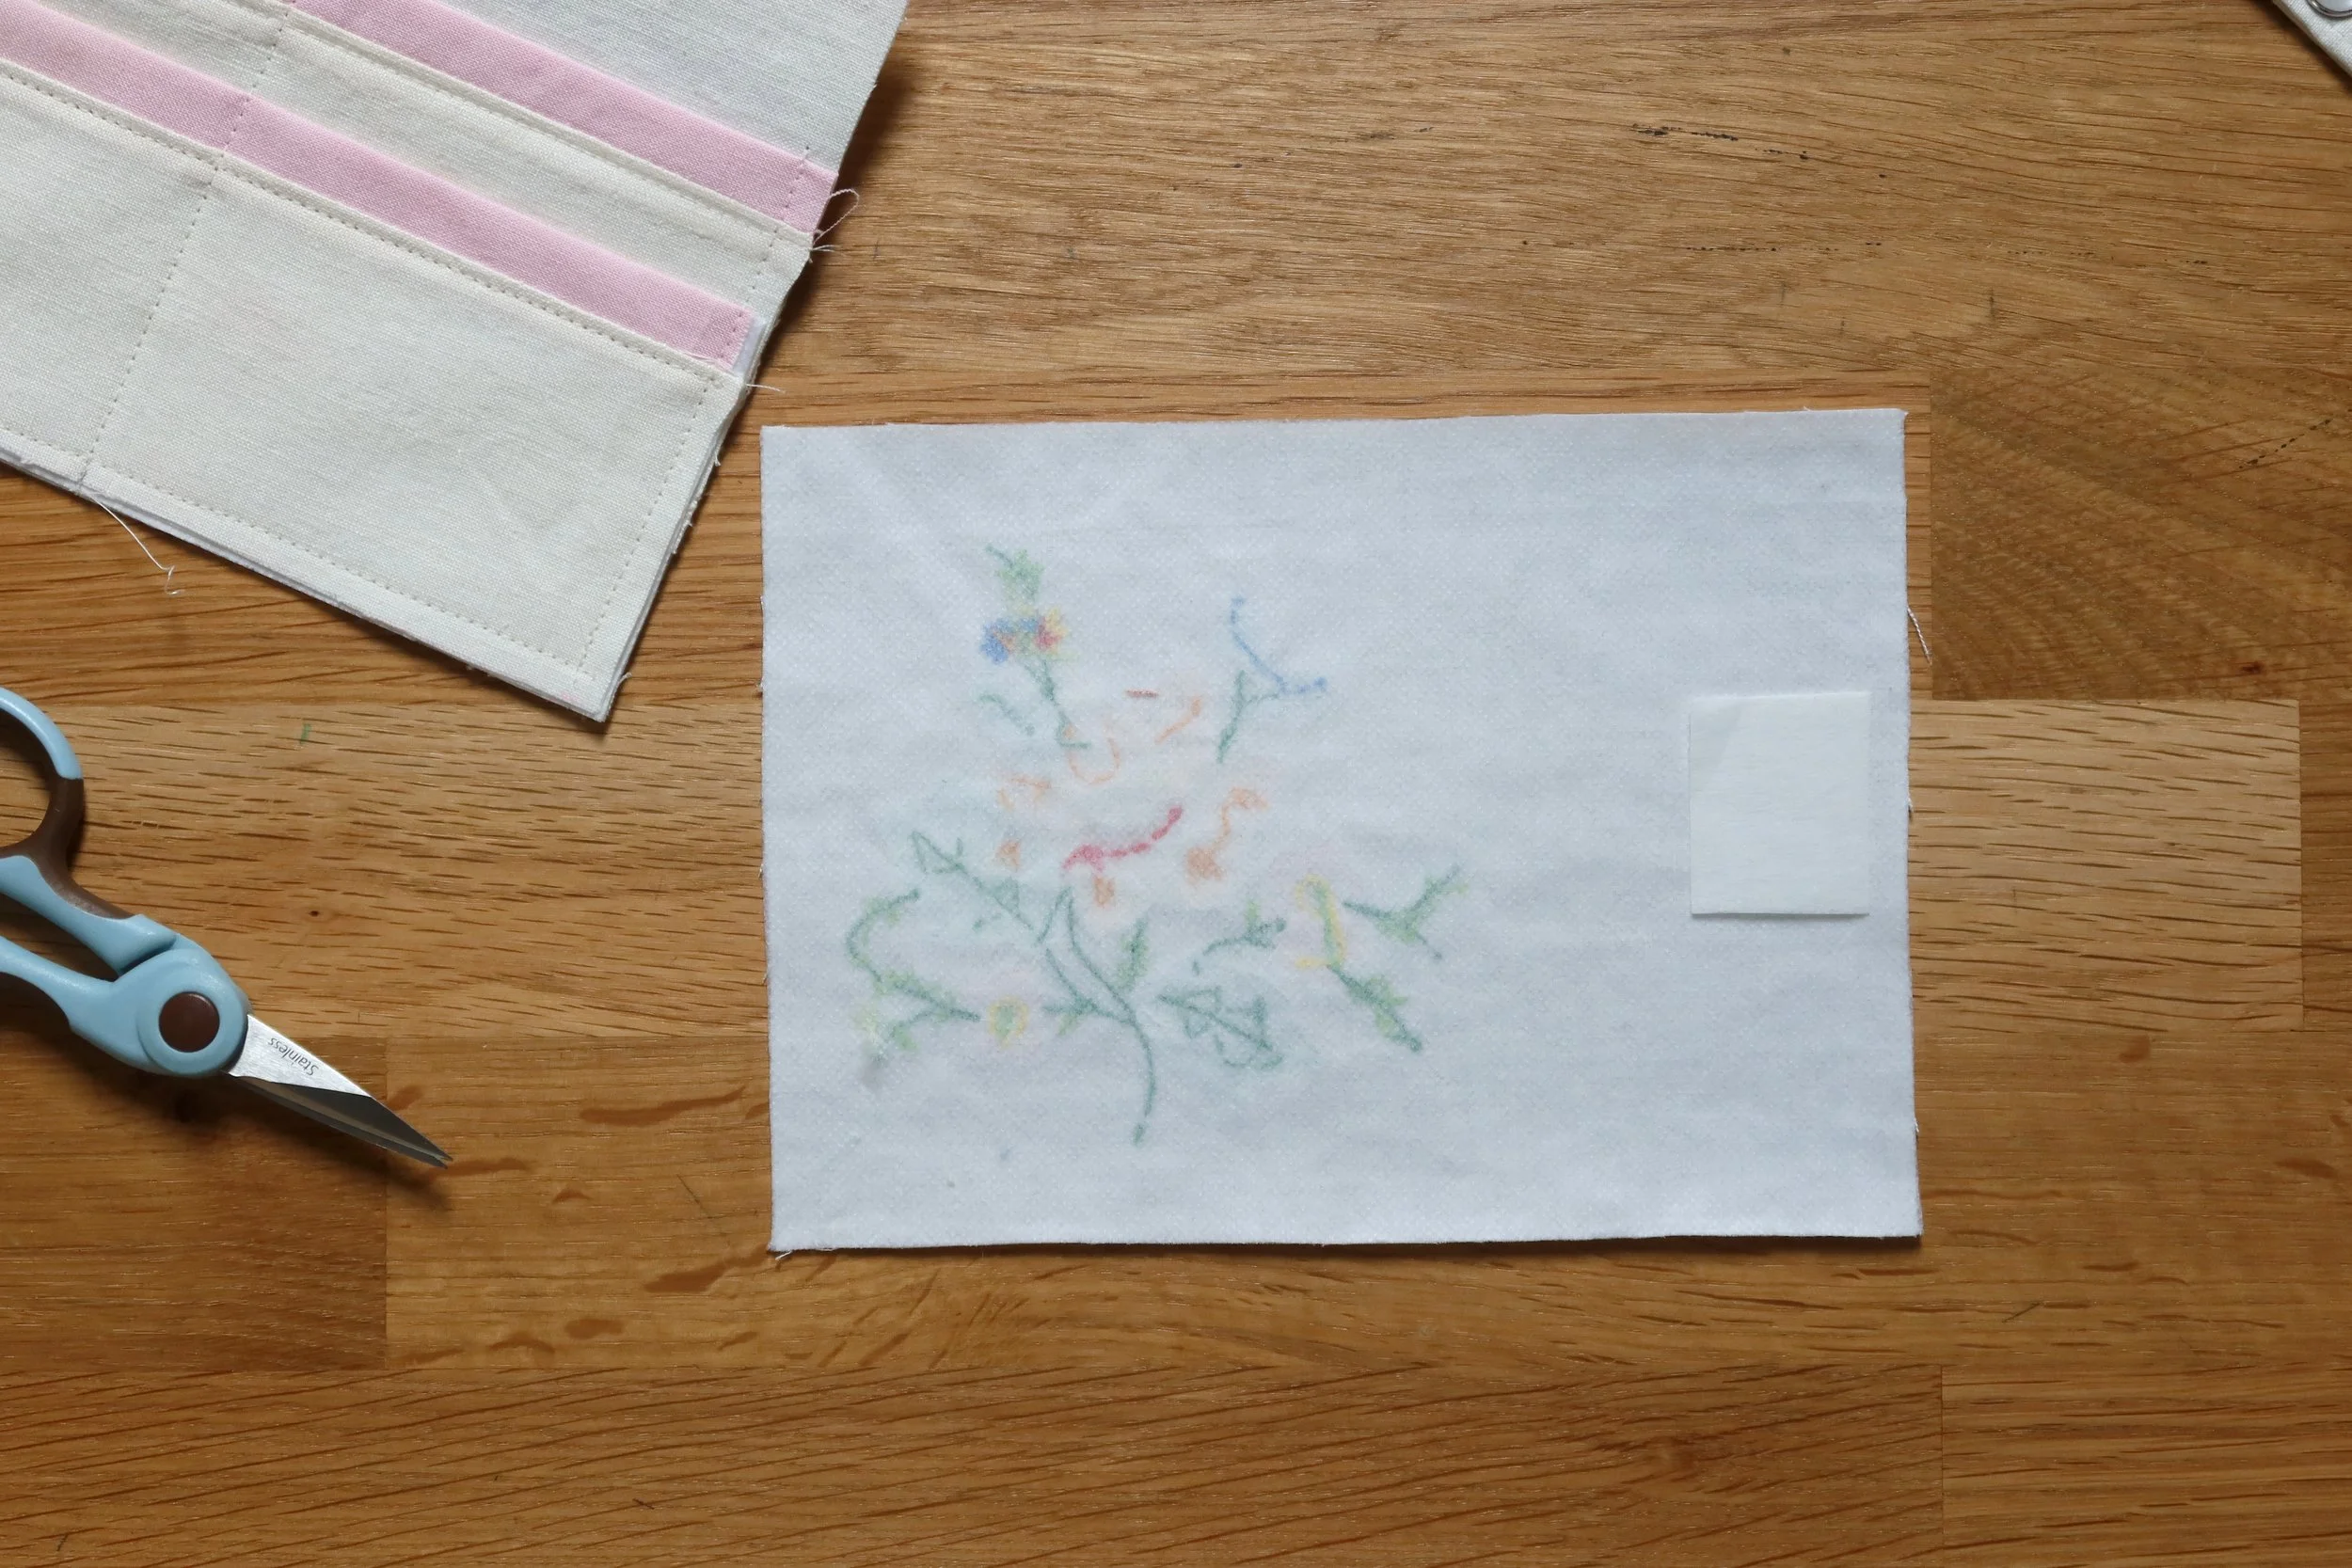
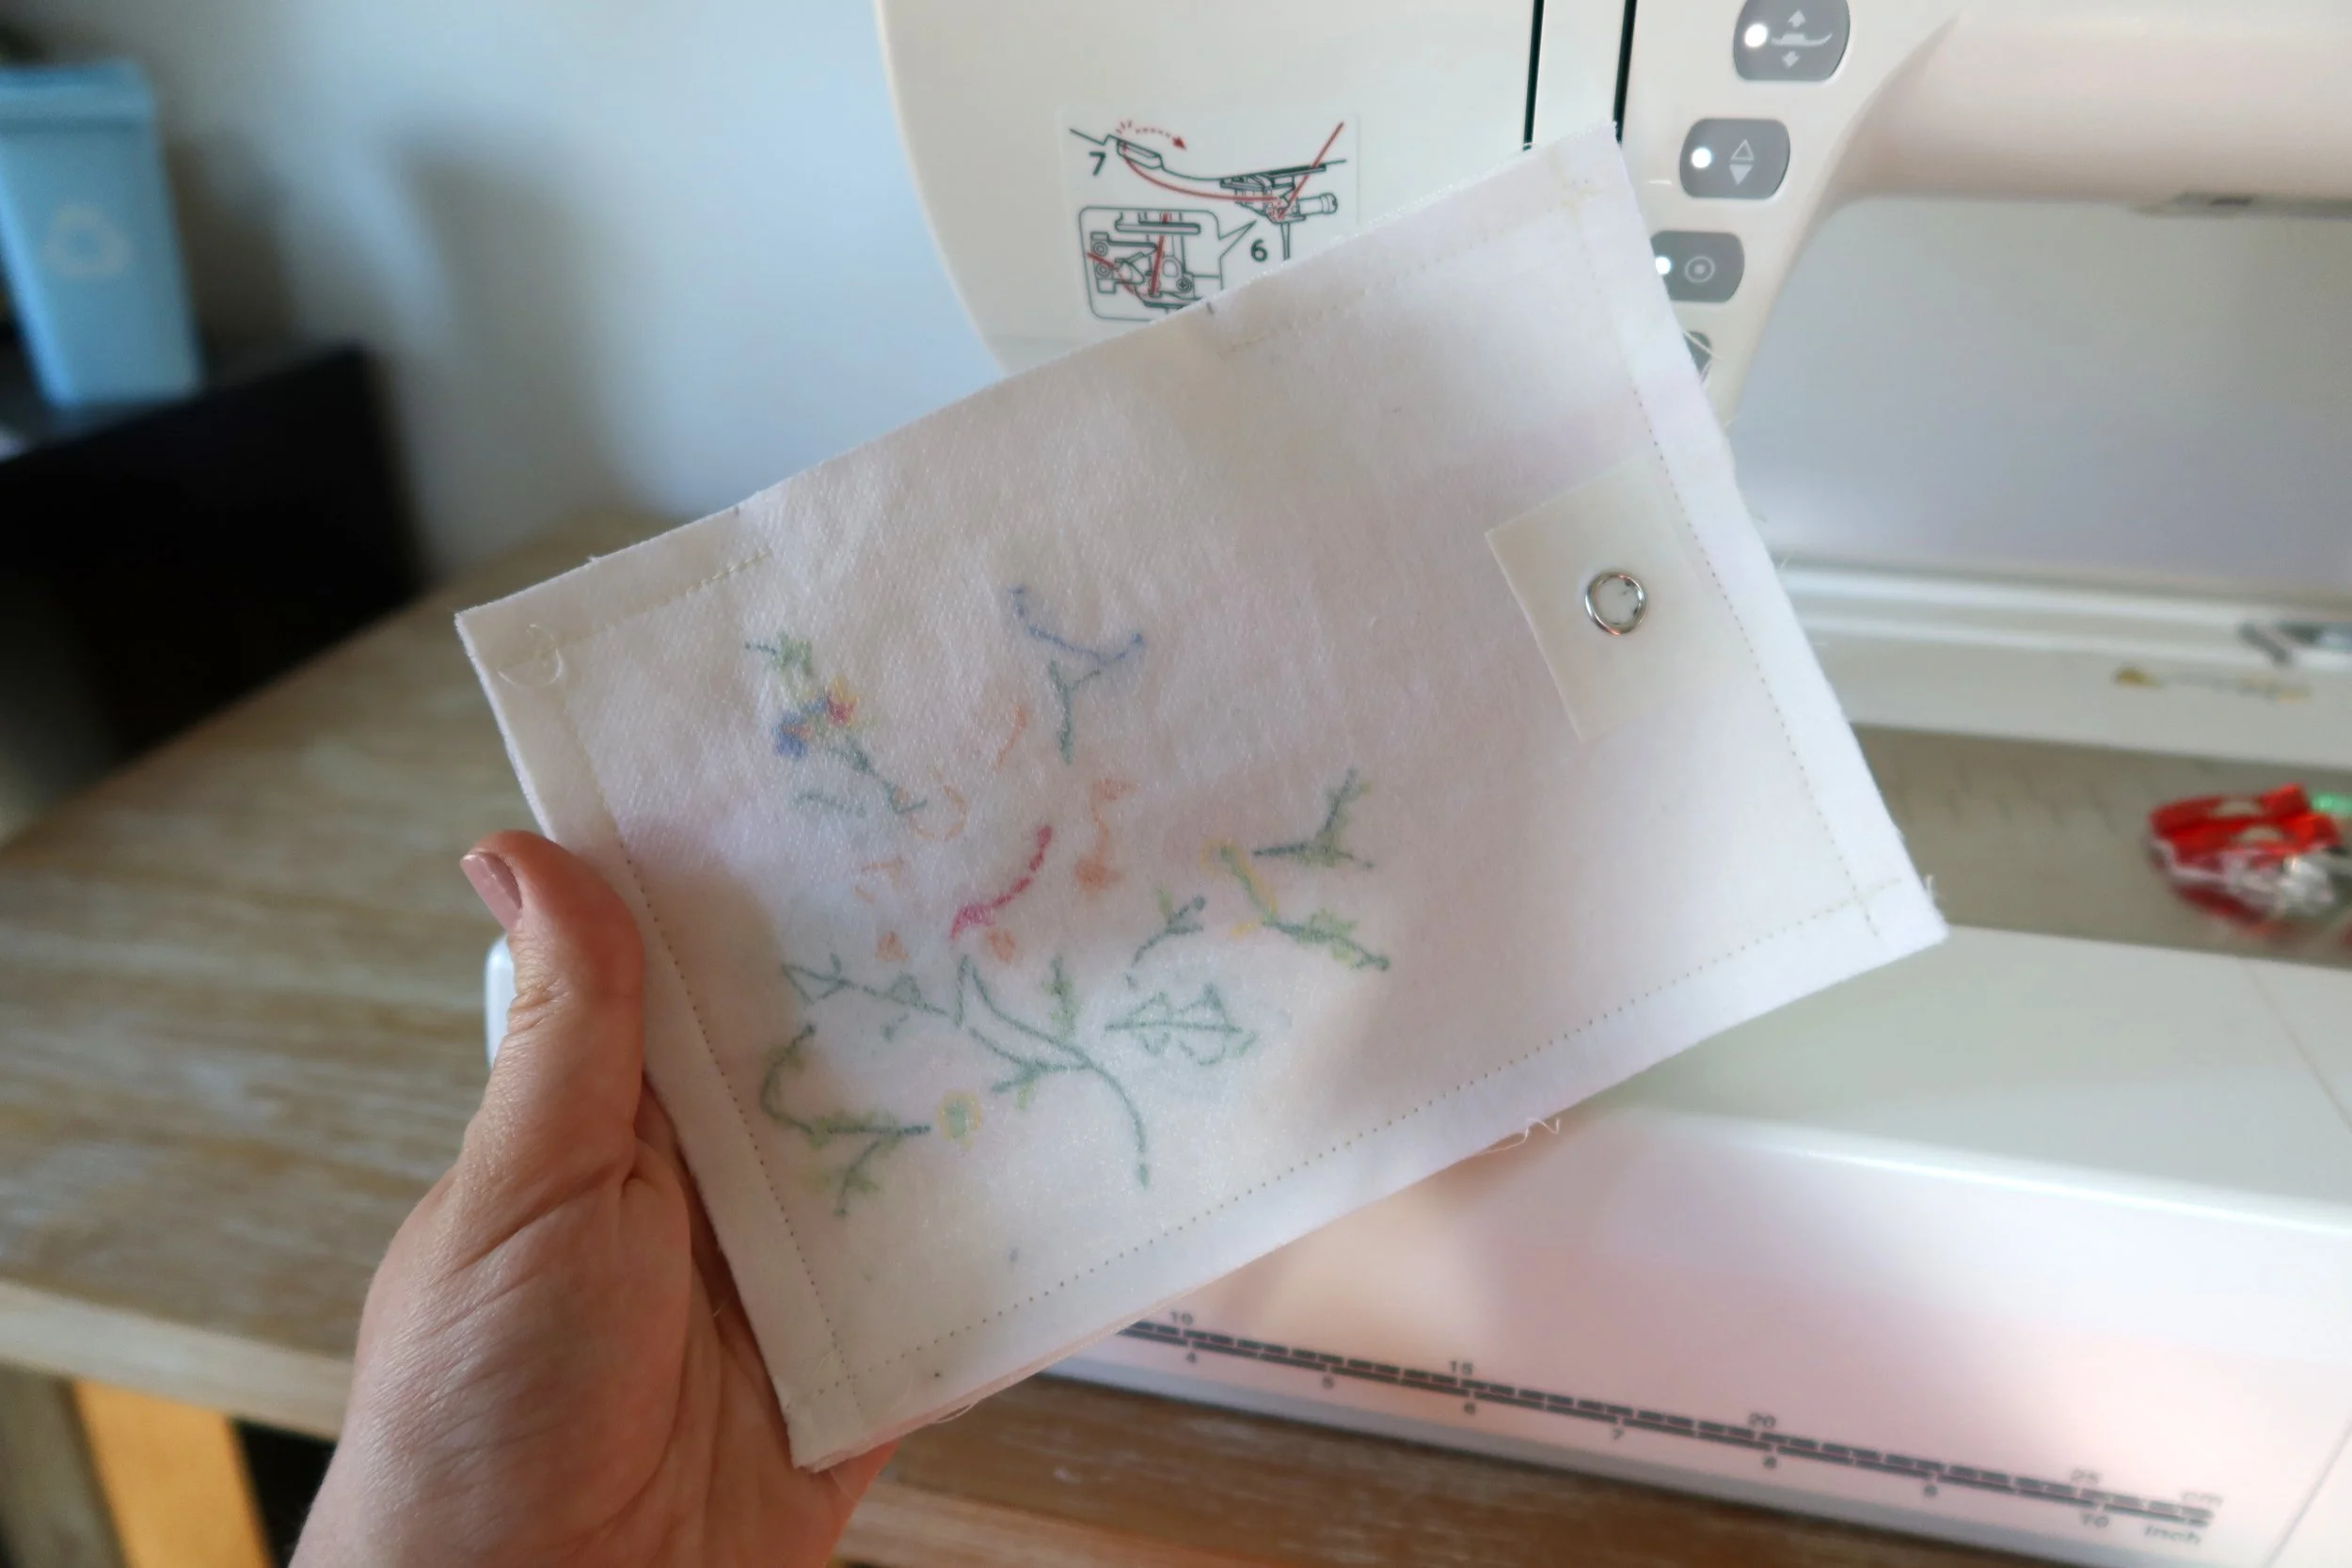
When working with an embroidered design, I make a pattern piece out of wax or tracing paper, to better see where the design will sit on the final project. Add the seam allowance outline. It can also be helpful to mark the fold of the wallet so you can see where the design will sit on front and back. My full pattern piece measures 7.25” x 5.25”.
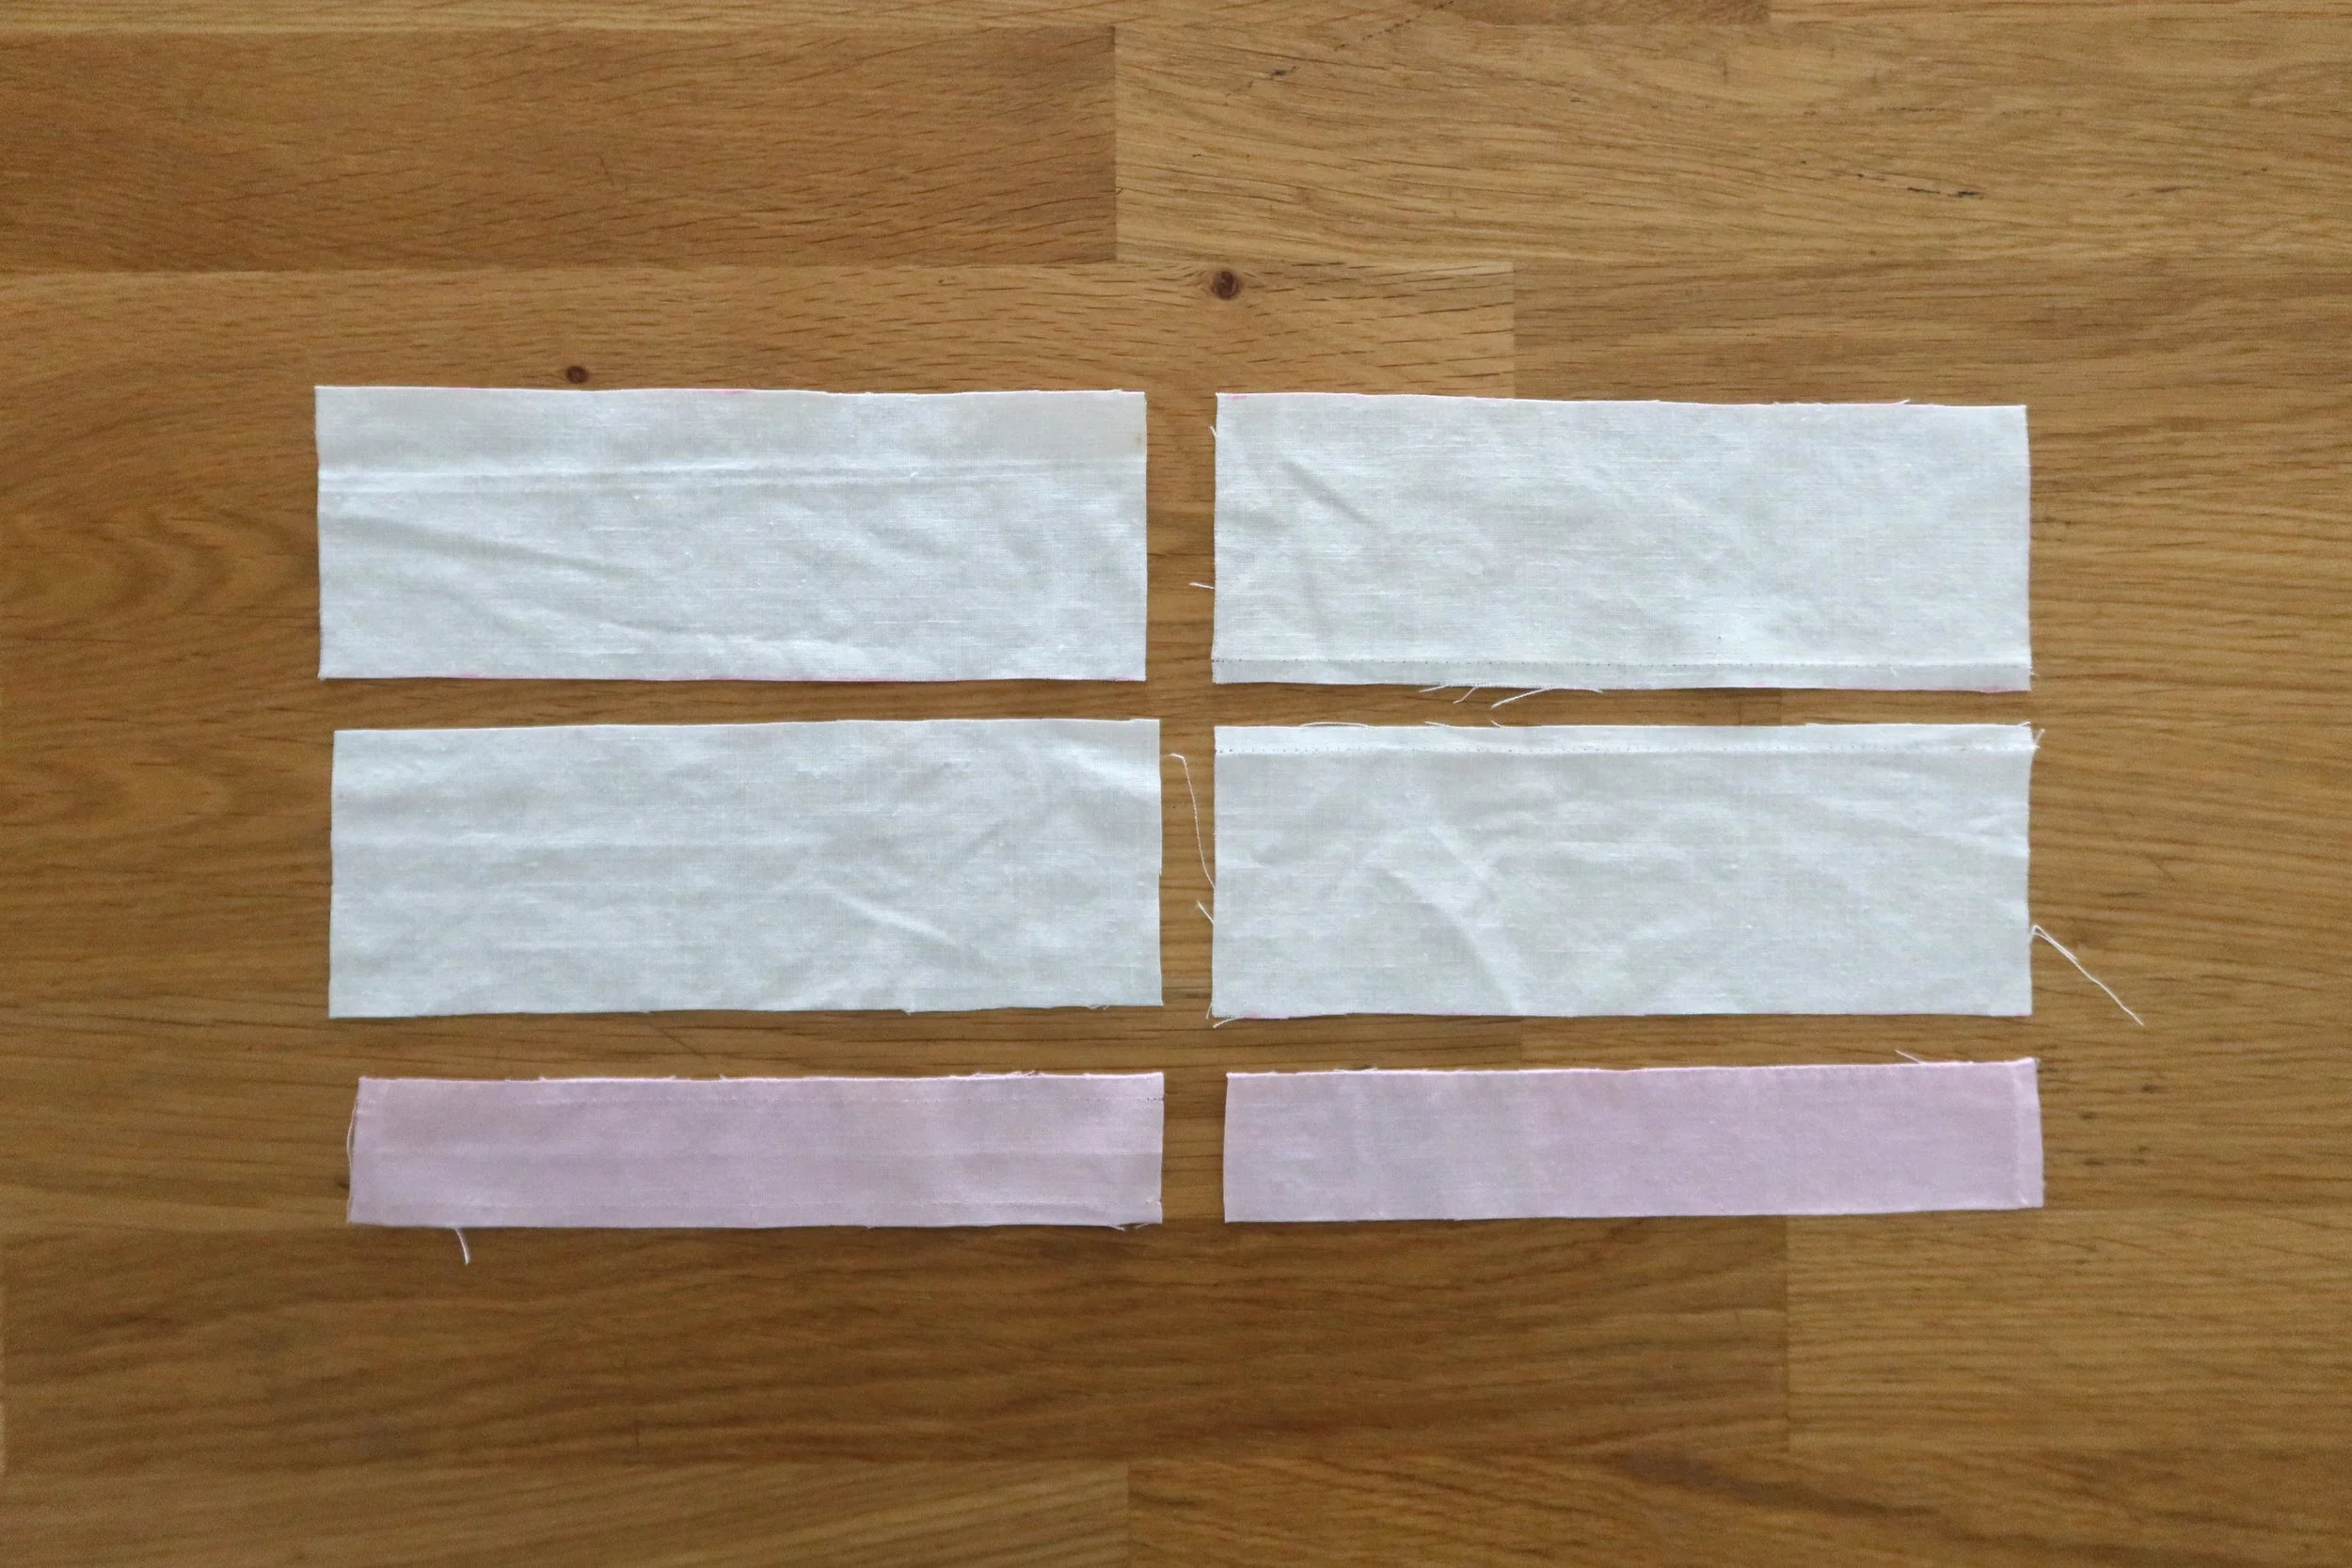
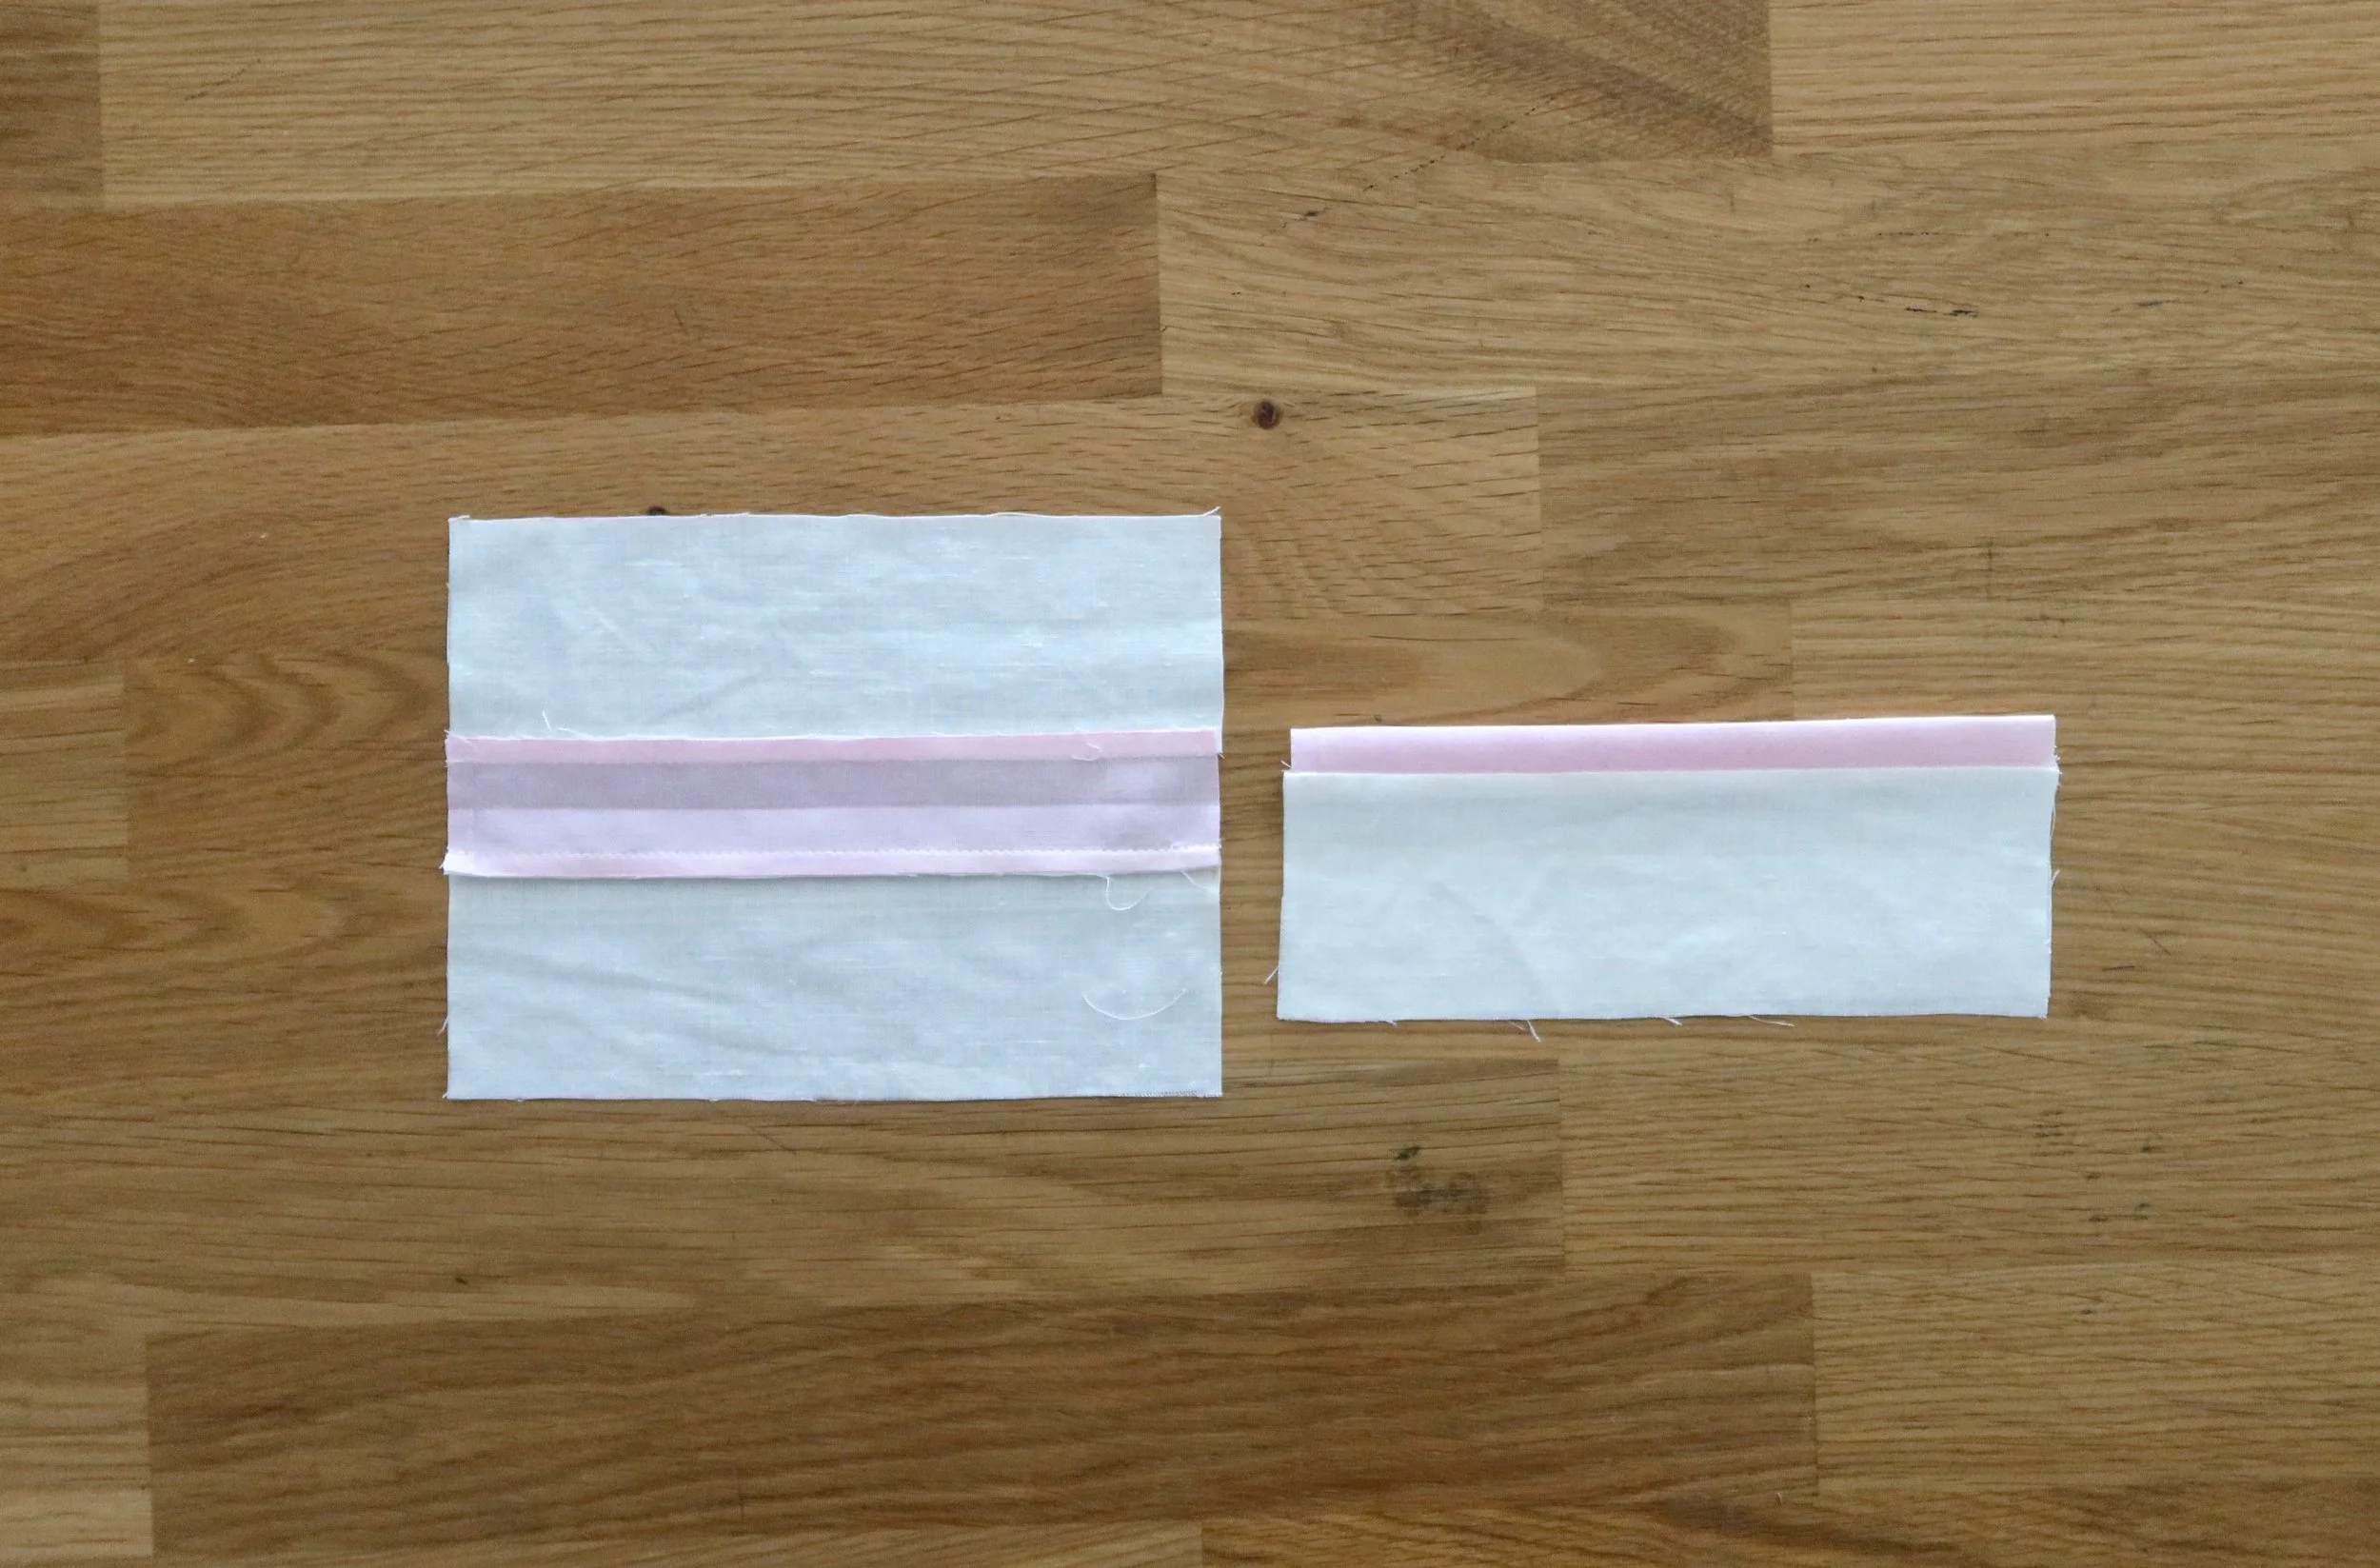
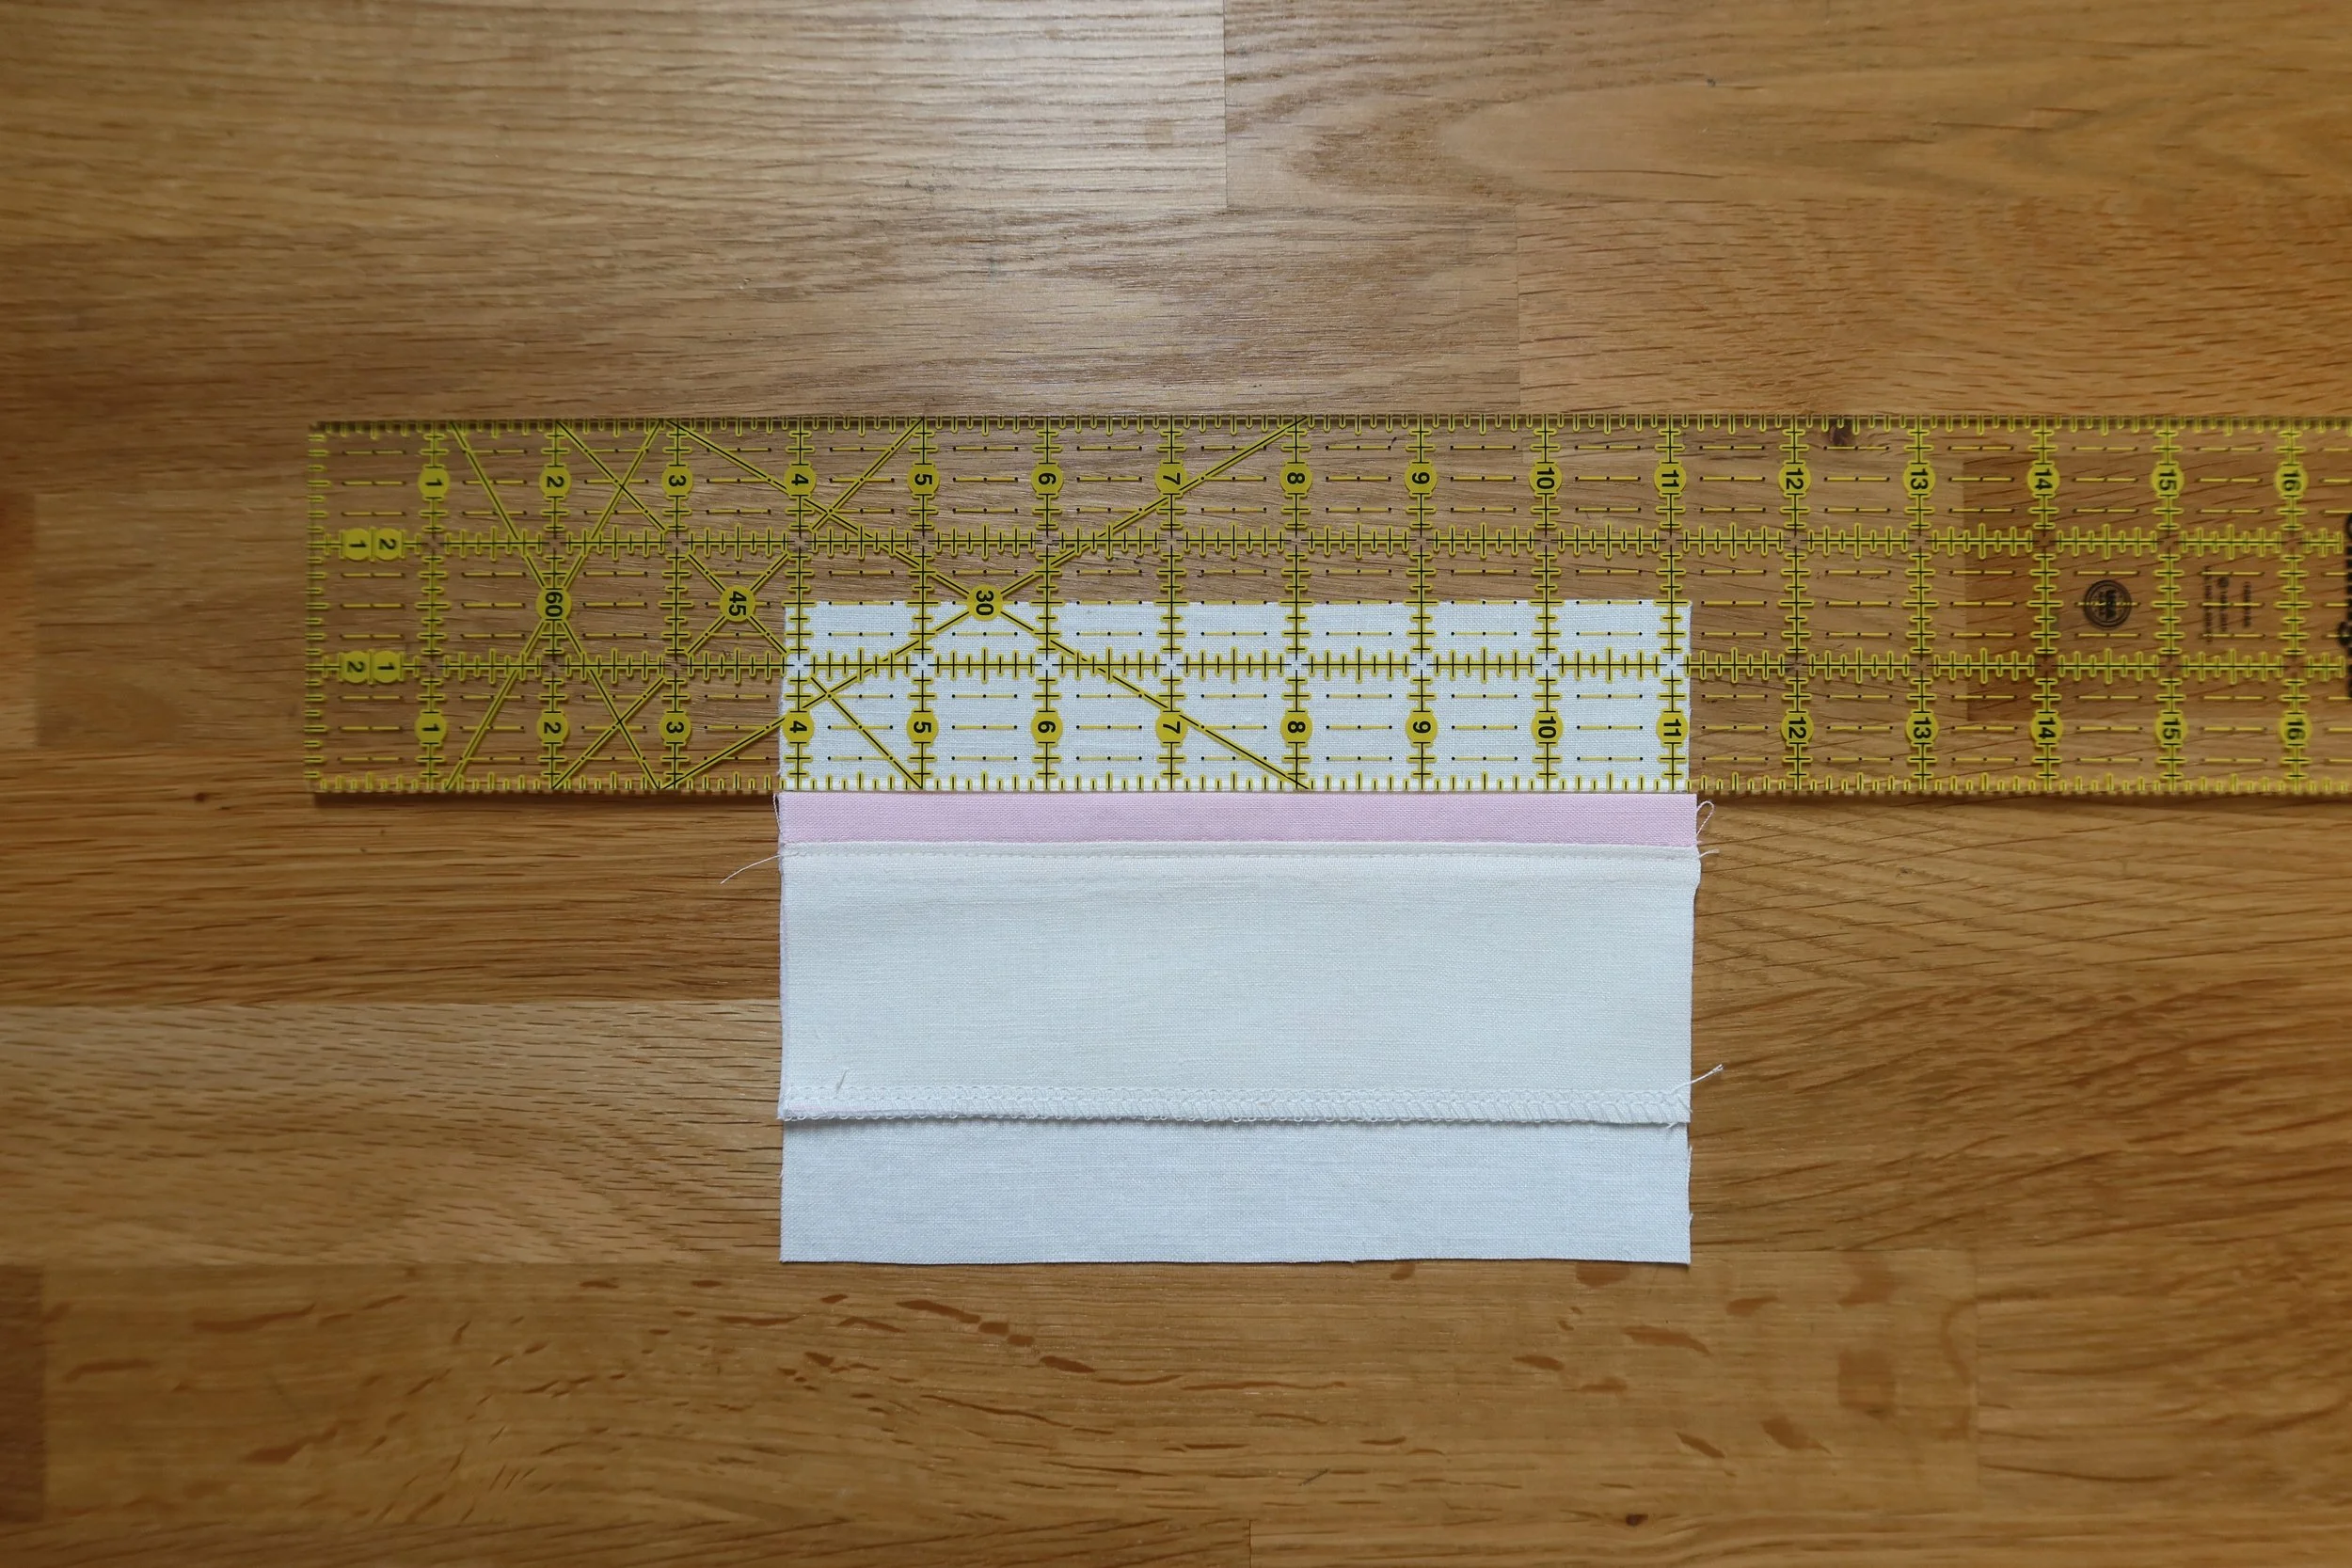
For a wallet with decorative pocket edge, cut two full size body pieces at 7.25” x 5.25” and four pocket pieces 7.25” x 2.5”. Cut two pieces 7.25” x 1 3/8”, out of the coordinating fabric. (Photo below shows just pocket pieces, not the full size body pieces)

If you do not want to add a decorative edge to the wallet pockets, cut 4 pieces the same size, 7.25” length x 5.25” height.
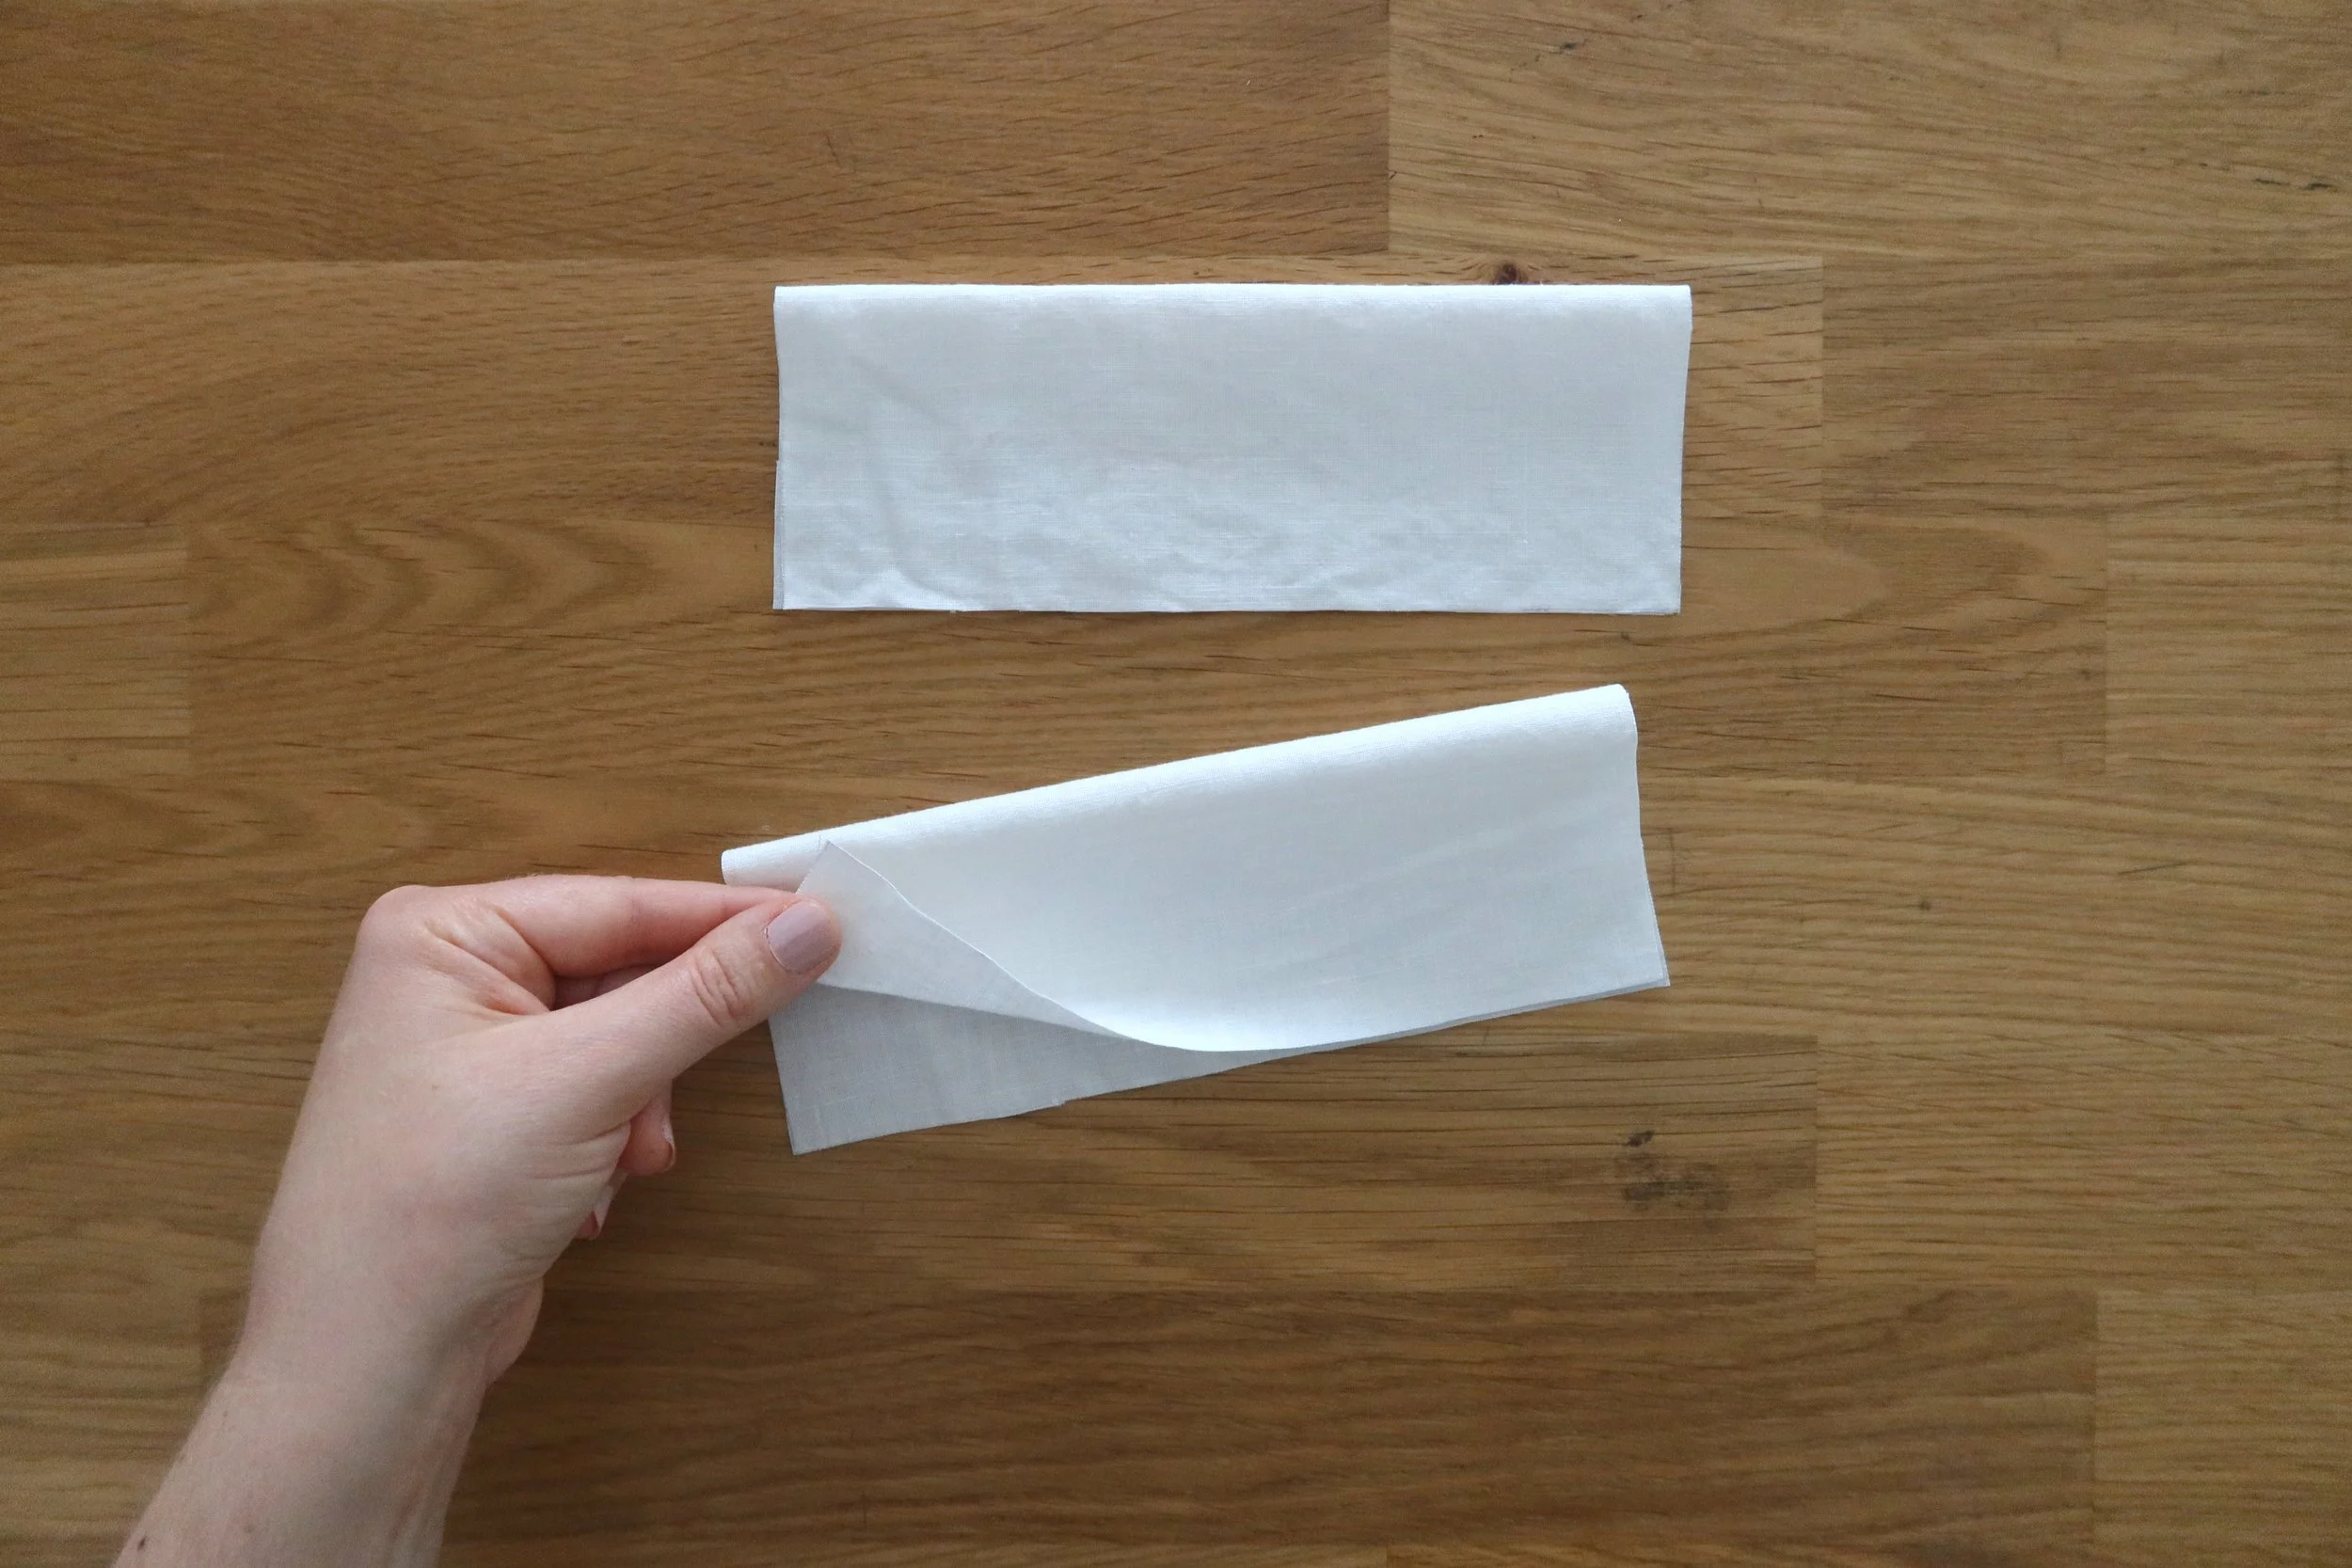
For pockets without decorative edge, fold two pieces in half, long sides together and top stitch. If your fabric is very lightweight, you can add lightweight interfacing before folding.
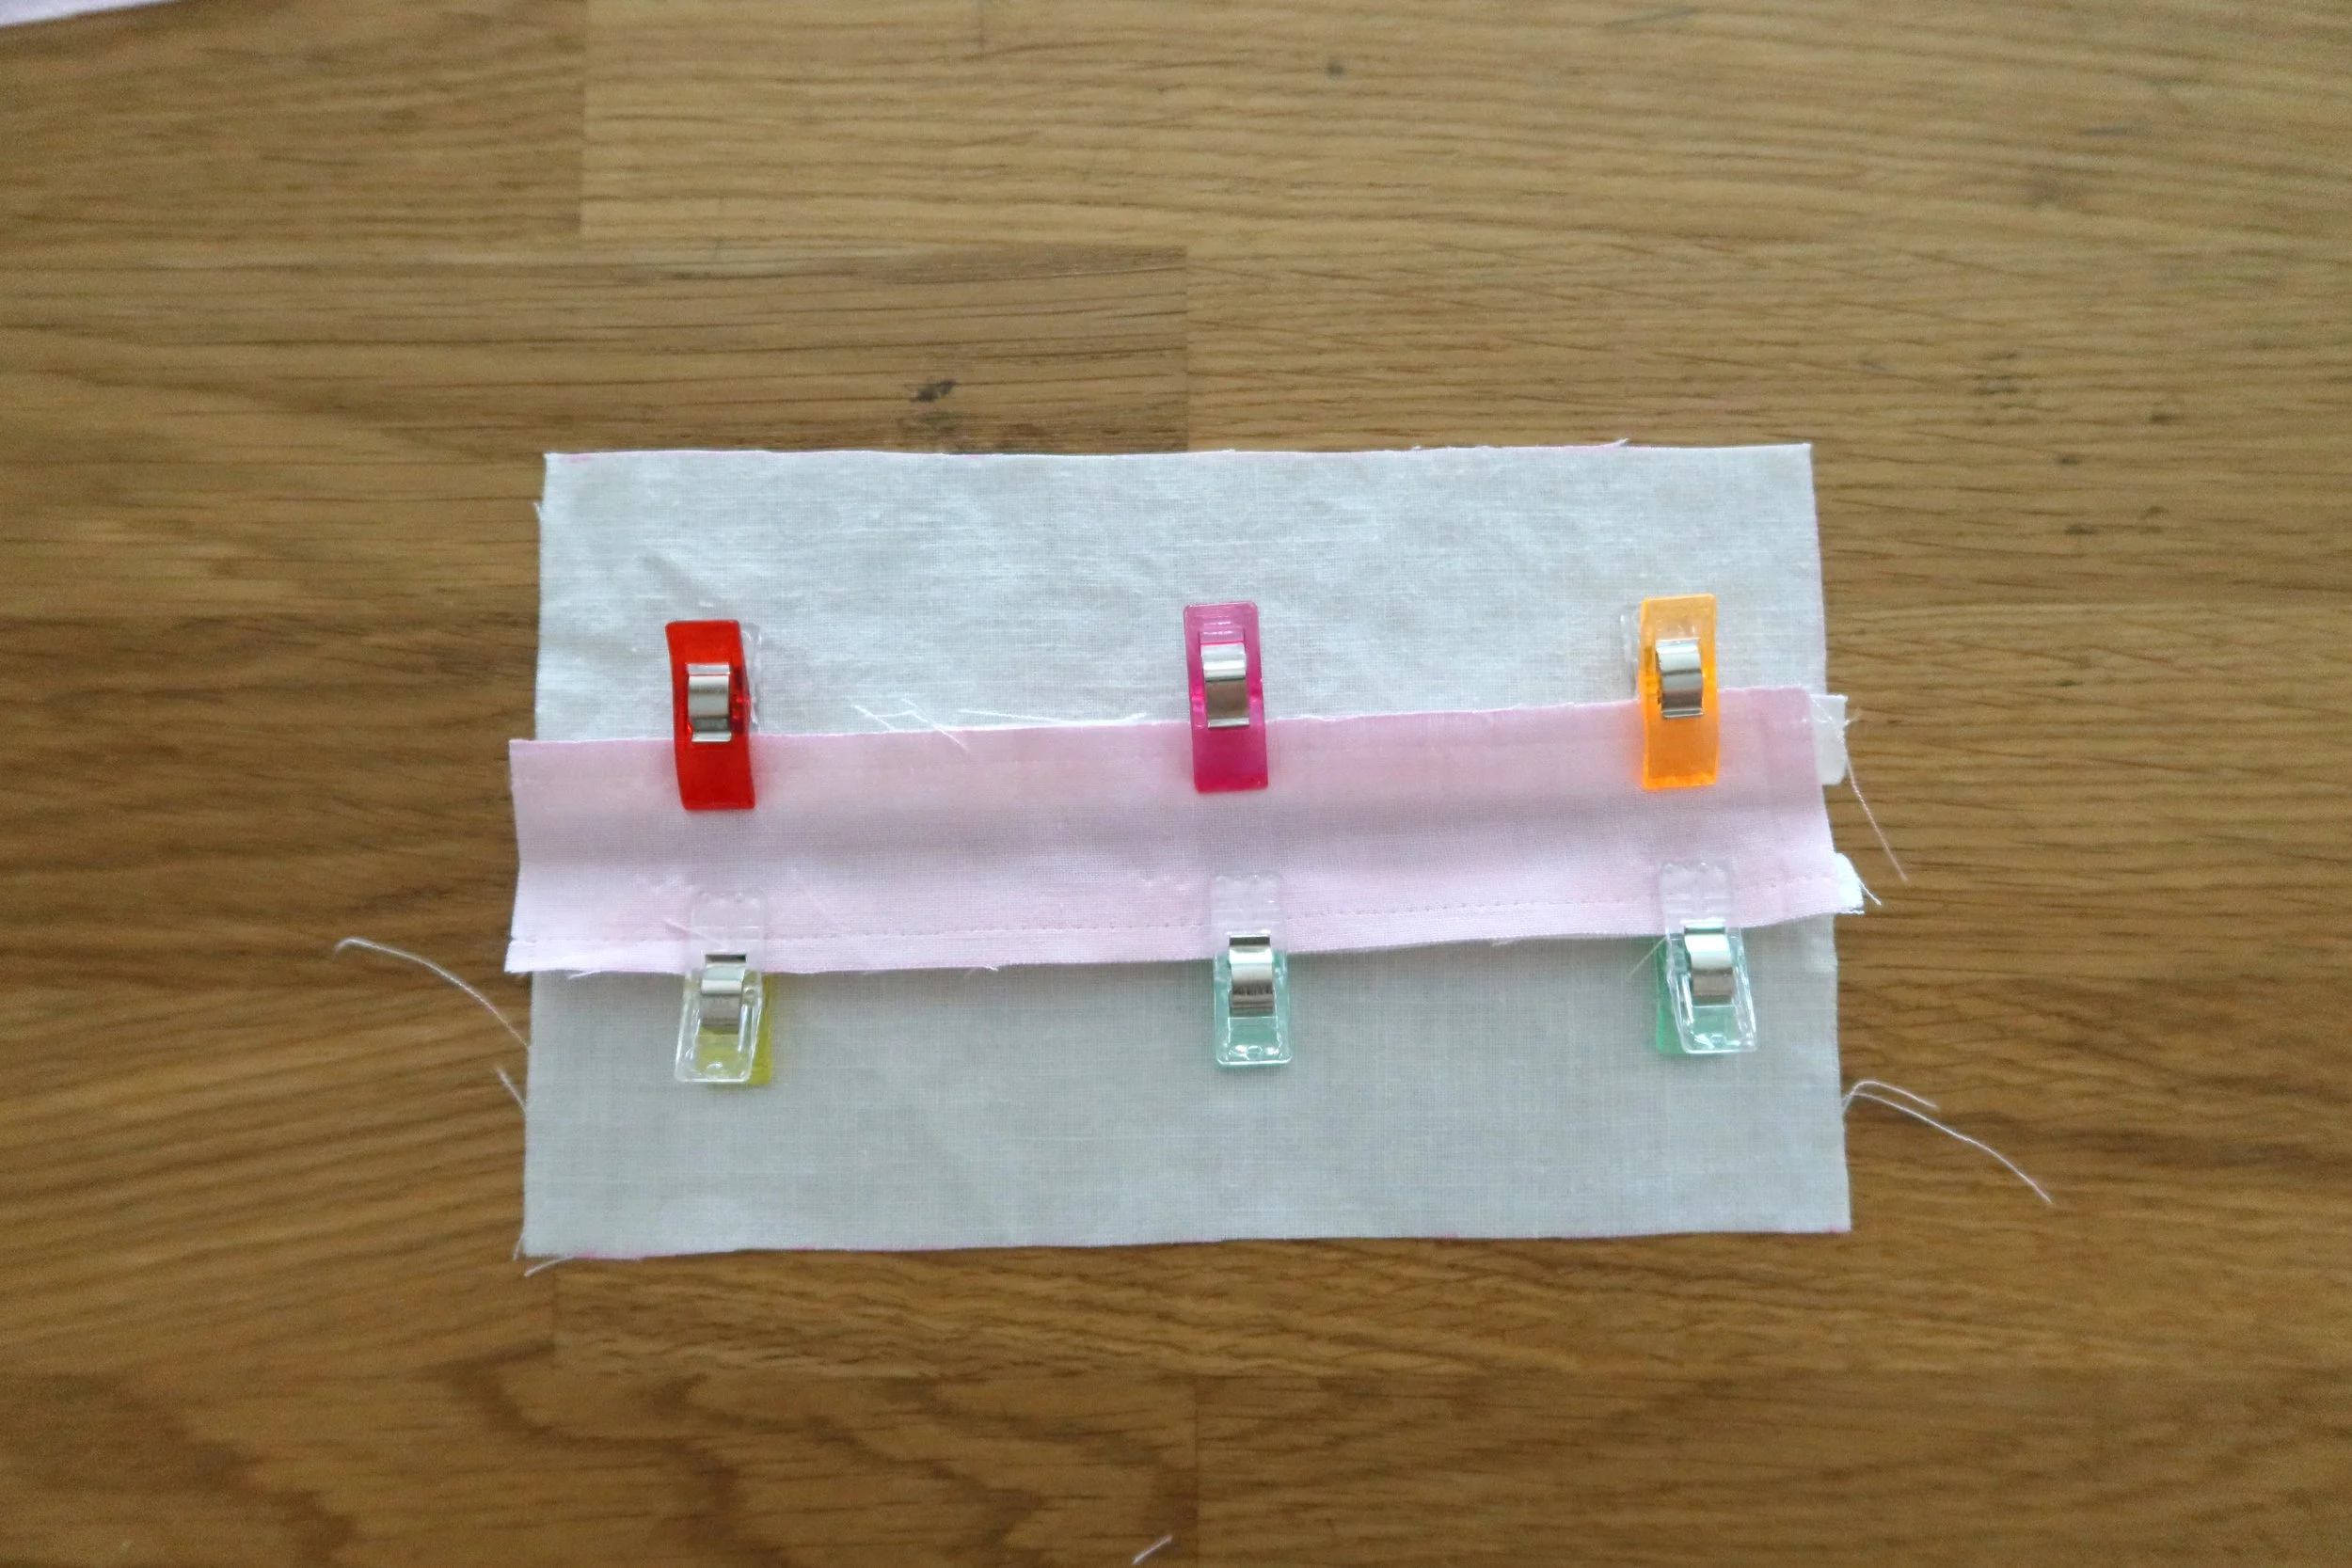
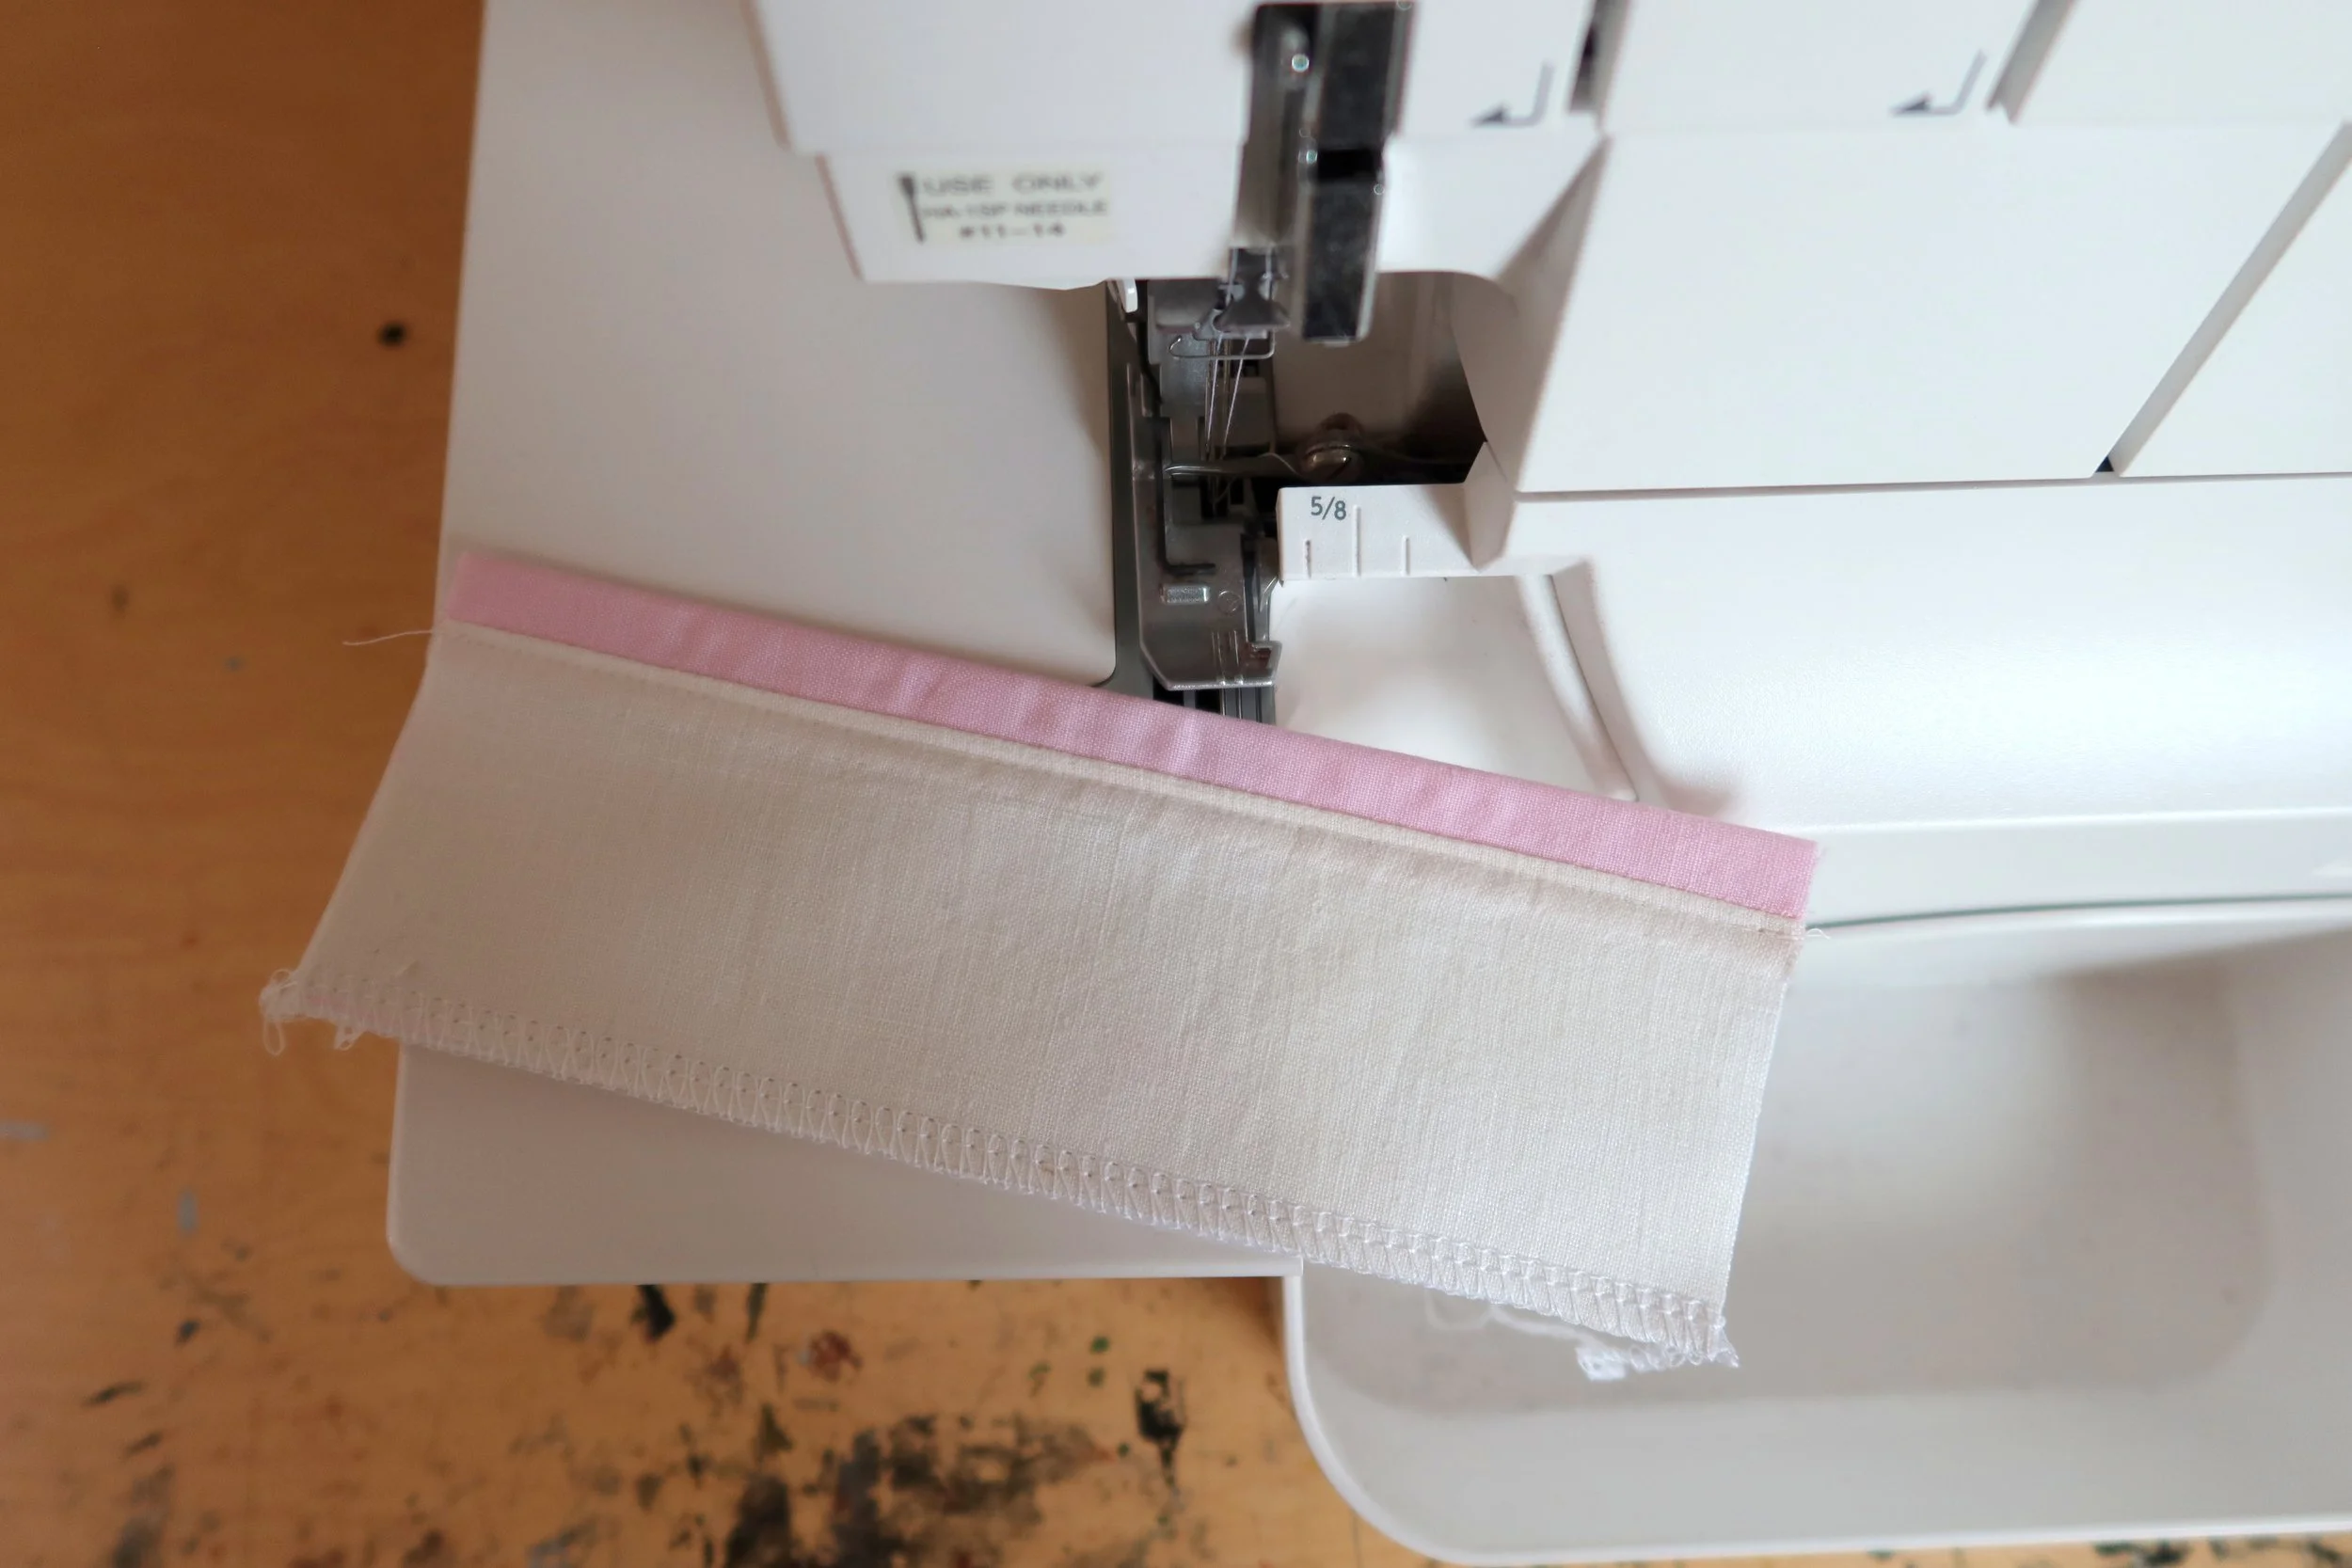
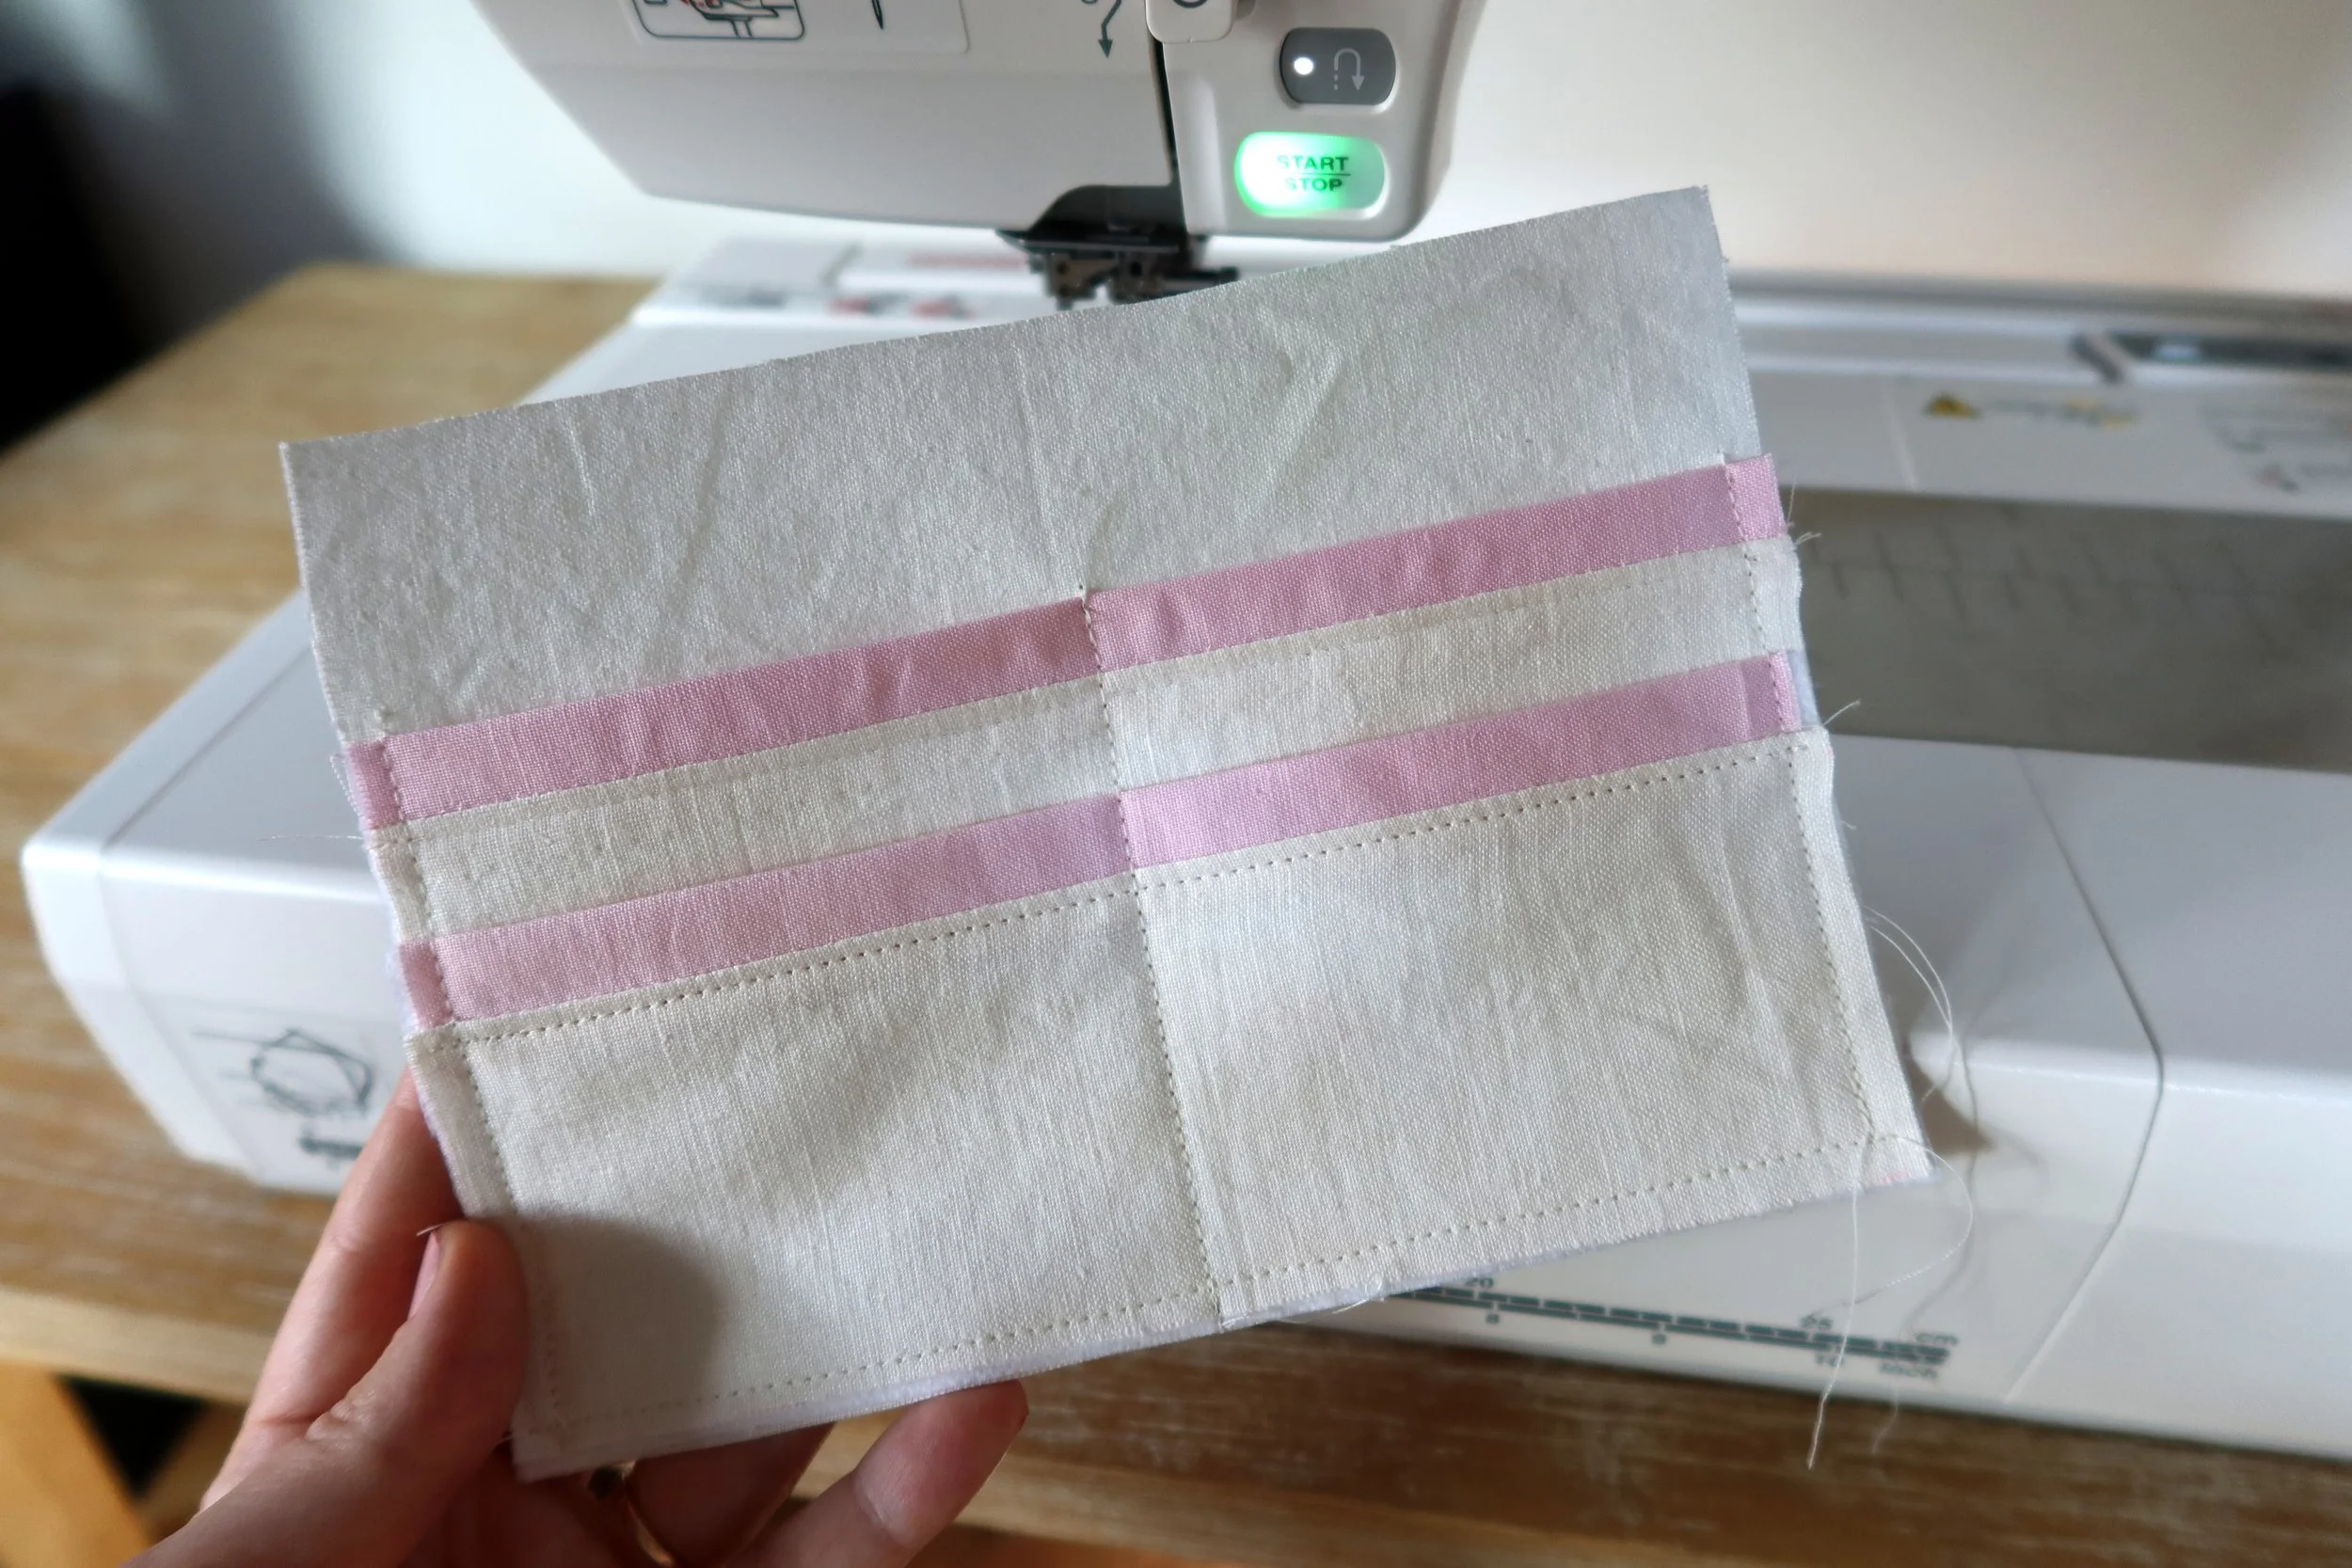
For pockets with decorative edge, stitch two pocket pieces (7.25” x 2.5”) to the coordinating fabric (7.25” x 1 3/8”), with right sides together, and a ¼” seam allowance. Repeat with the other pocket pieces.
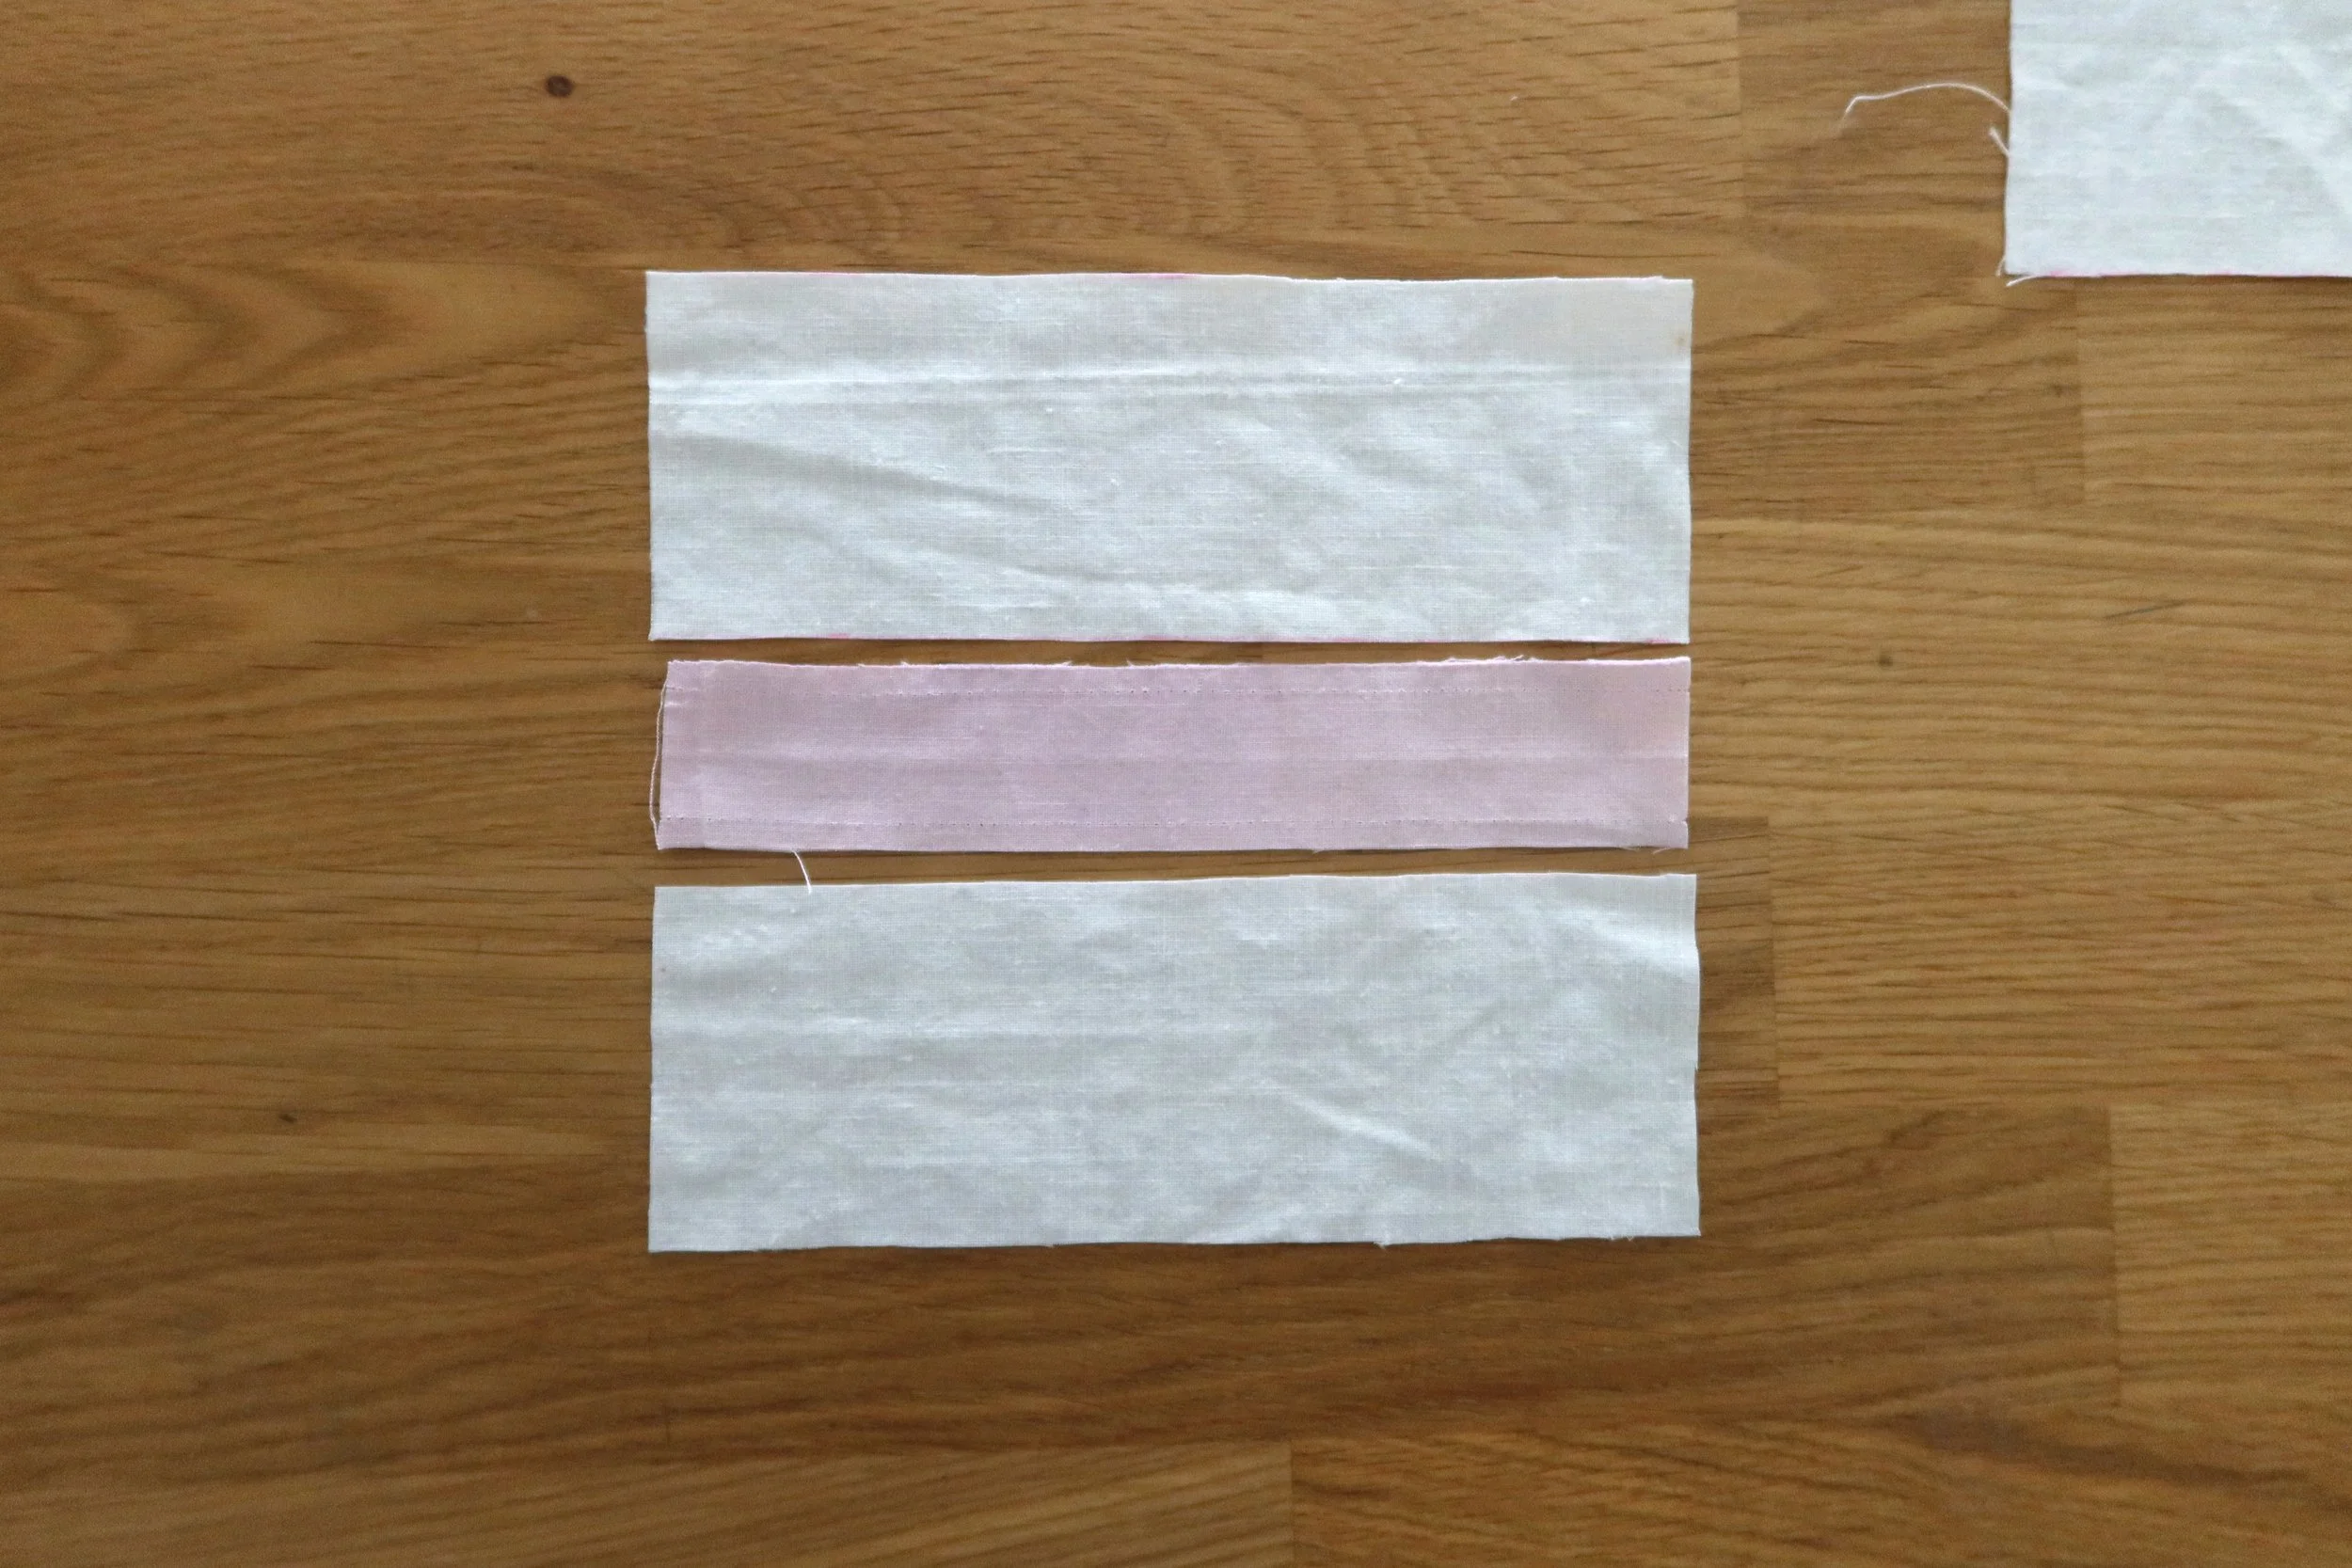
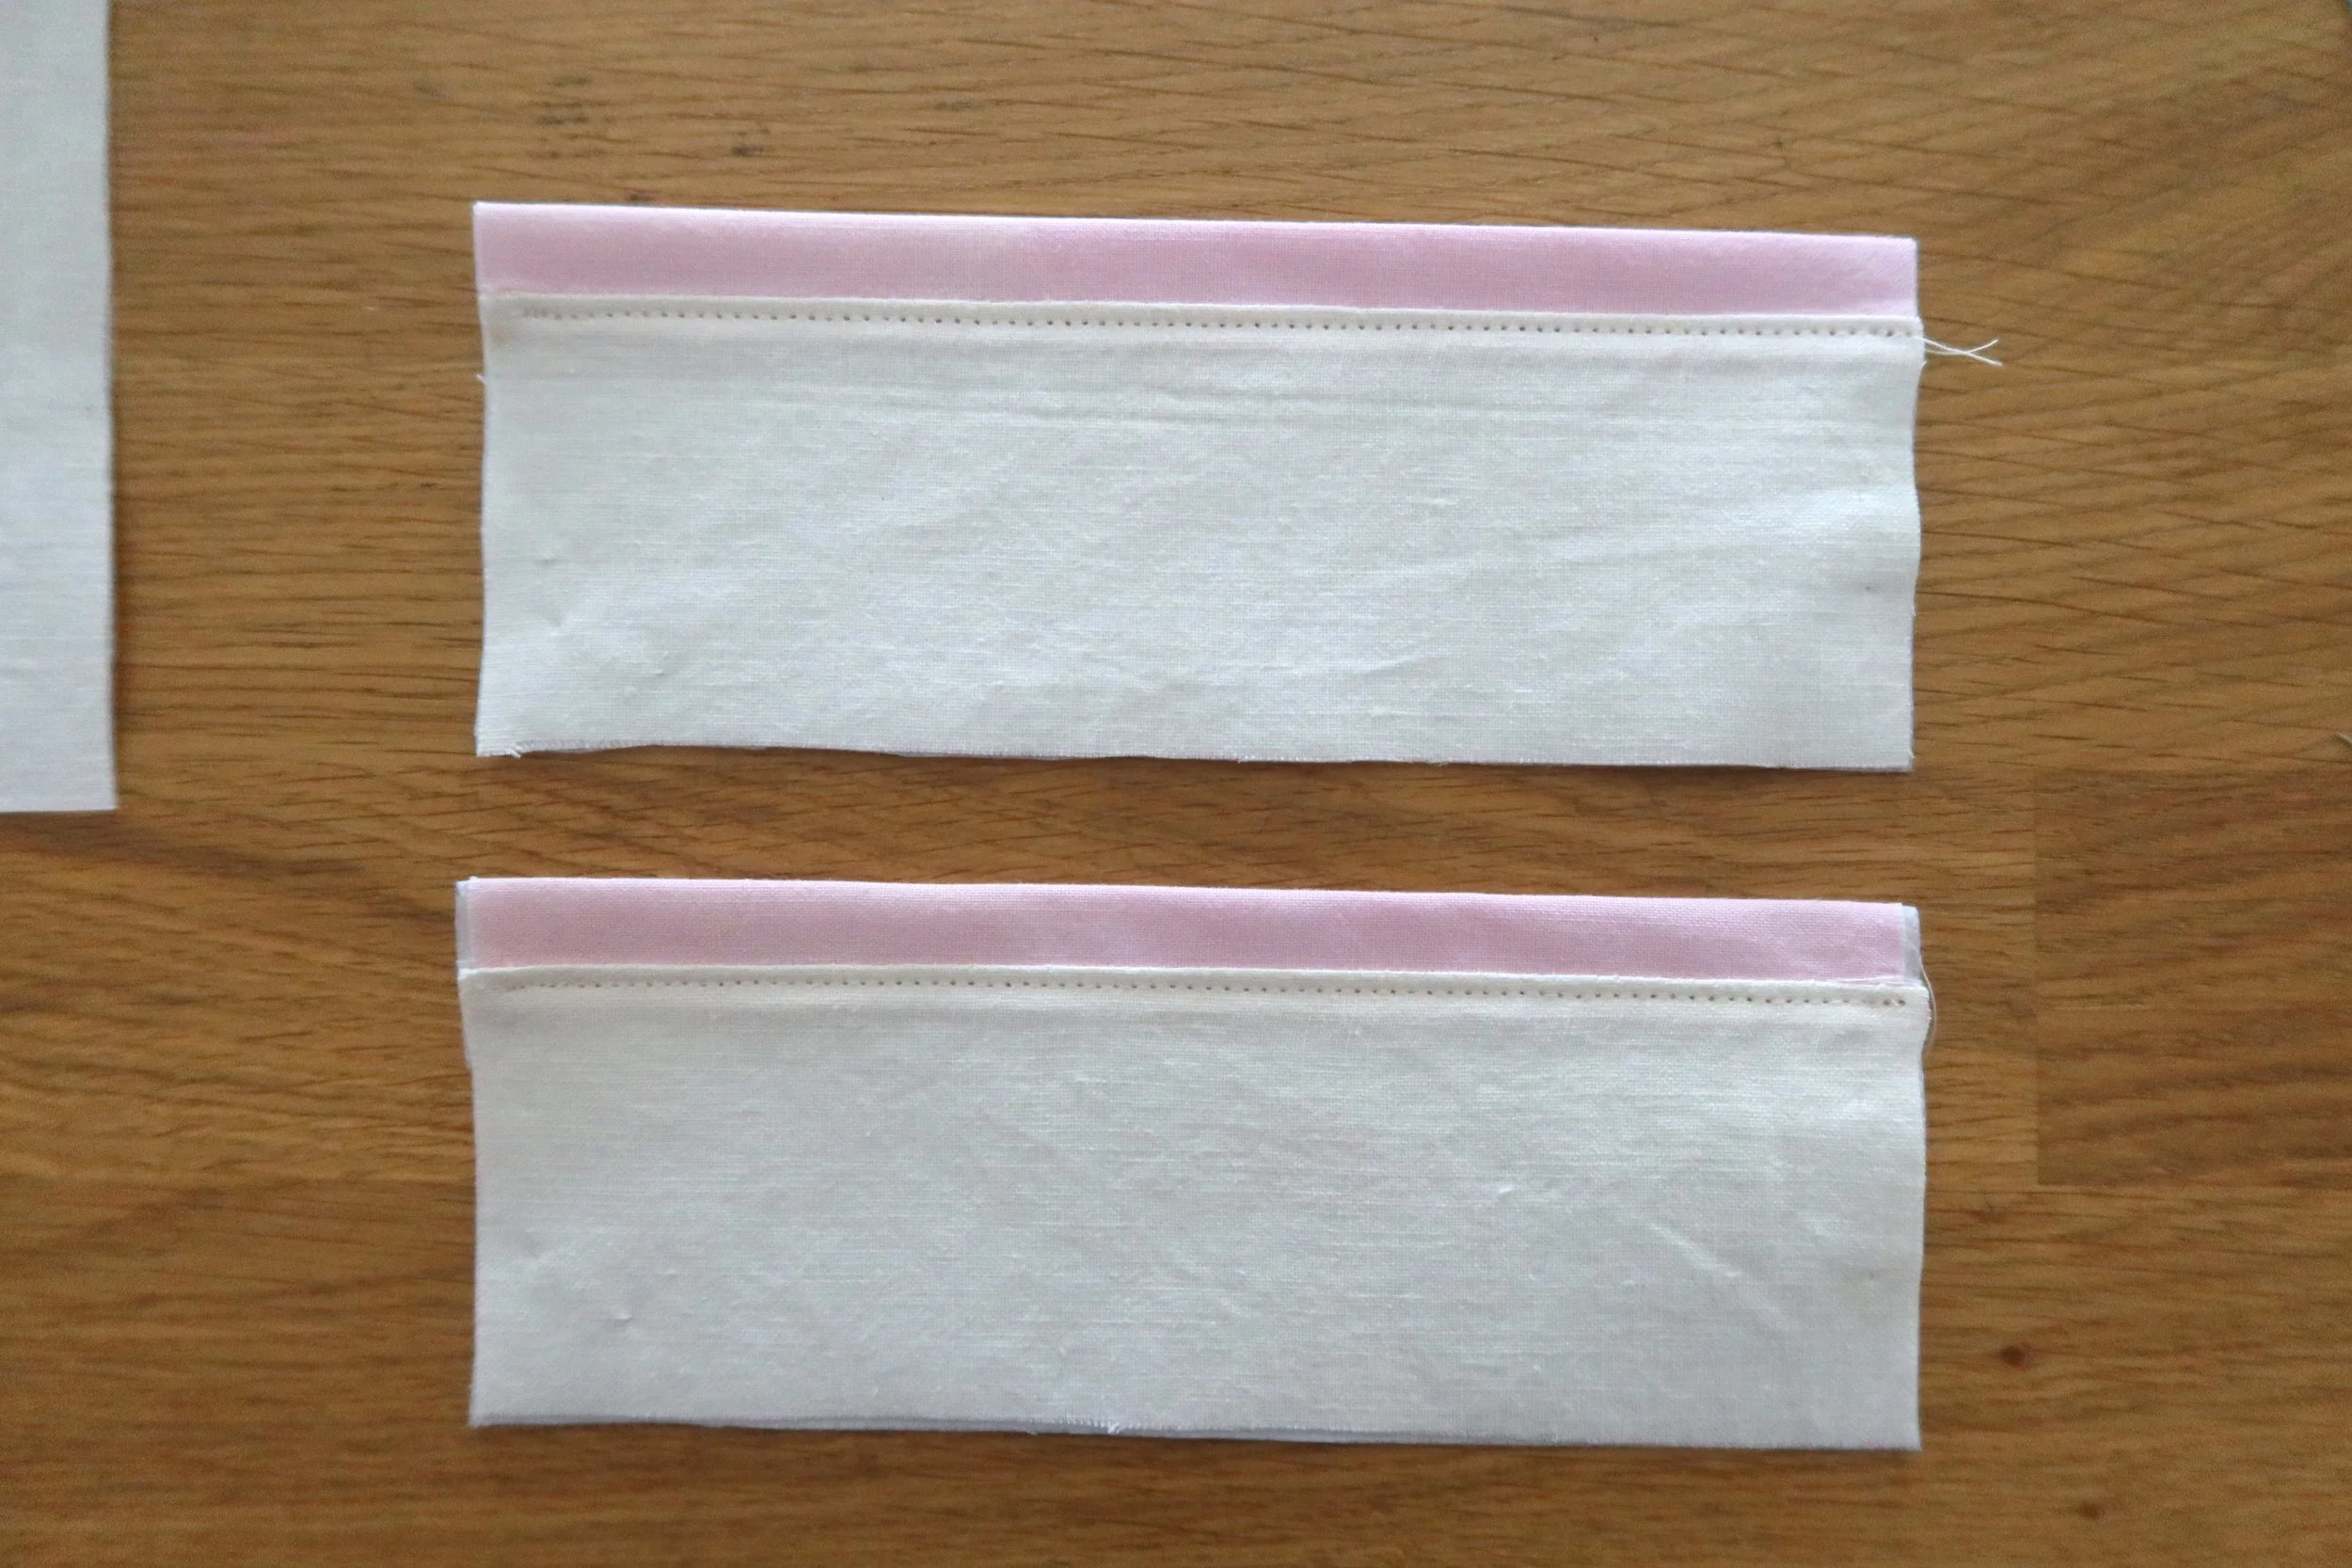
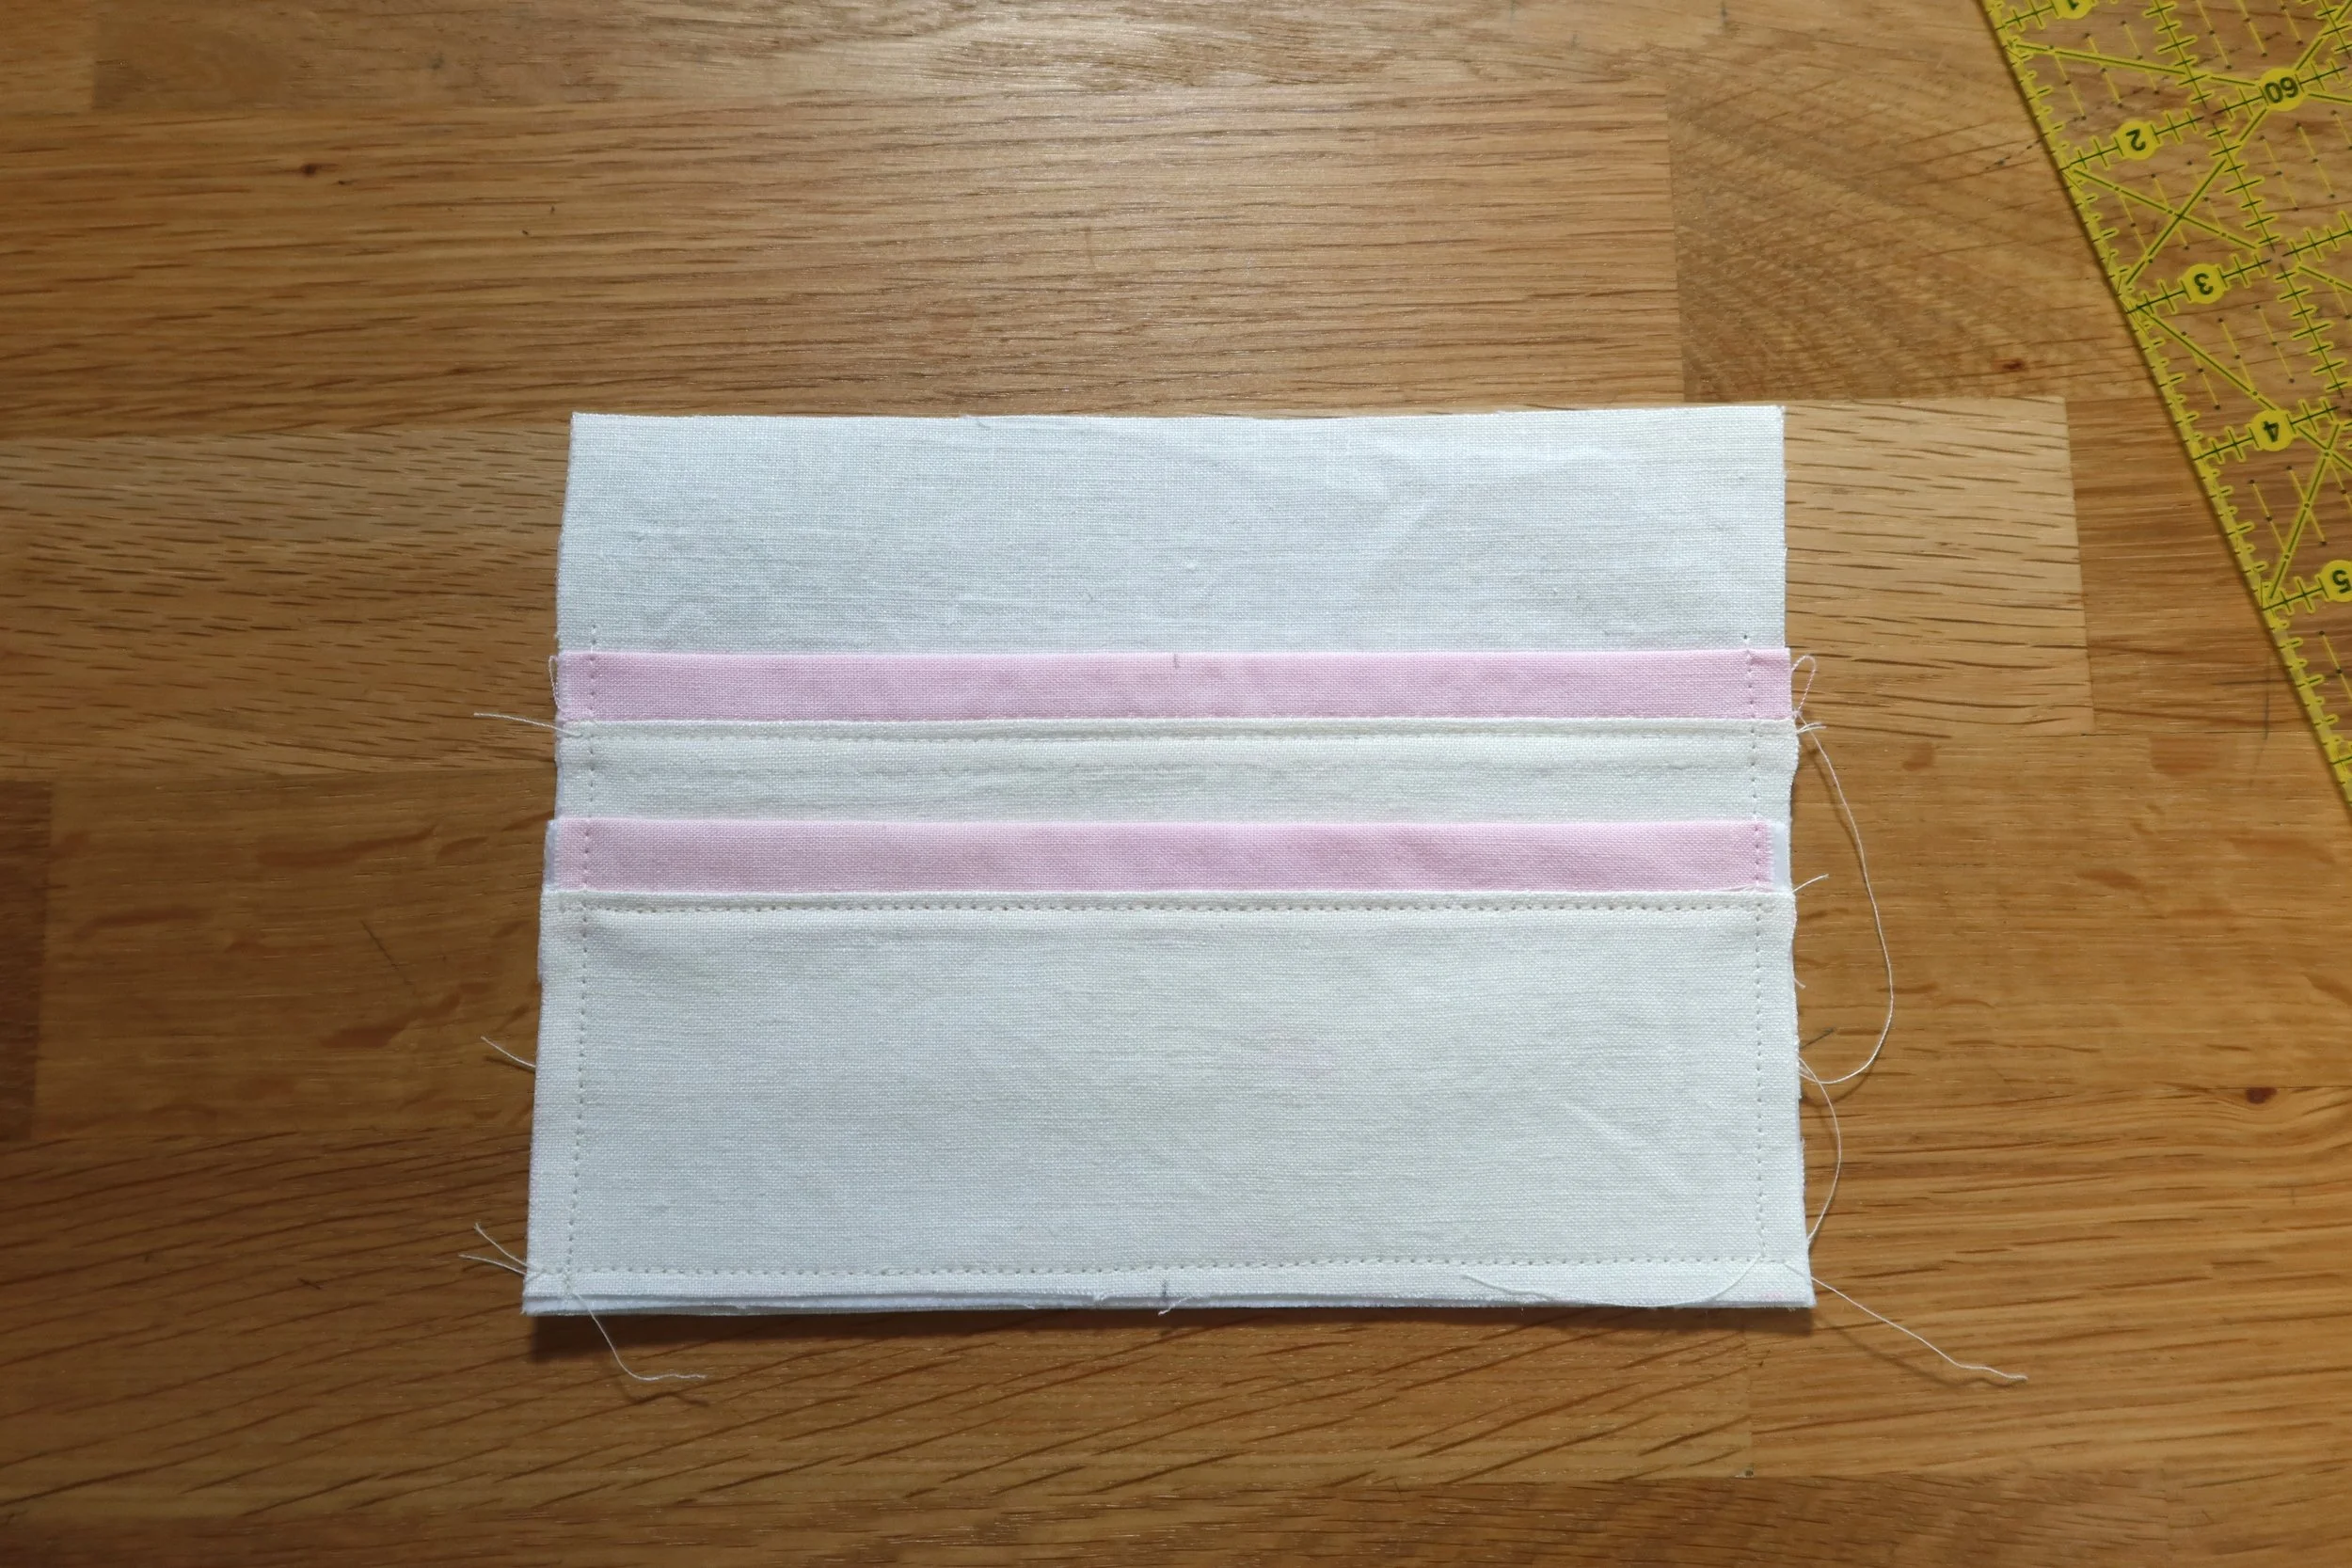
Iron seam allowances towards pockets. At this point, you can add lightweight interfacing to your pieces. If you are working with a lightweight cotton, I recommend interfacing all pieces. If you fabric is a bit thicker, you can choose to interface just the full body pieces and not the pockets. My fabric is very lightweight so I am adding lightweight interfacing to all pieces of my wallet.
Fold pockets in half and topstitch under the decorative edge.
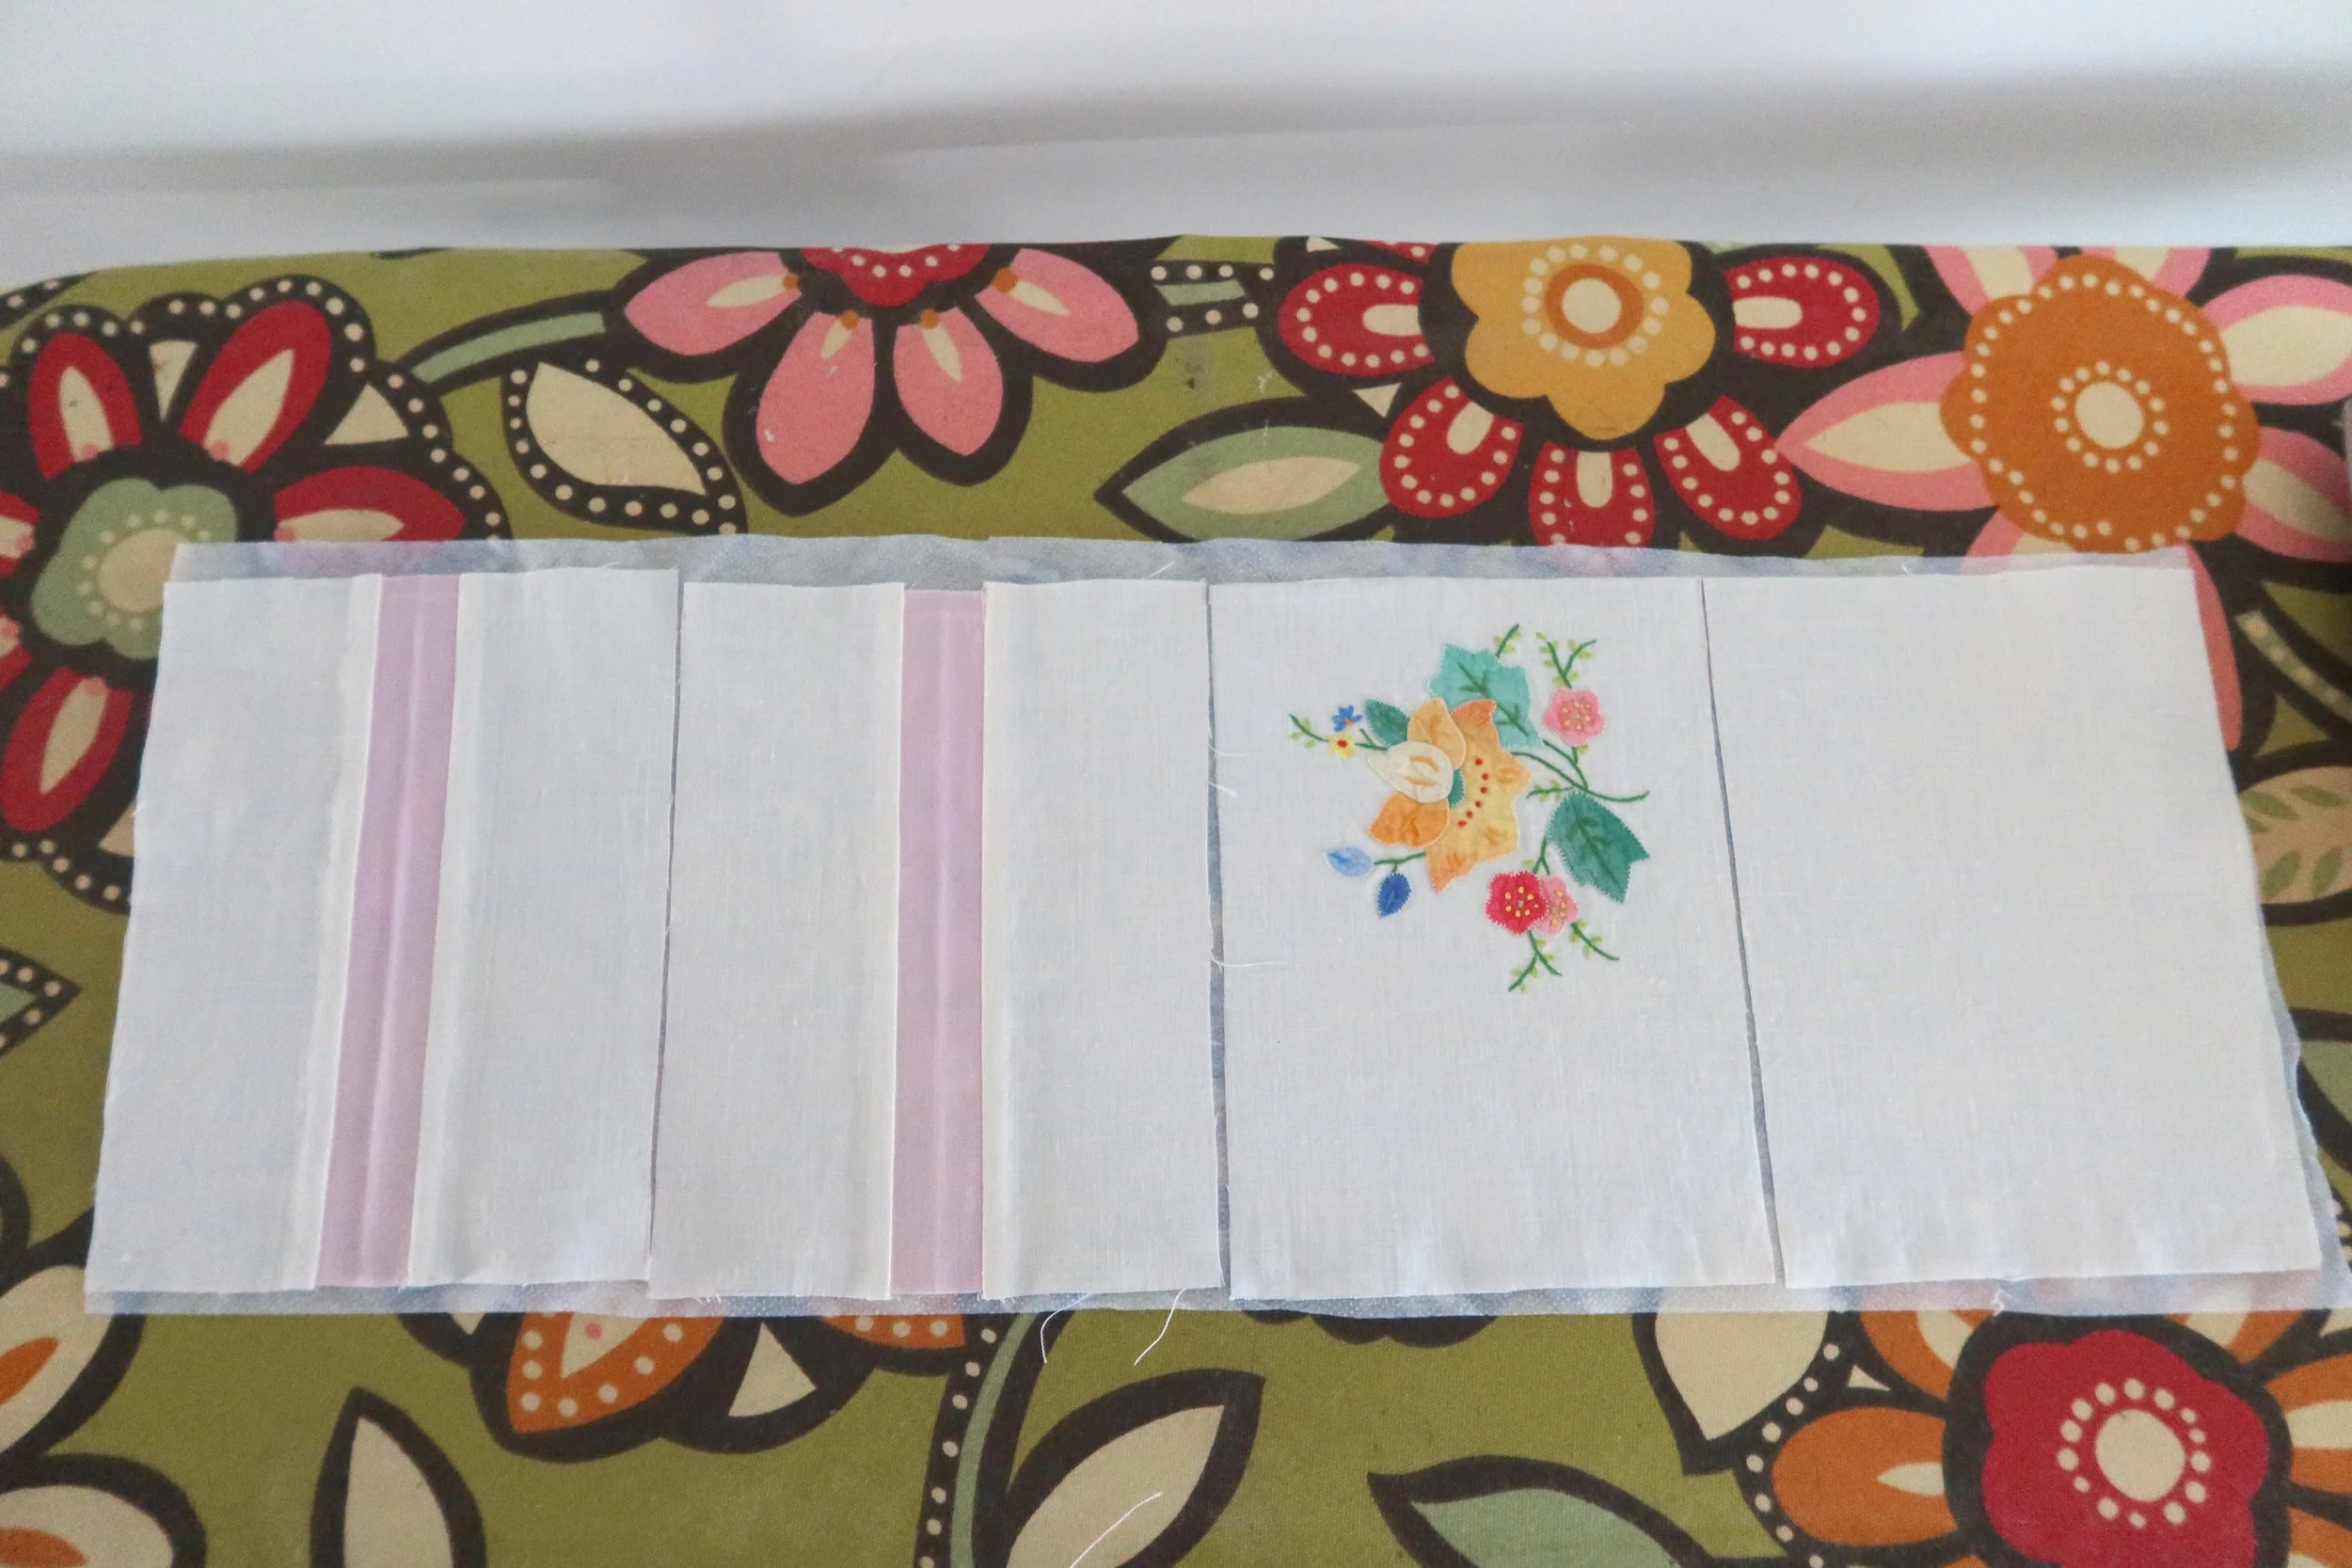
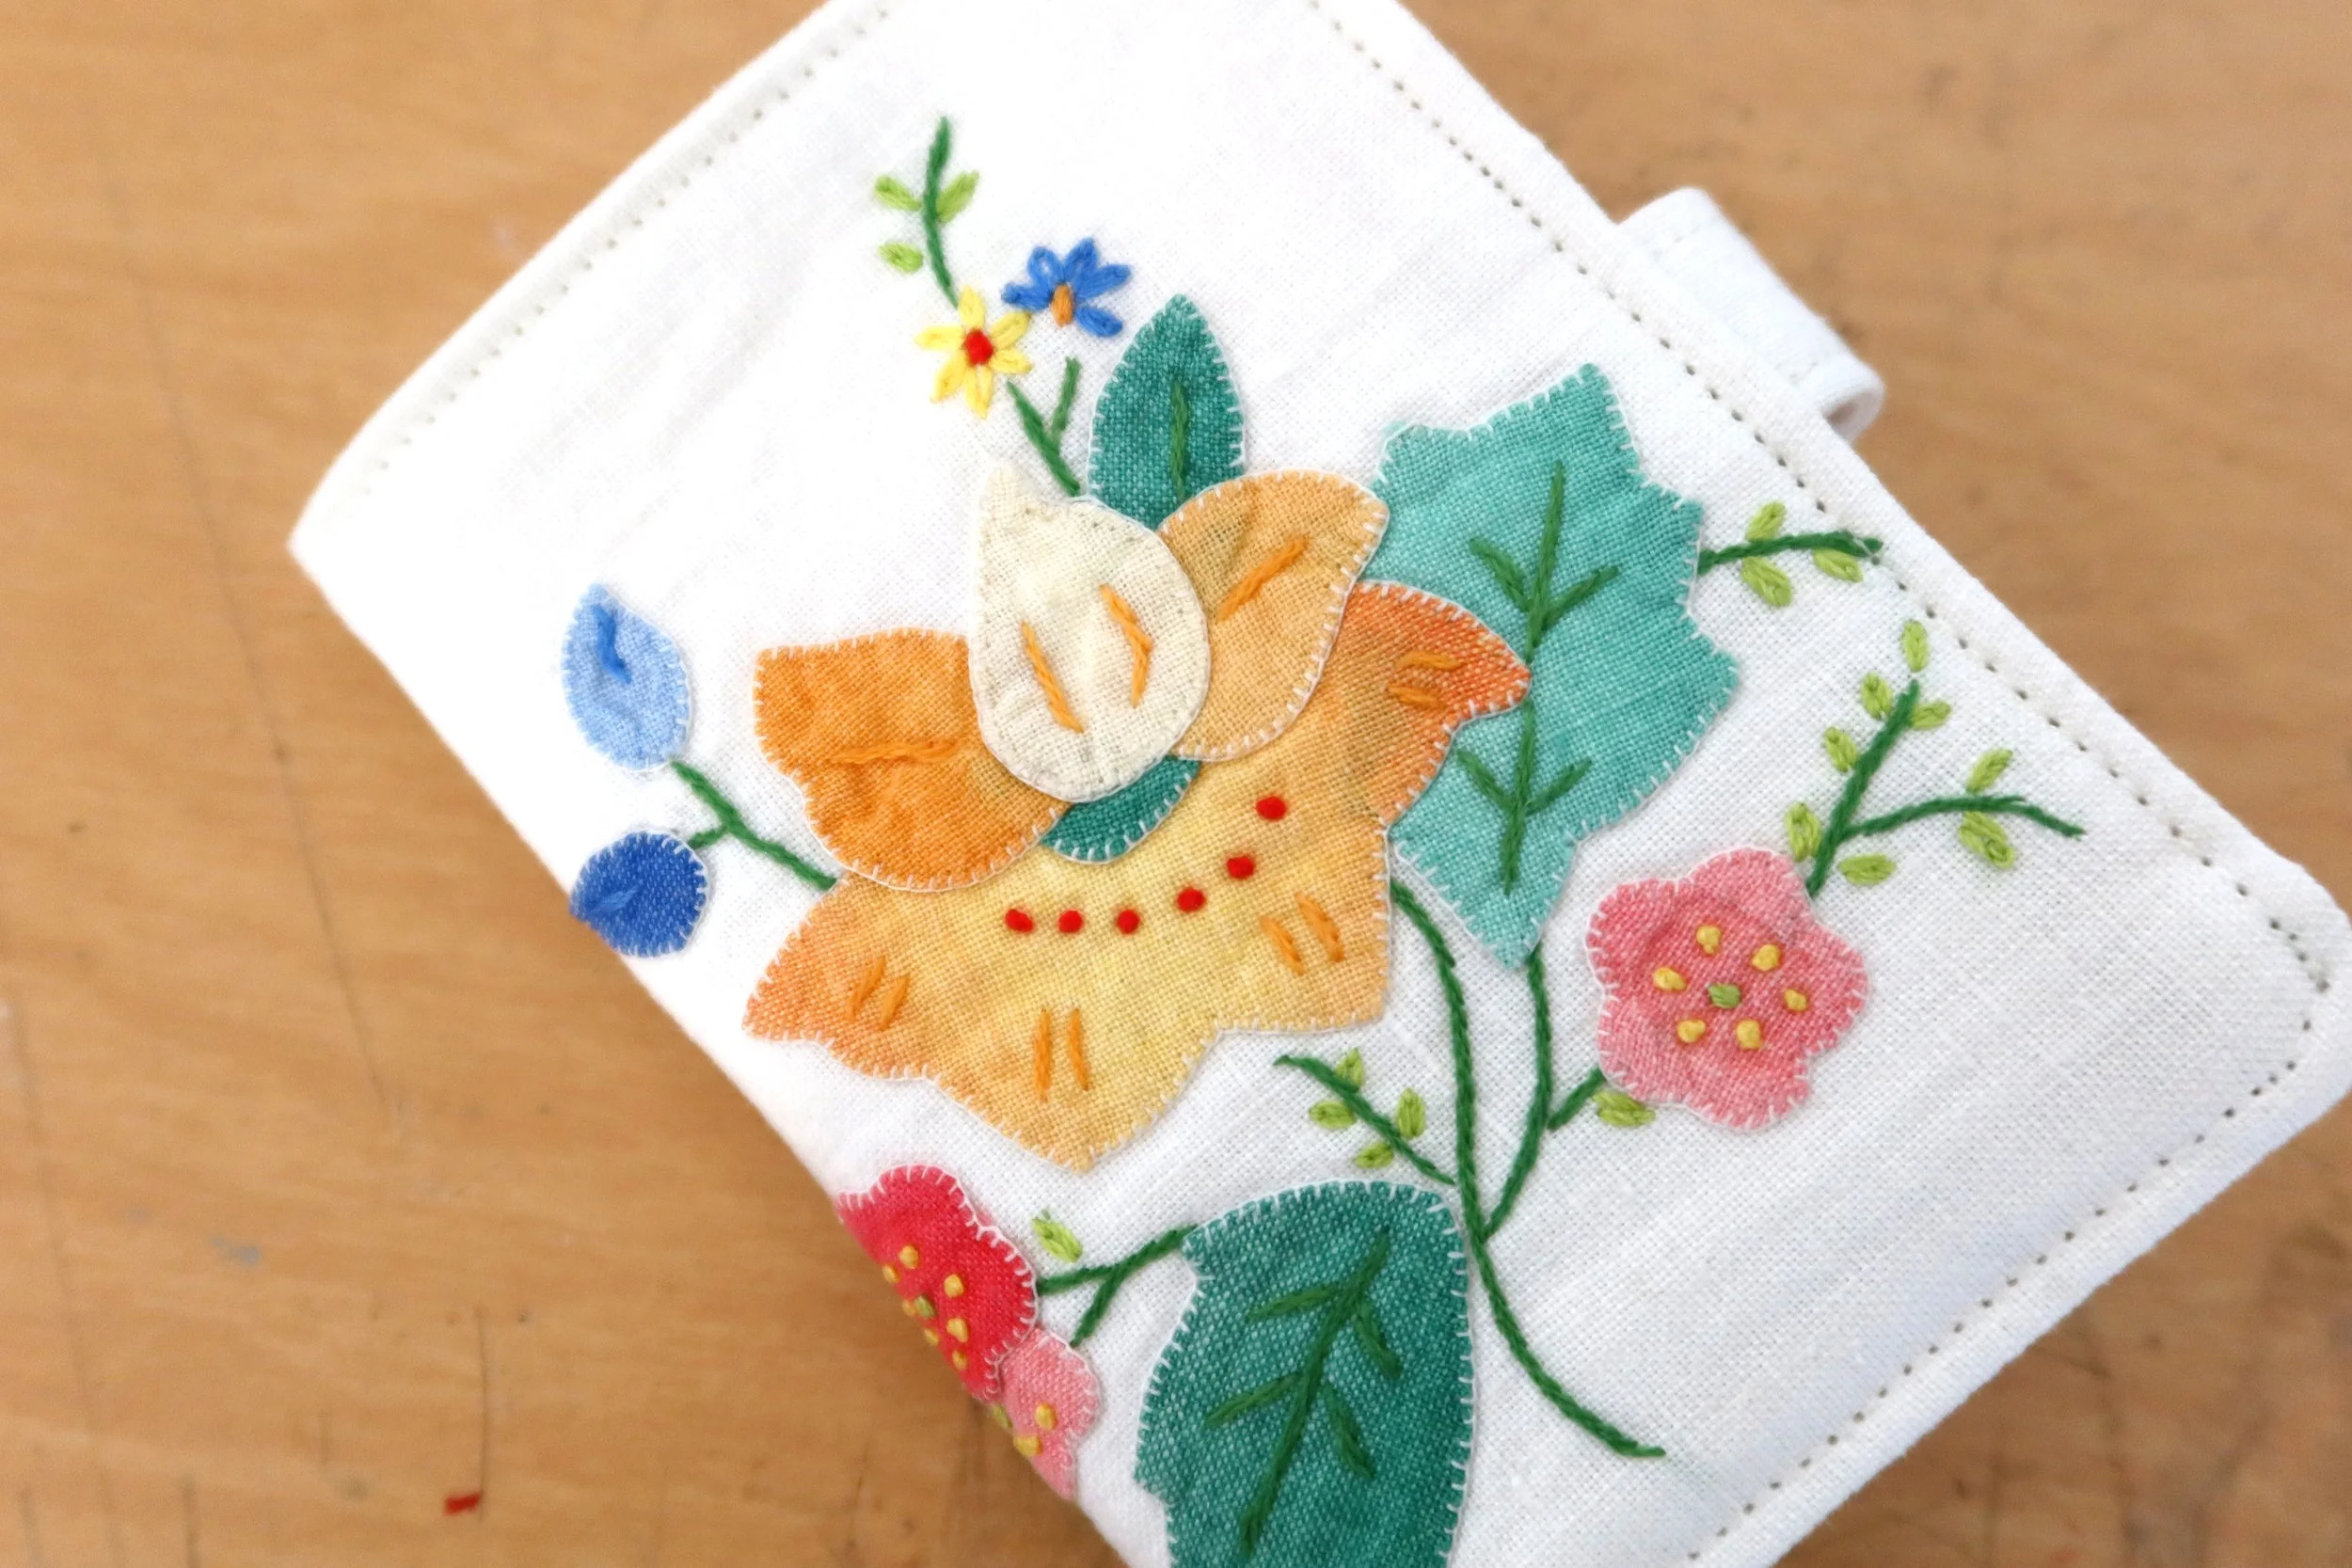
Another design detail you can choose to add at this point is decorative stitching! If you have small stitches on your machine or would like to hand embroider a design, this is the time to do it! I did this the first time I tested this project and love the look! Here’s the finished wallet with extra stitching!
Continuing on, on one pocket piece, serge or zig zag bottom edge of pocket. This will become the “top pocket” on the wallet.
On the interior body piece, measure 1.5” down from the top. Line top of serged pocket on these marks, and stitch with a 3/8” seam allowance. The second pocket will be stitched on the bottom of the body piece, just under 3/8” seam allowance. Baste the pocket sides in place, stitching from the bottom towards the top of your wallet, again just under the 3/8” seam allowance. We will also stitch a center line though these pieces to create the pockets.
To make the center stitching, lightly mark top and bottom of pockets with fabric marking tool. Backstitch a few times at the top of the pockets to reinforce stitching.
Next, we are making our snap piece.
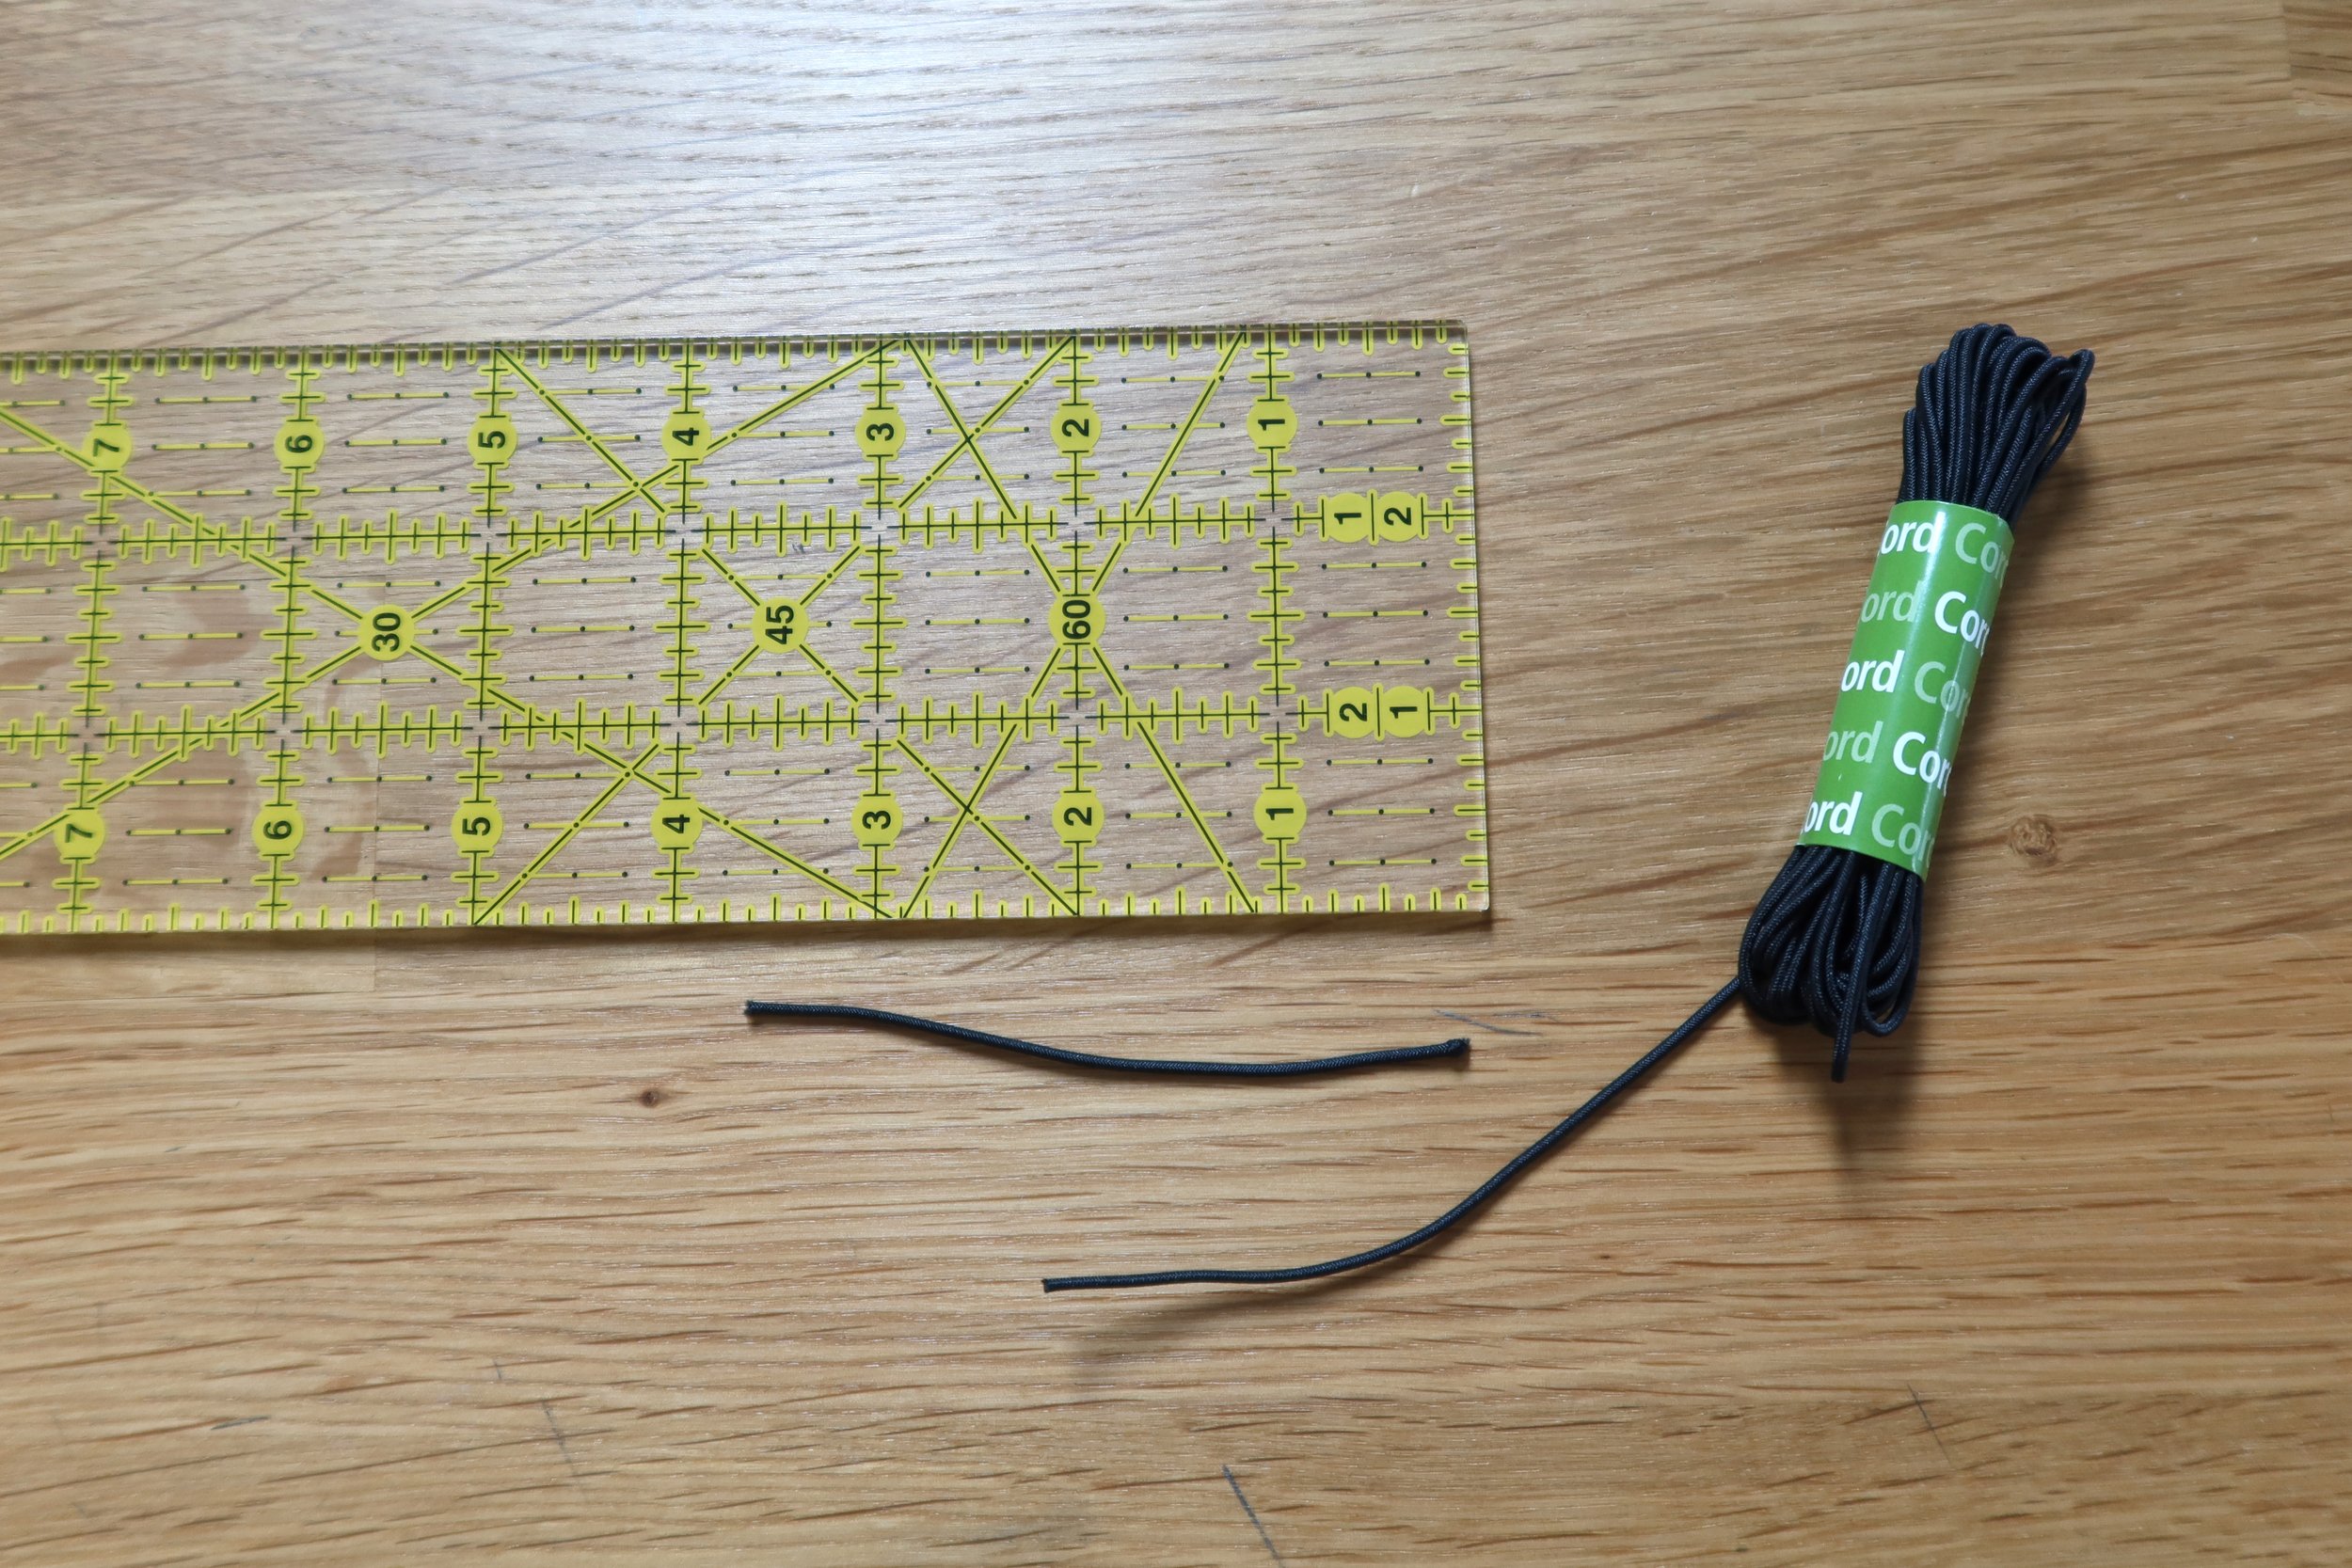
If you would like to use elastic instead of a pearl snap, I recommend a ¼” elastic or elastic cord. Cut a piece 3.5” long. Create a loop. This will be stitched to the wallet exactly where the fabric will be stitched.
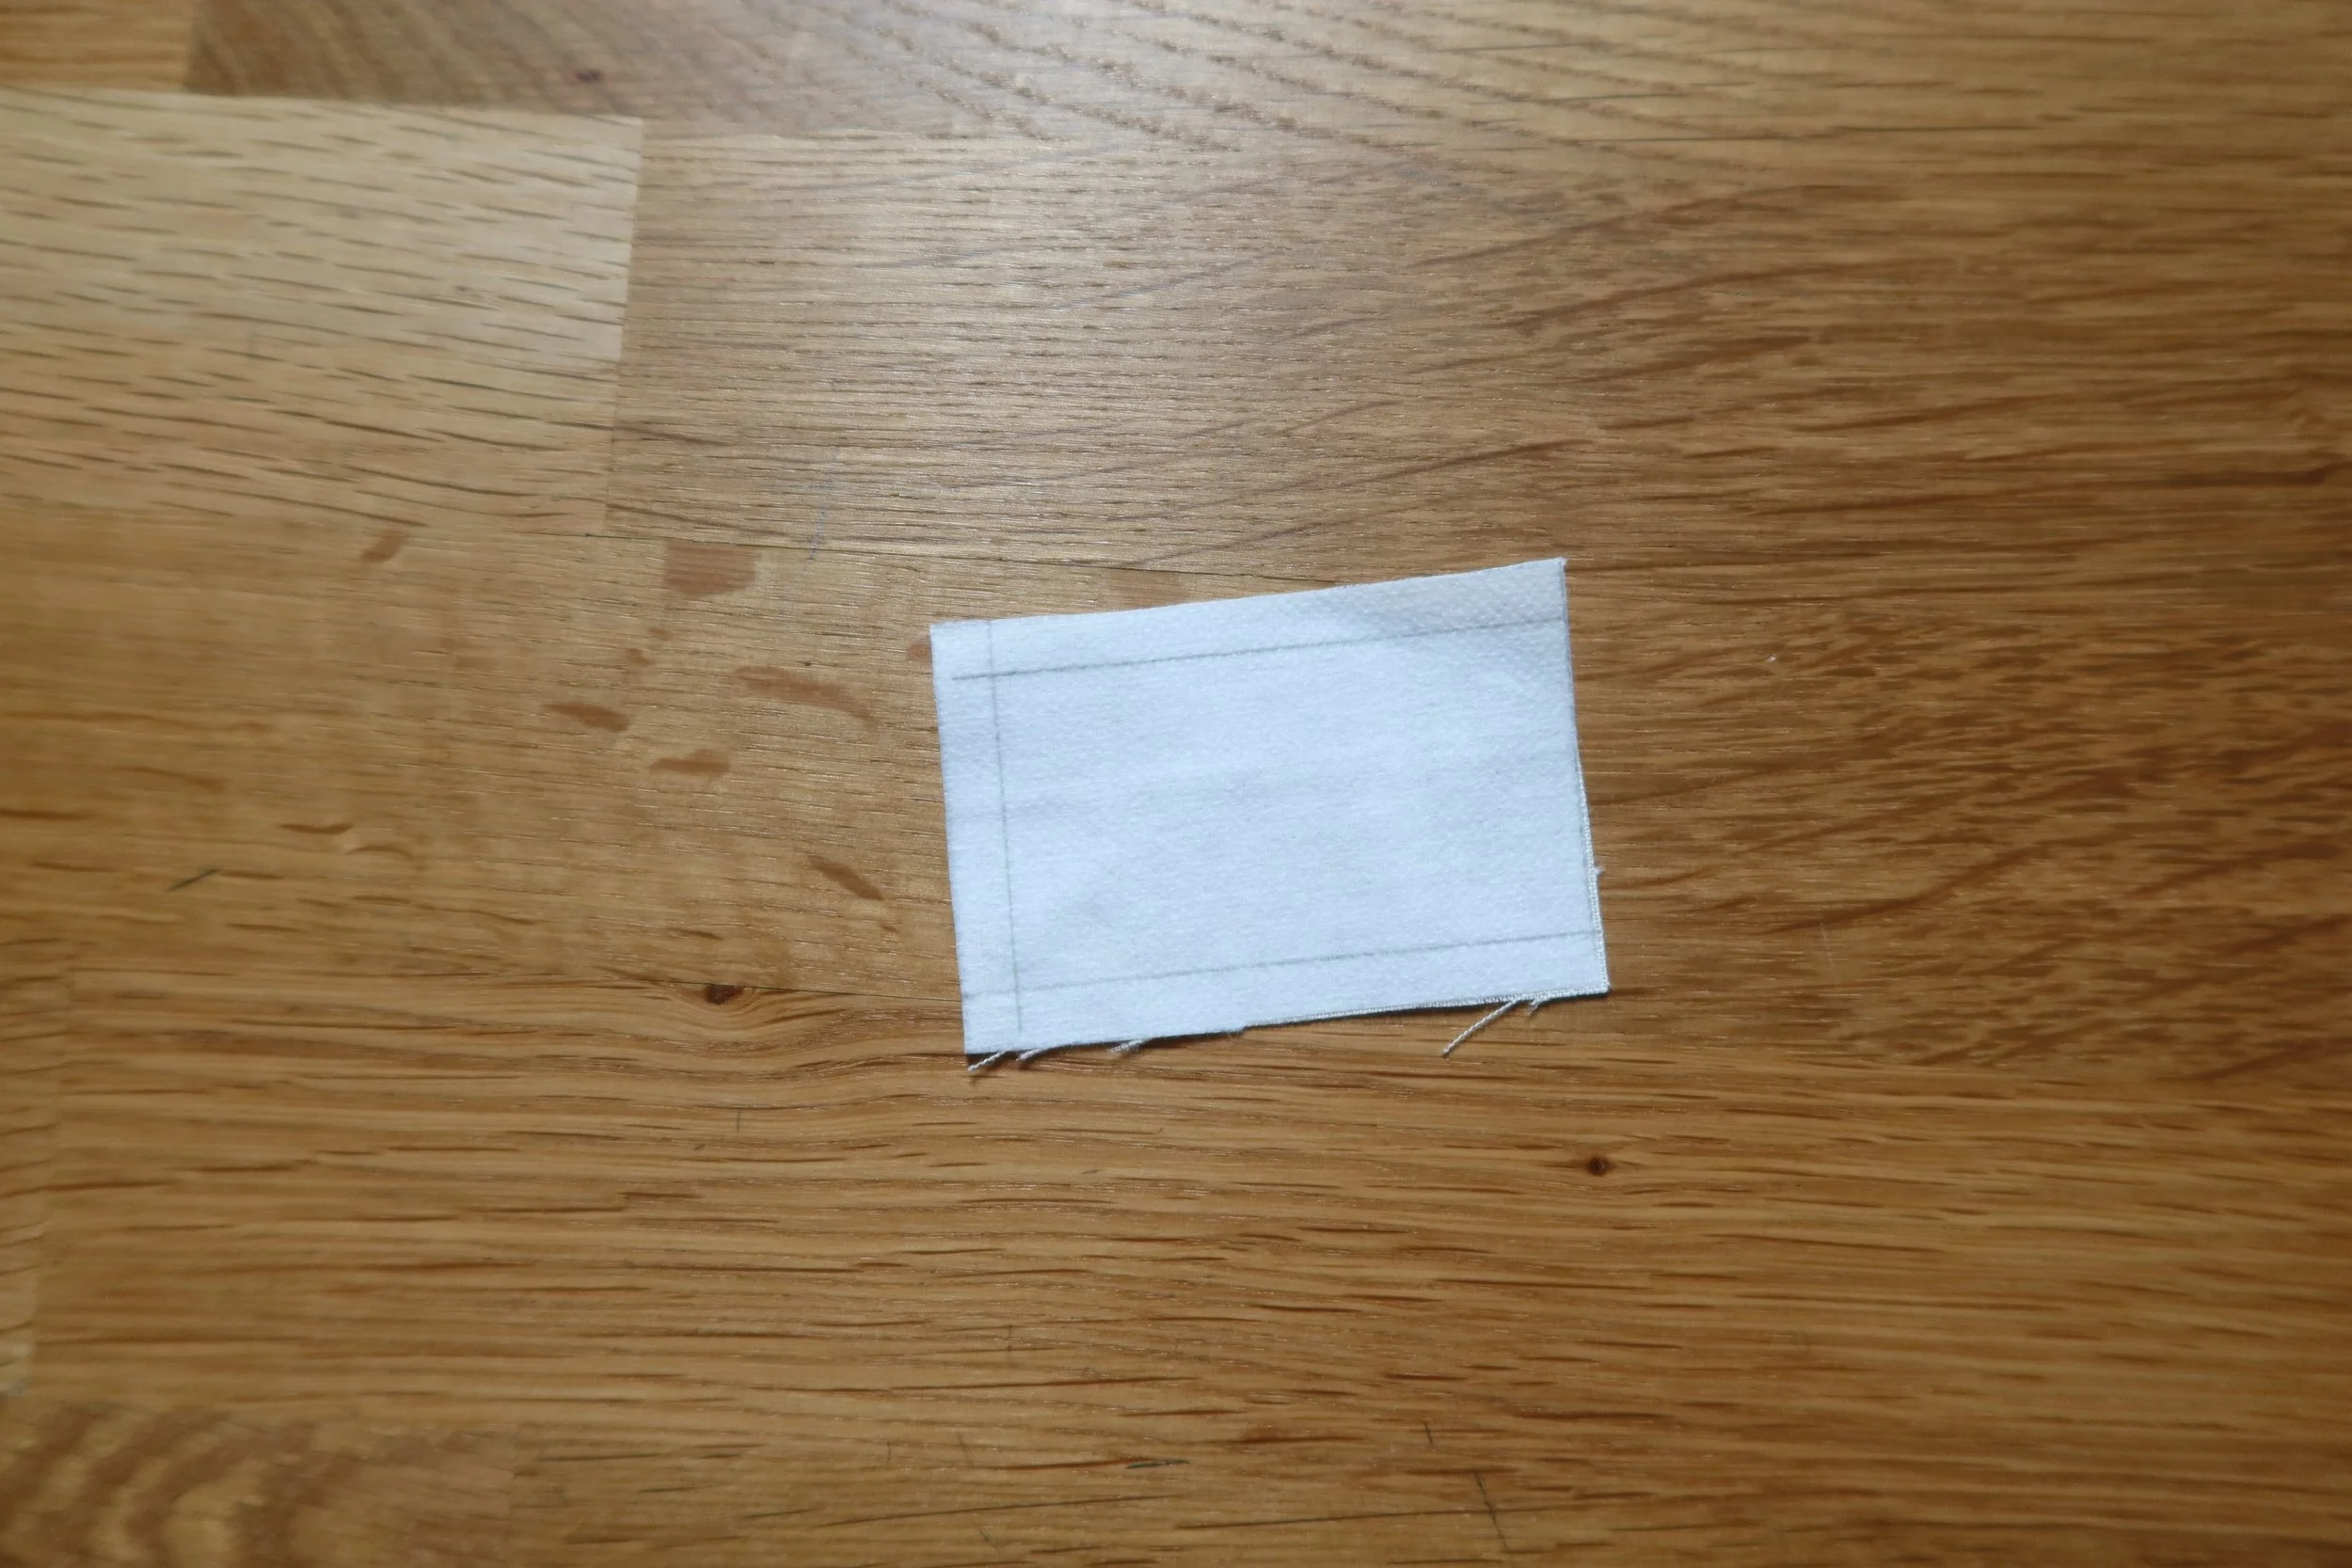
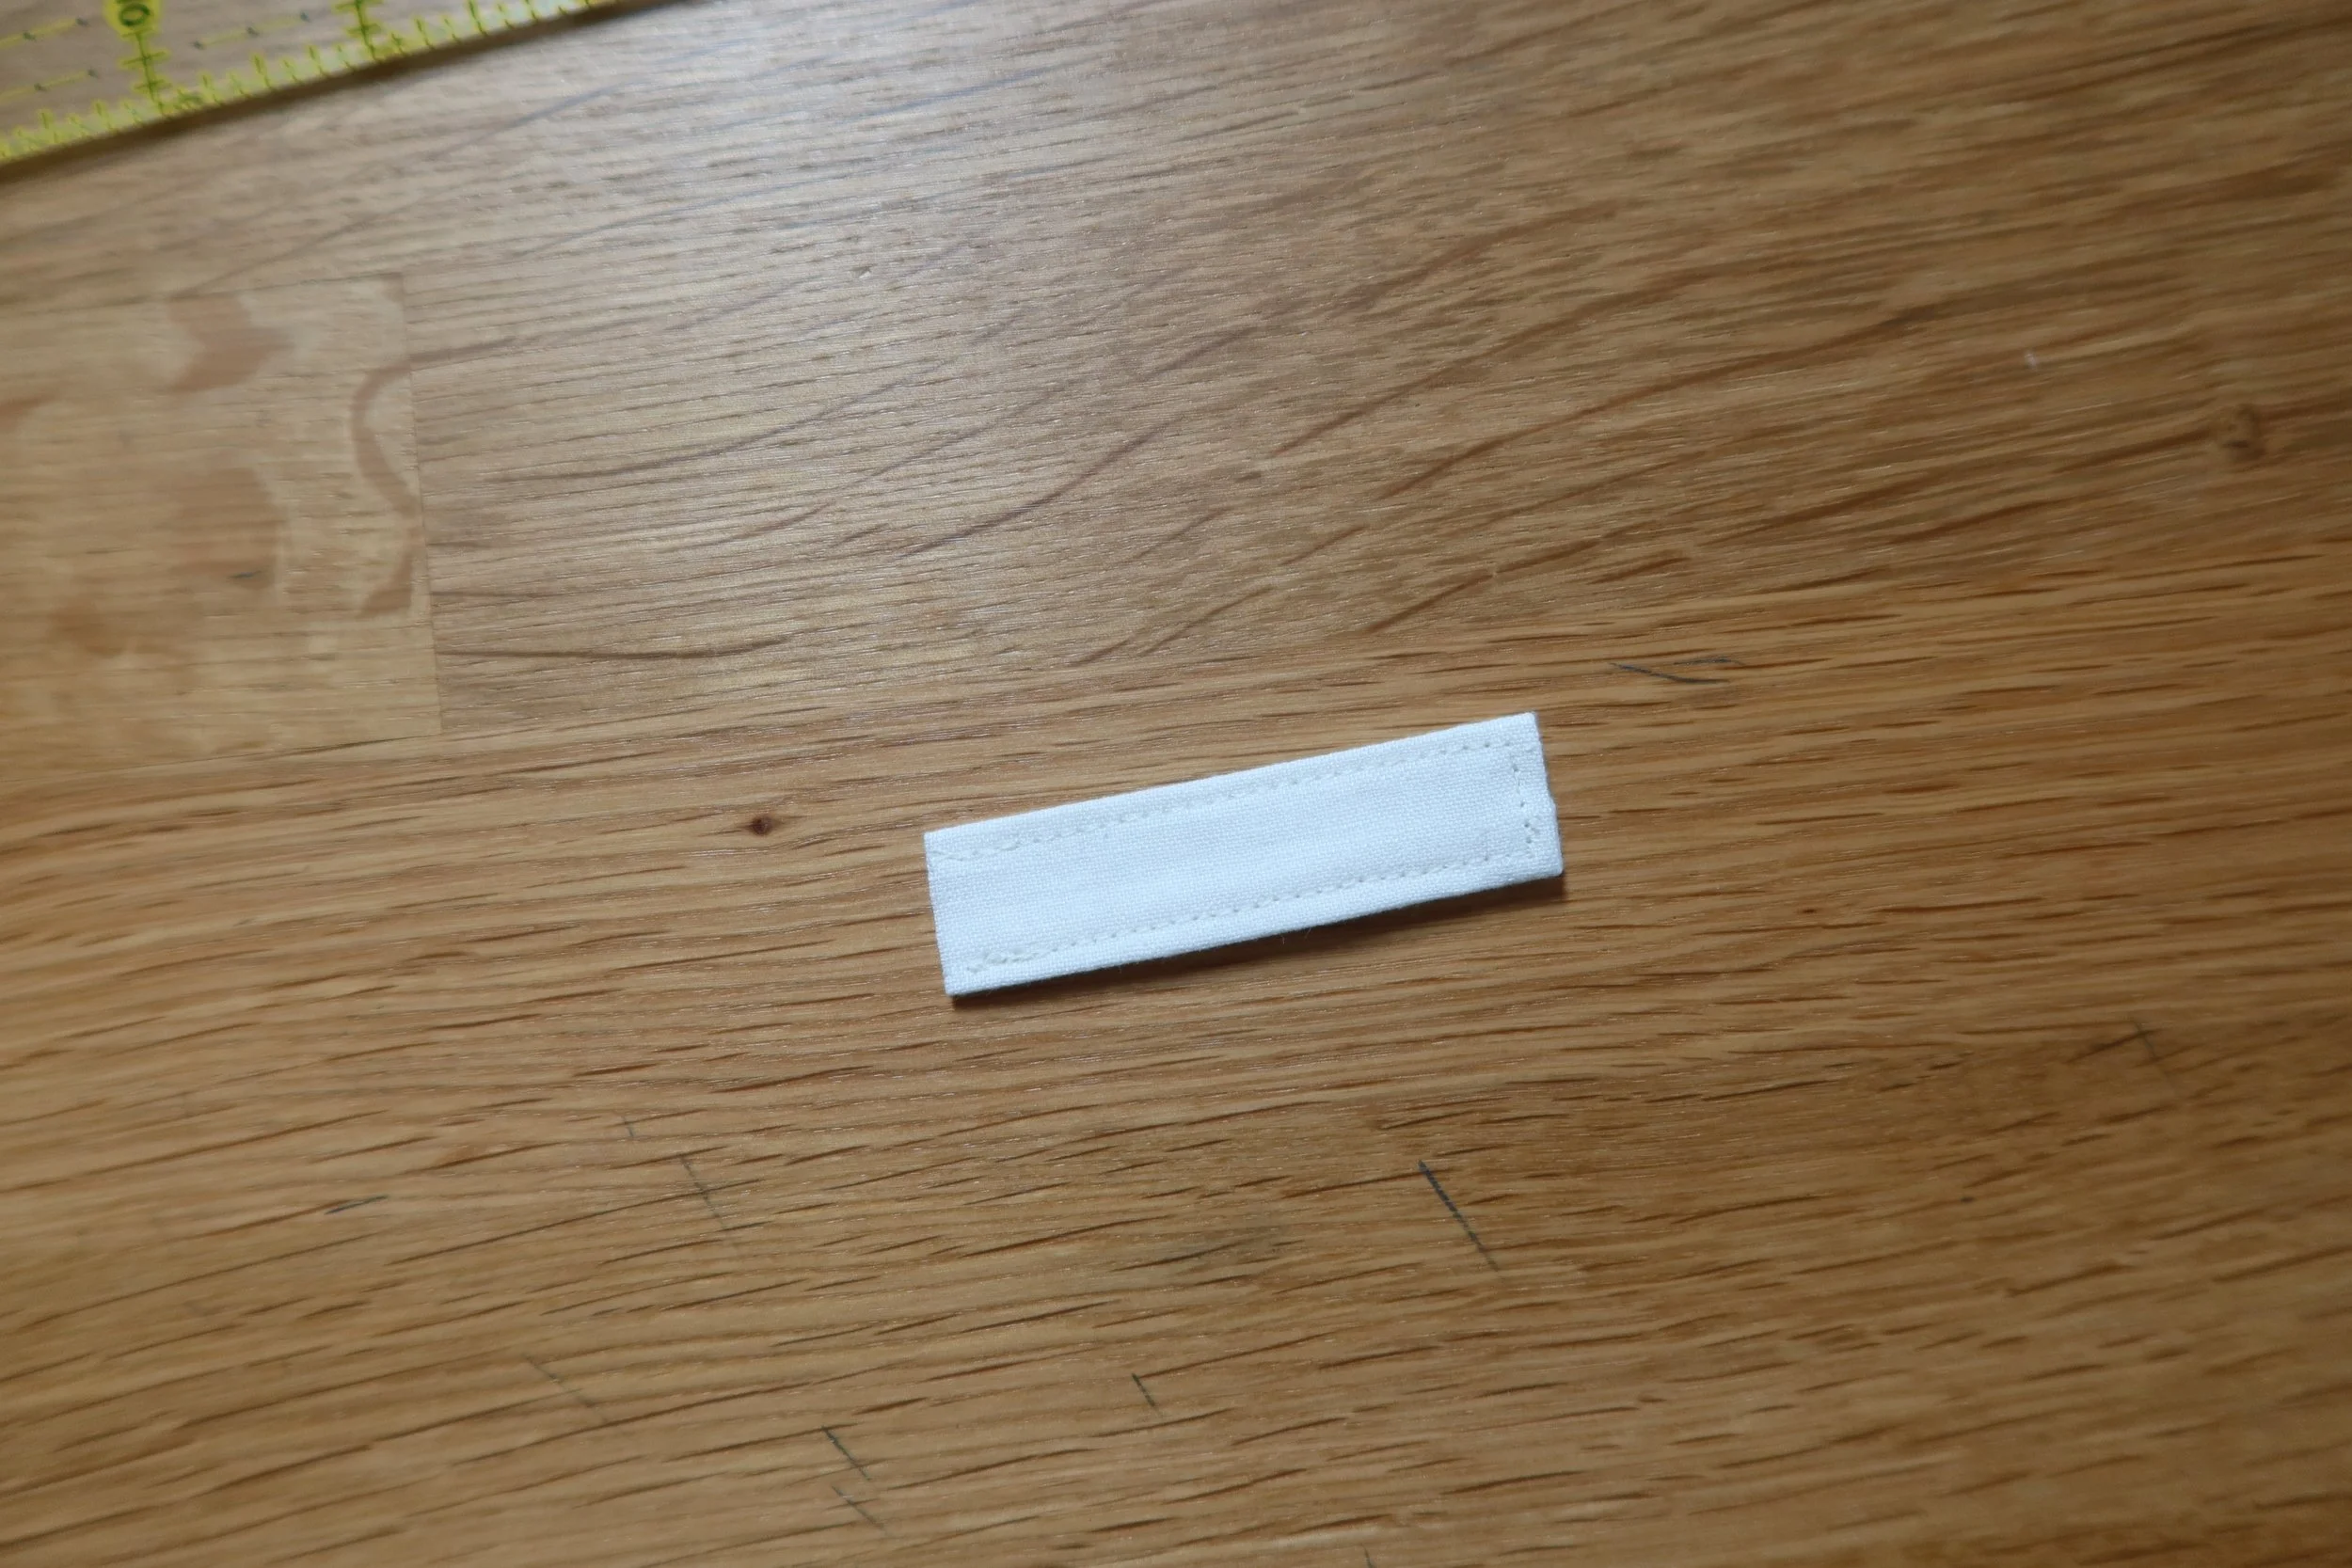
From the leftover napkin, cut fabric 3” x 2”. Add a piece of lightweight interfacing on the wrong side of the fabric. Measure and mark ¼” on two long sides, and one short side. Fold and iron seam in, then fold piece in half lengthwise. Topstitch around this piece.

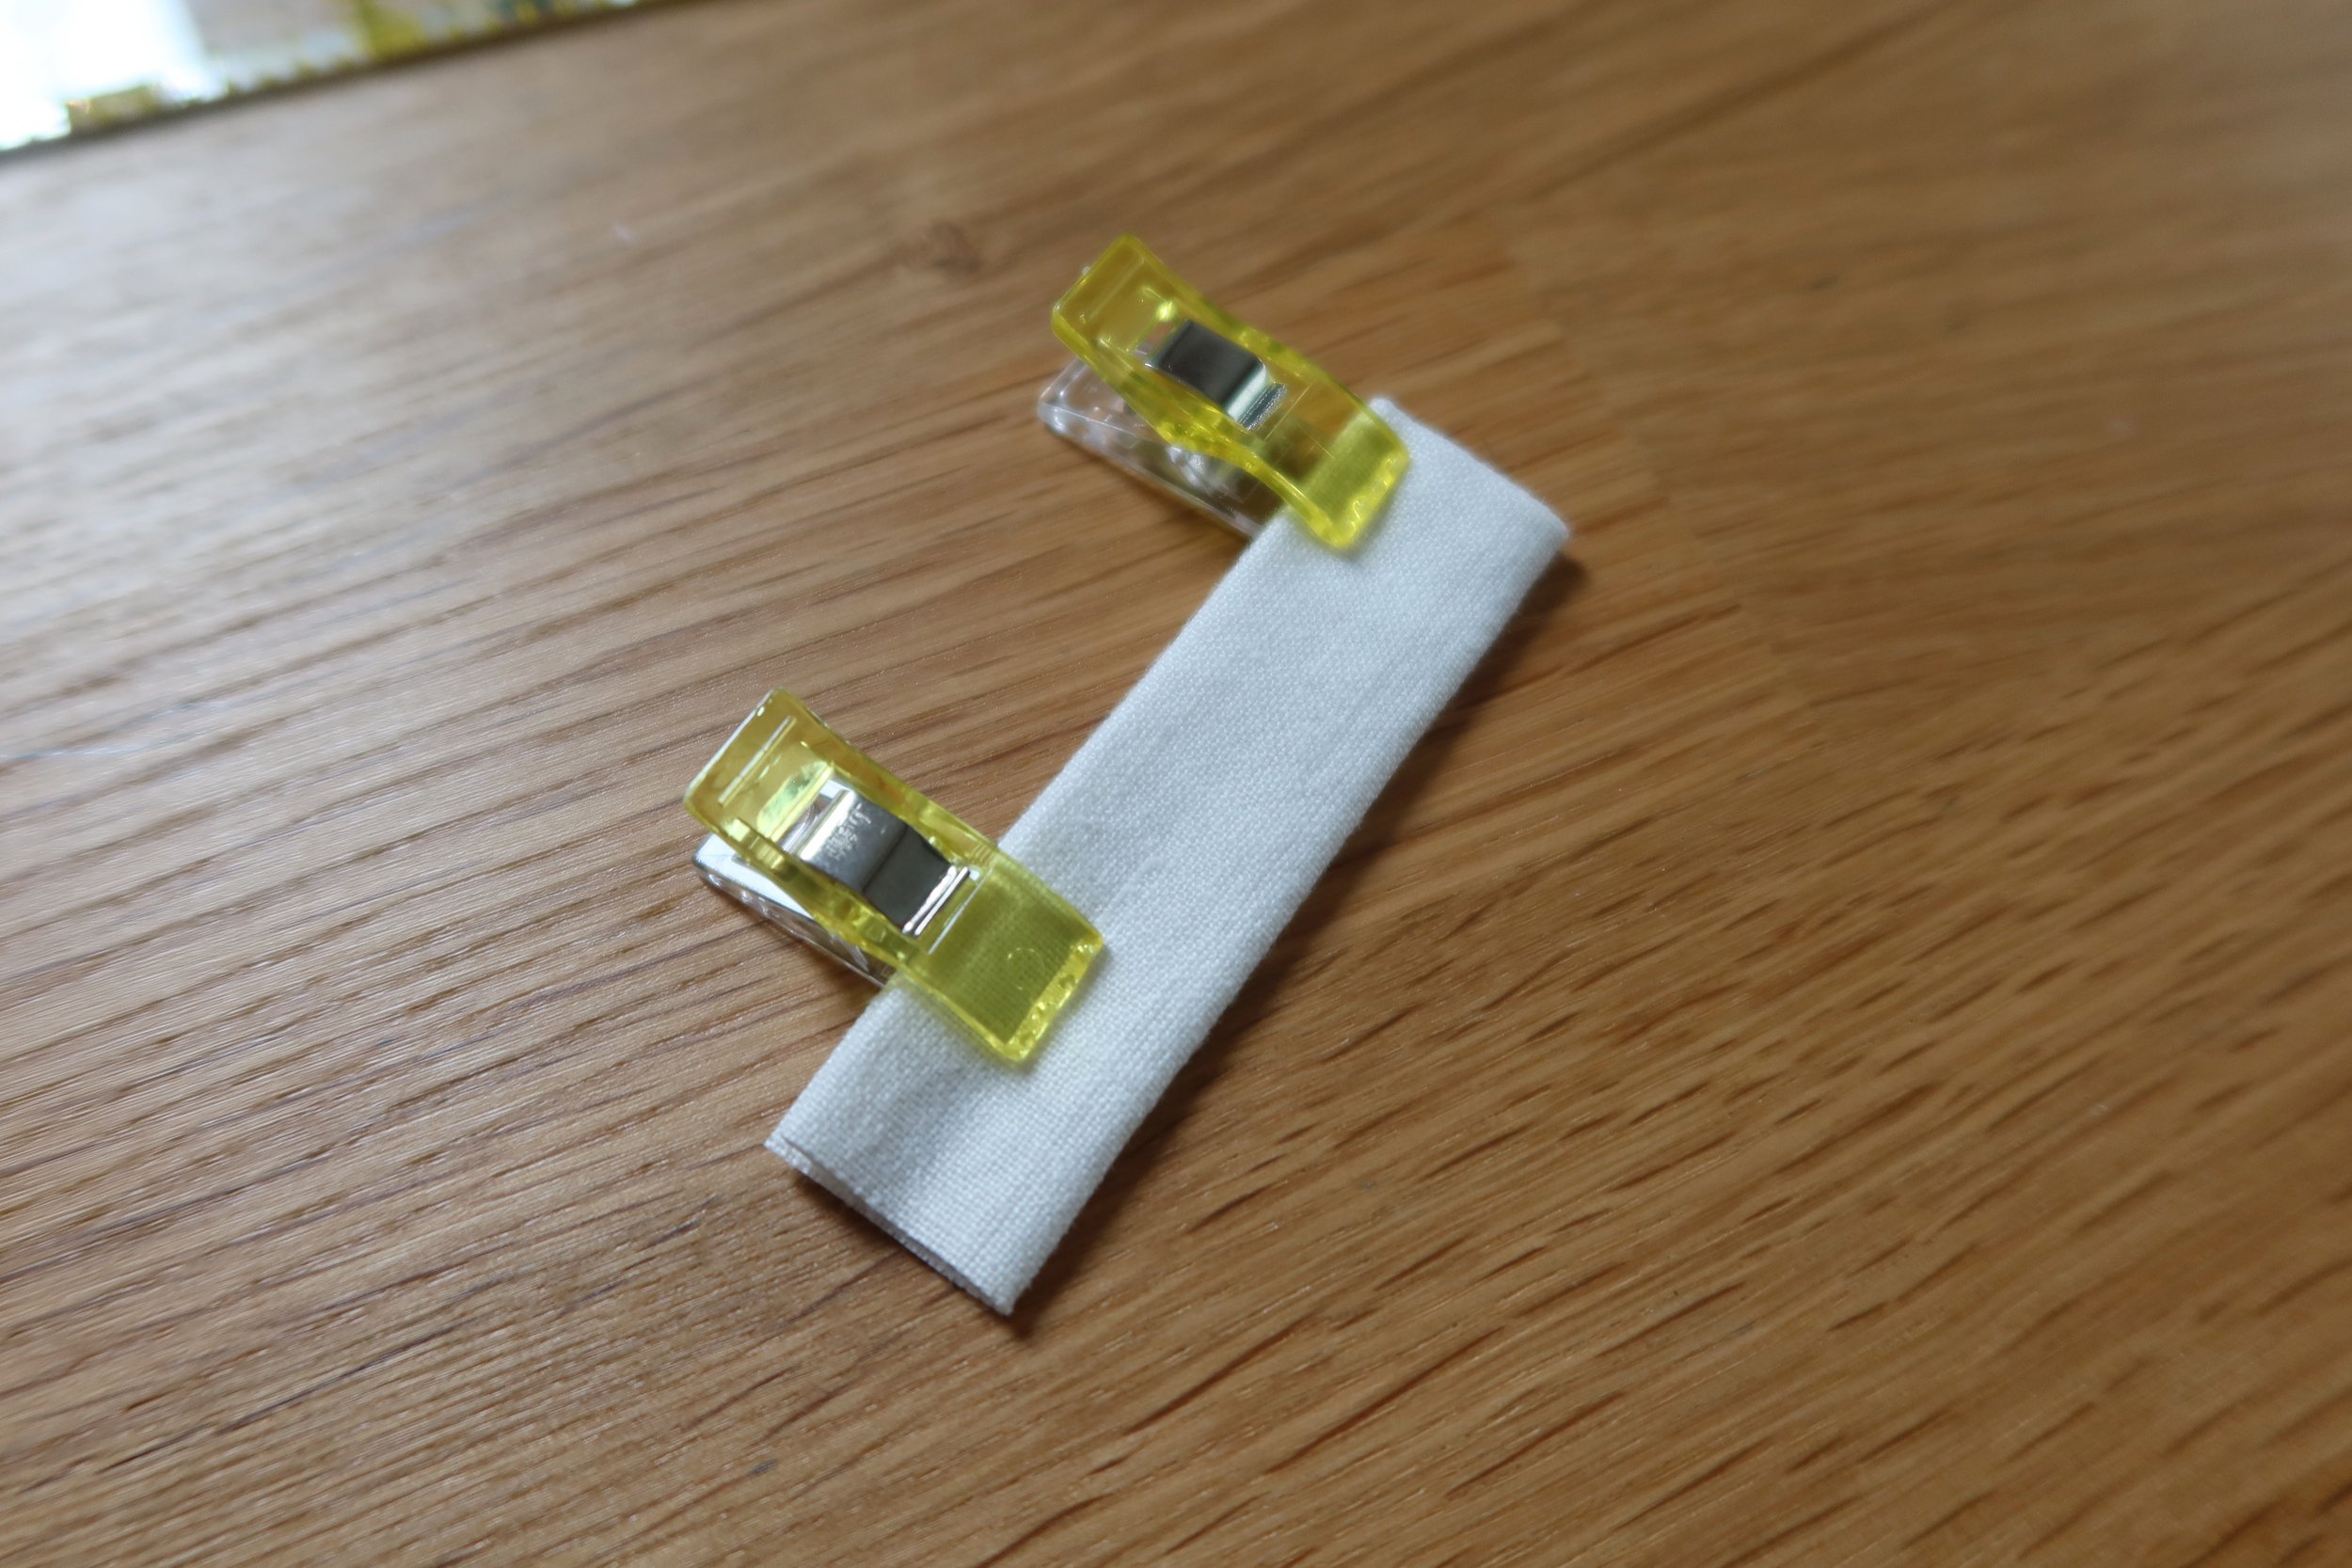
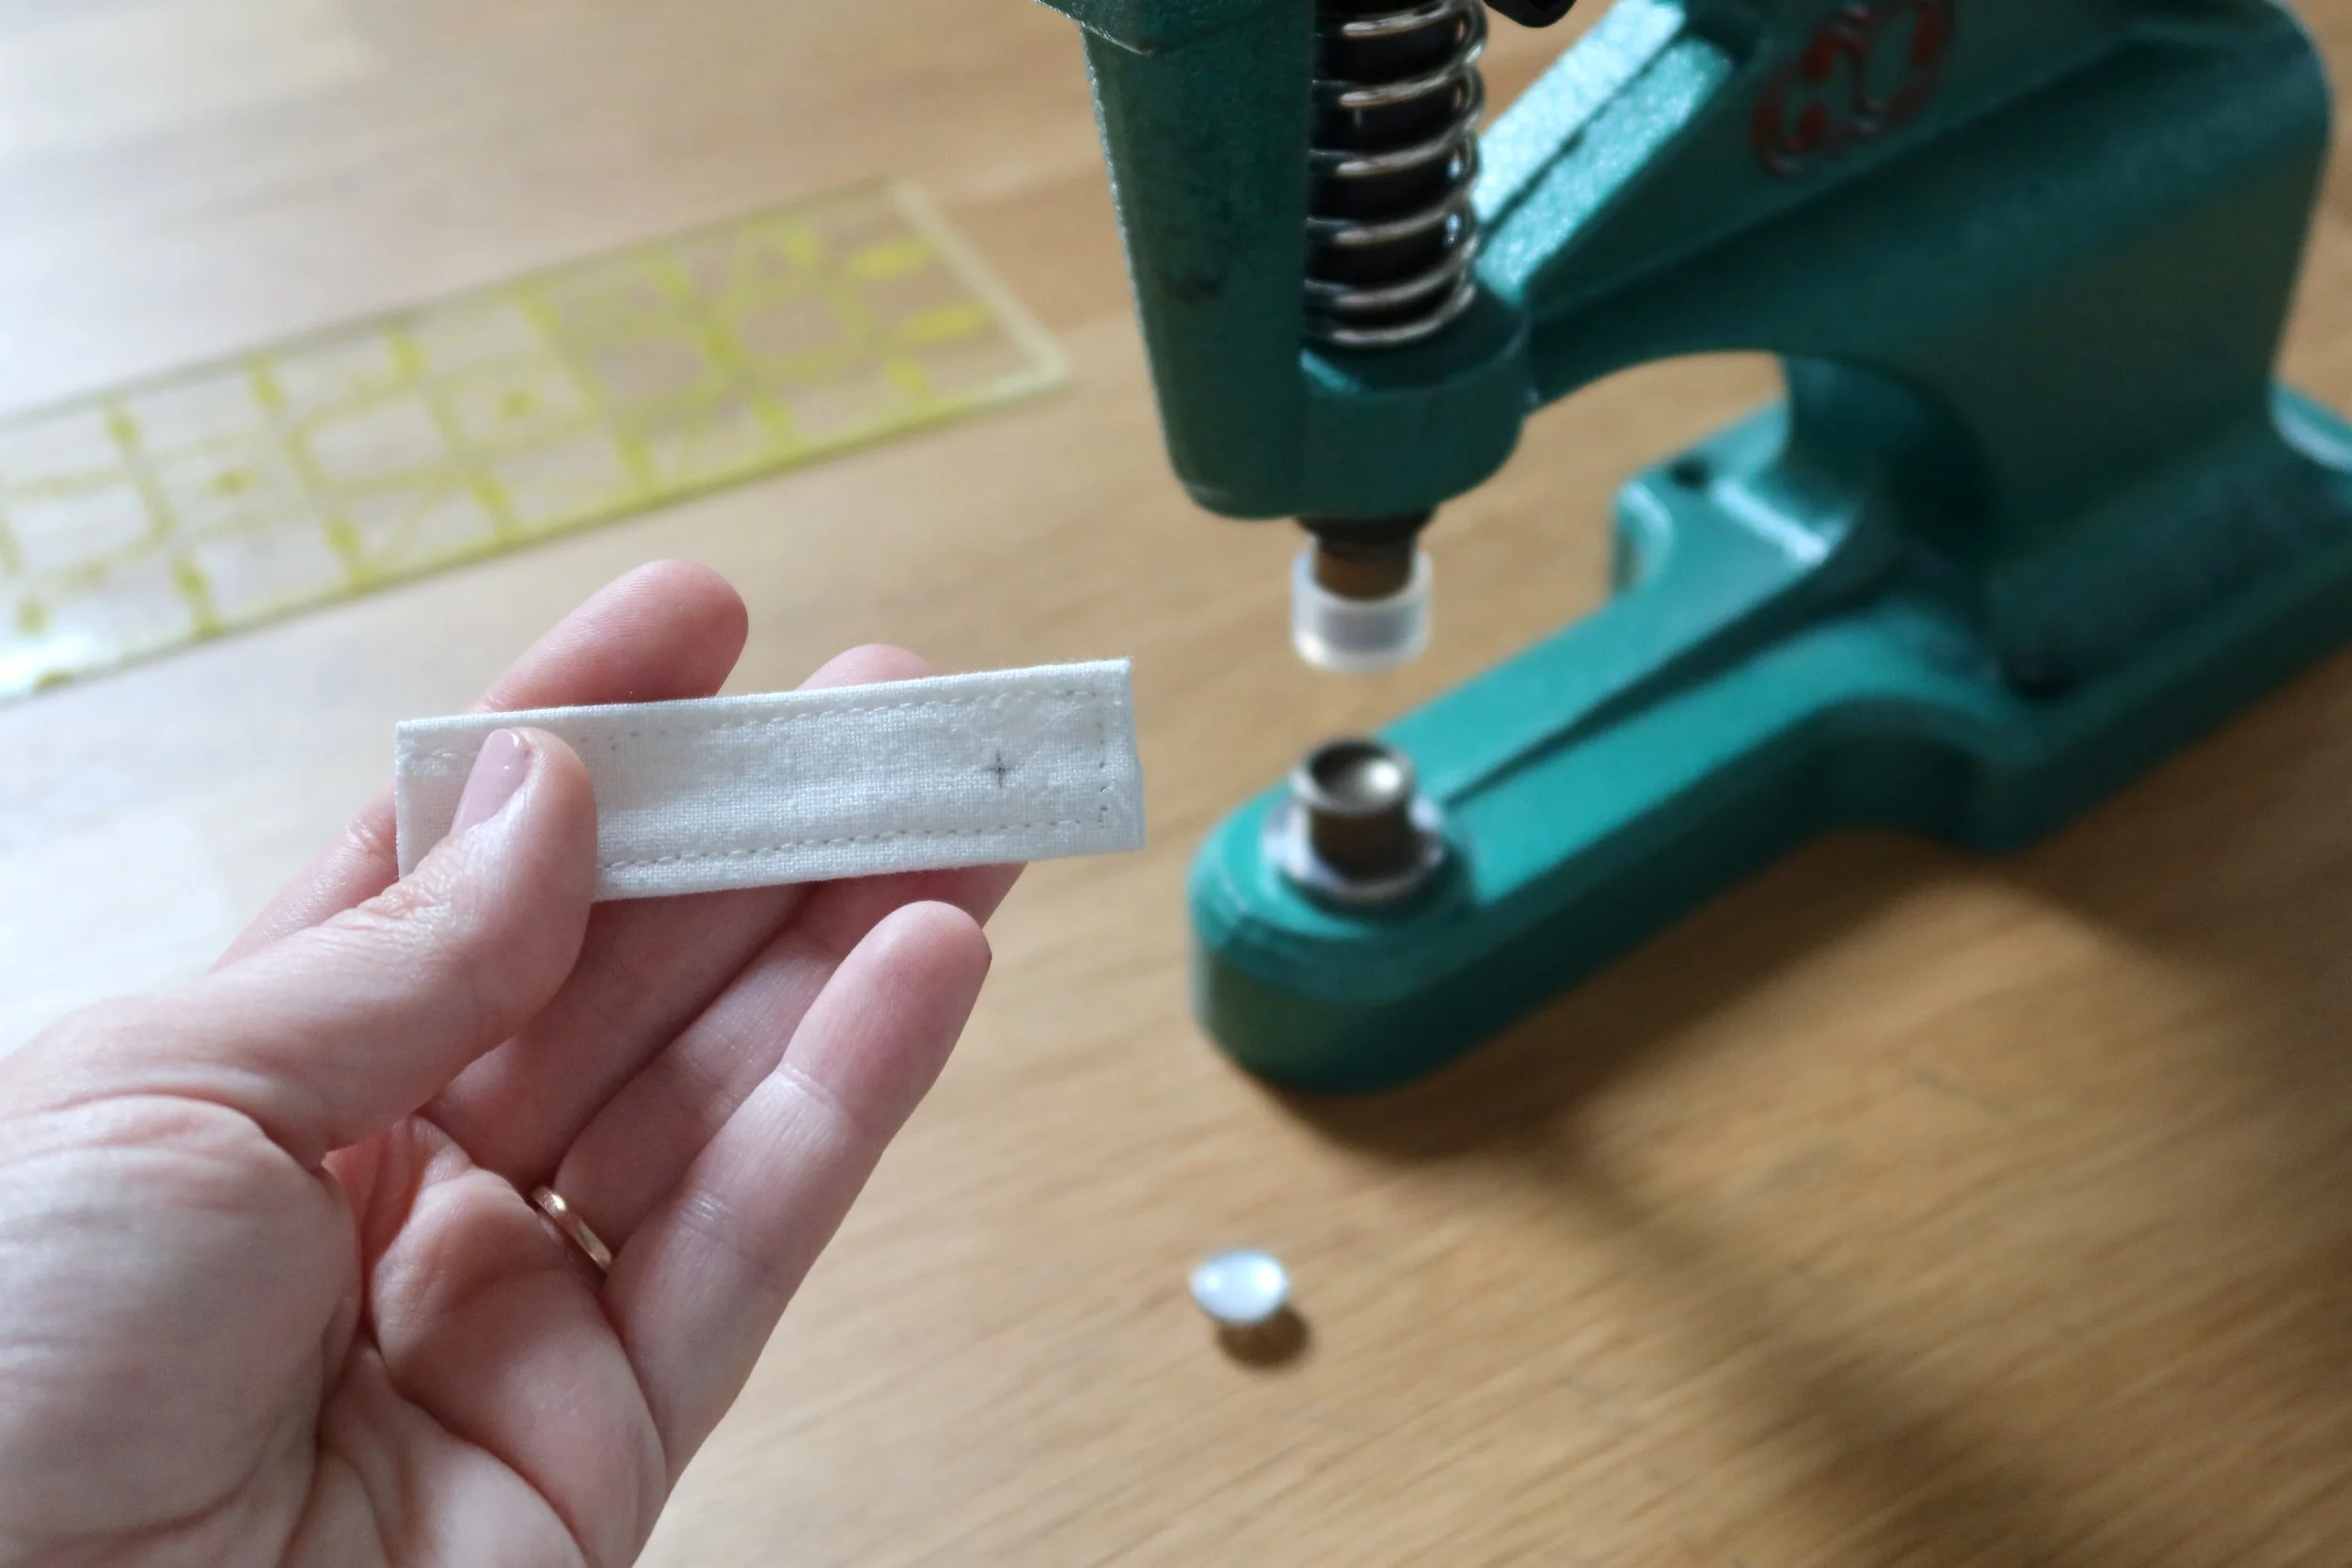
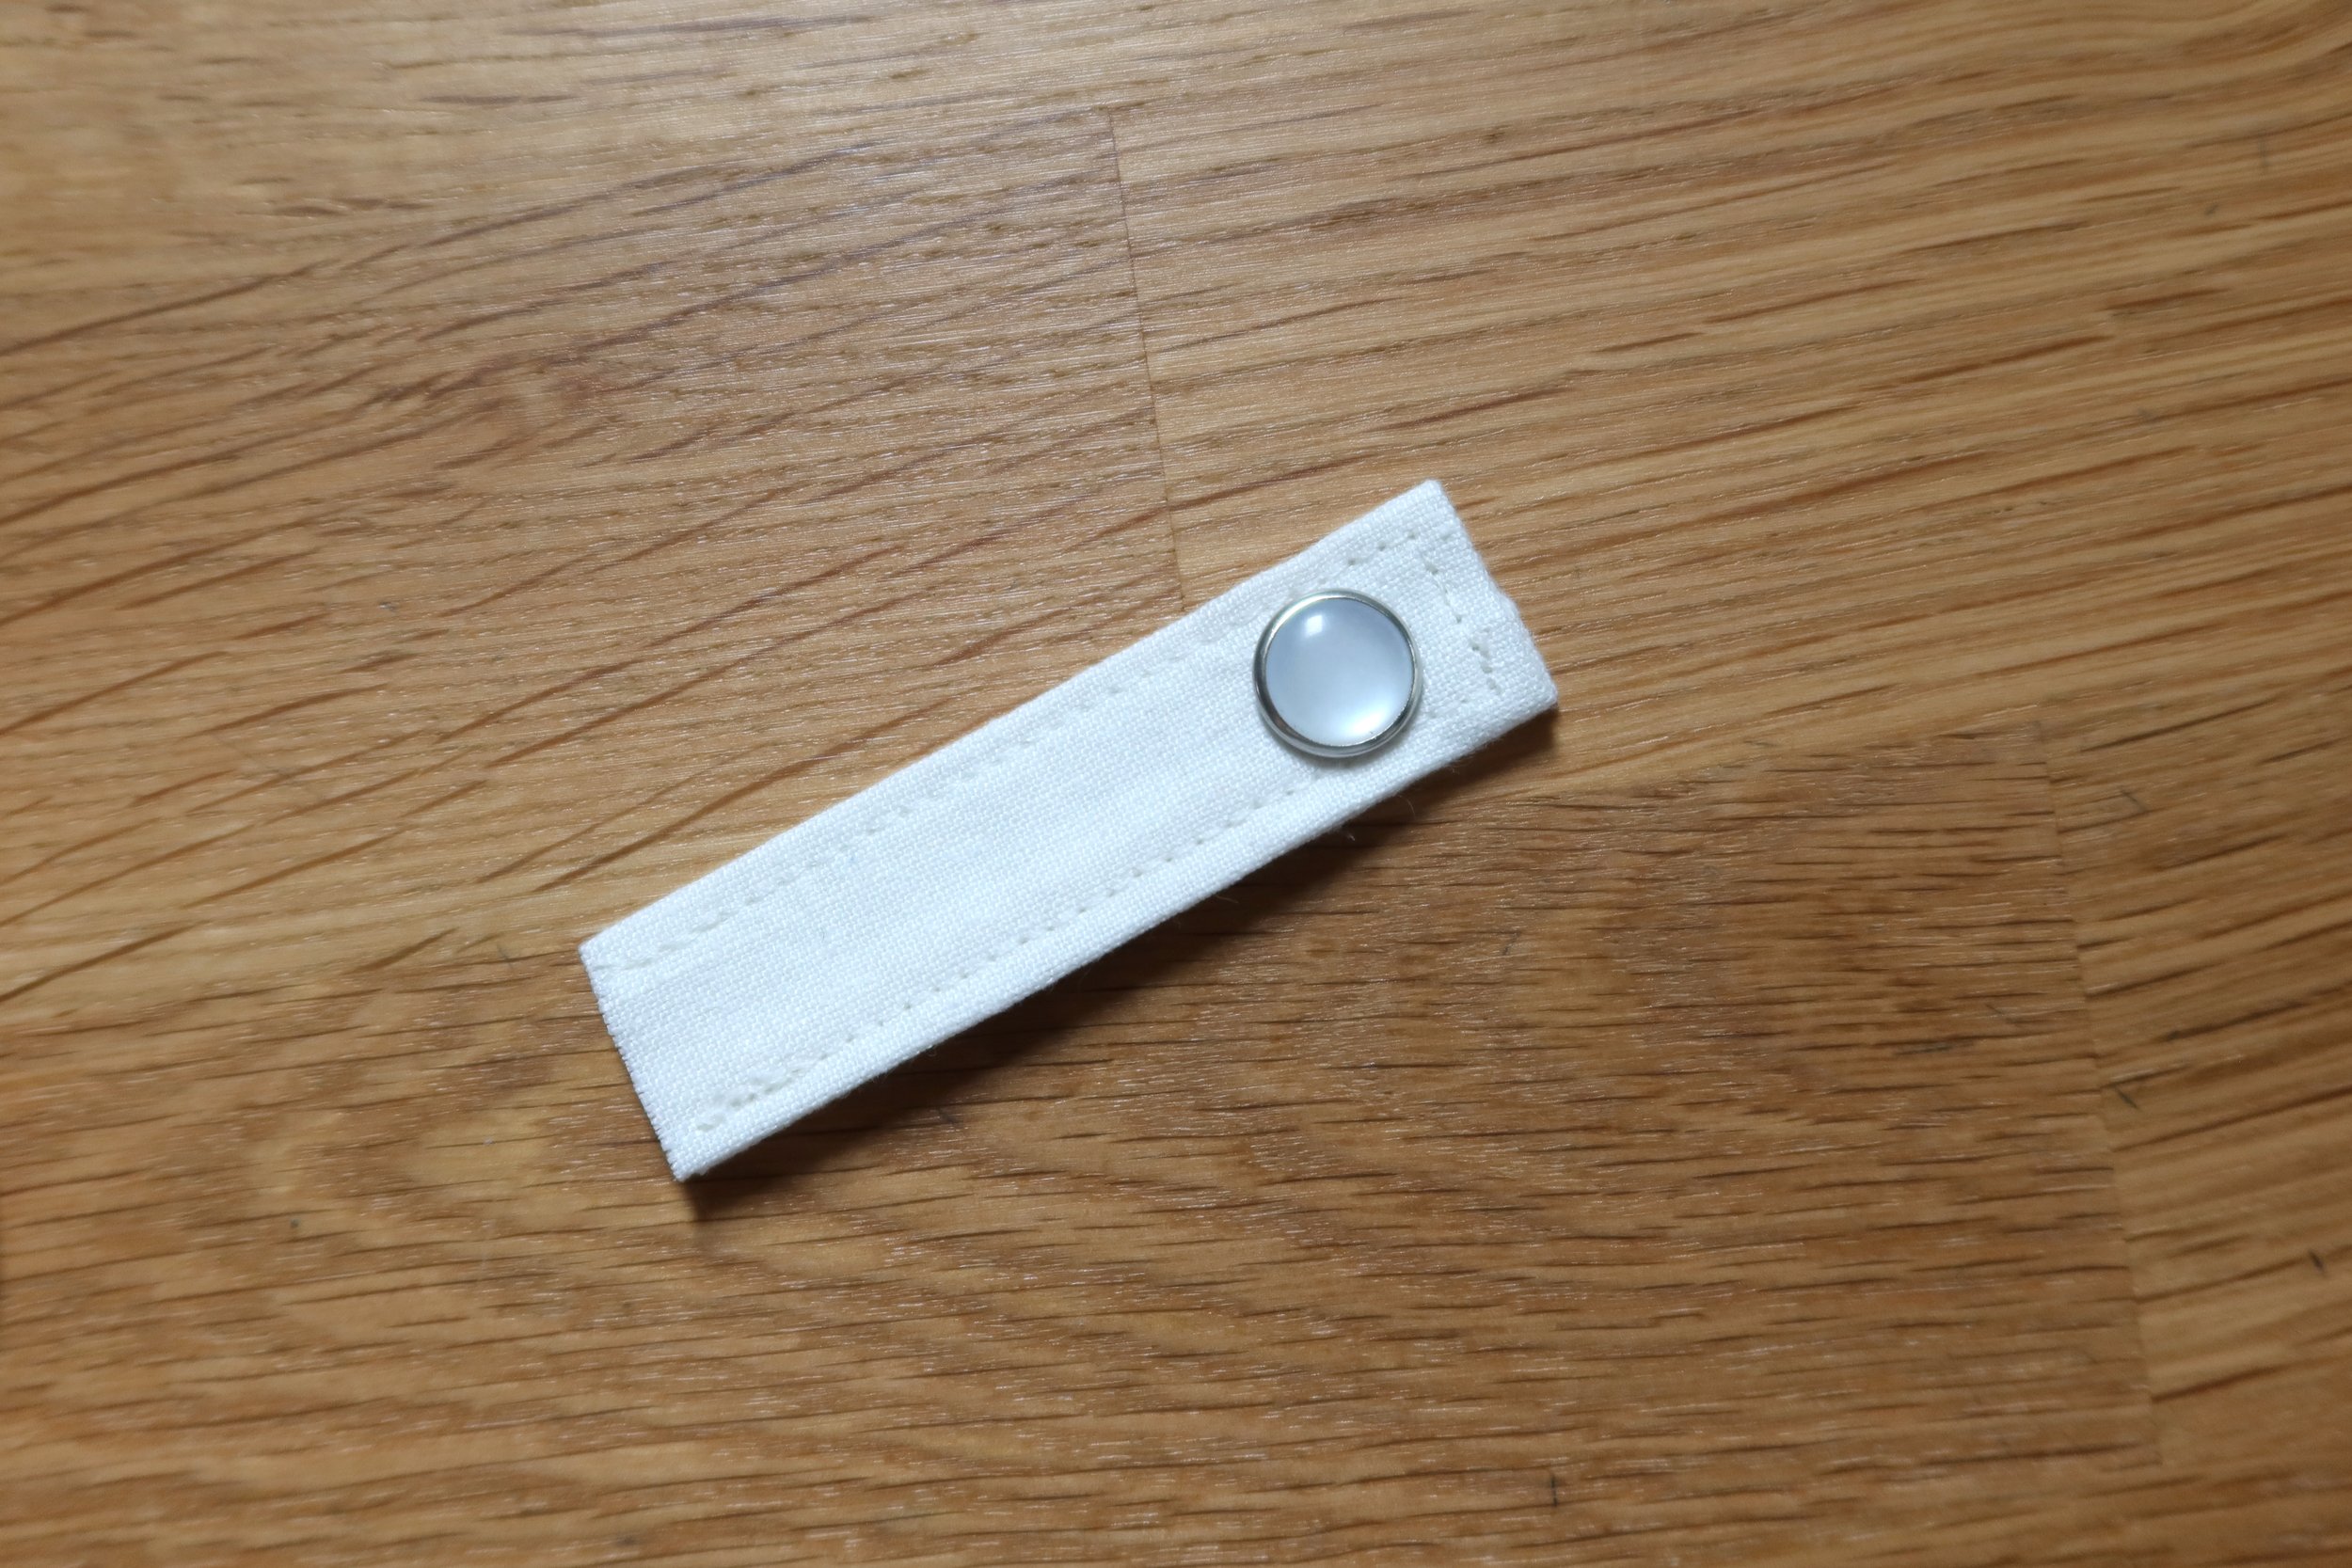
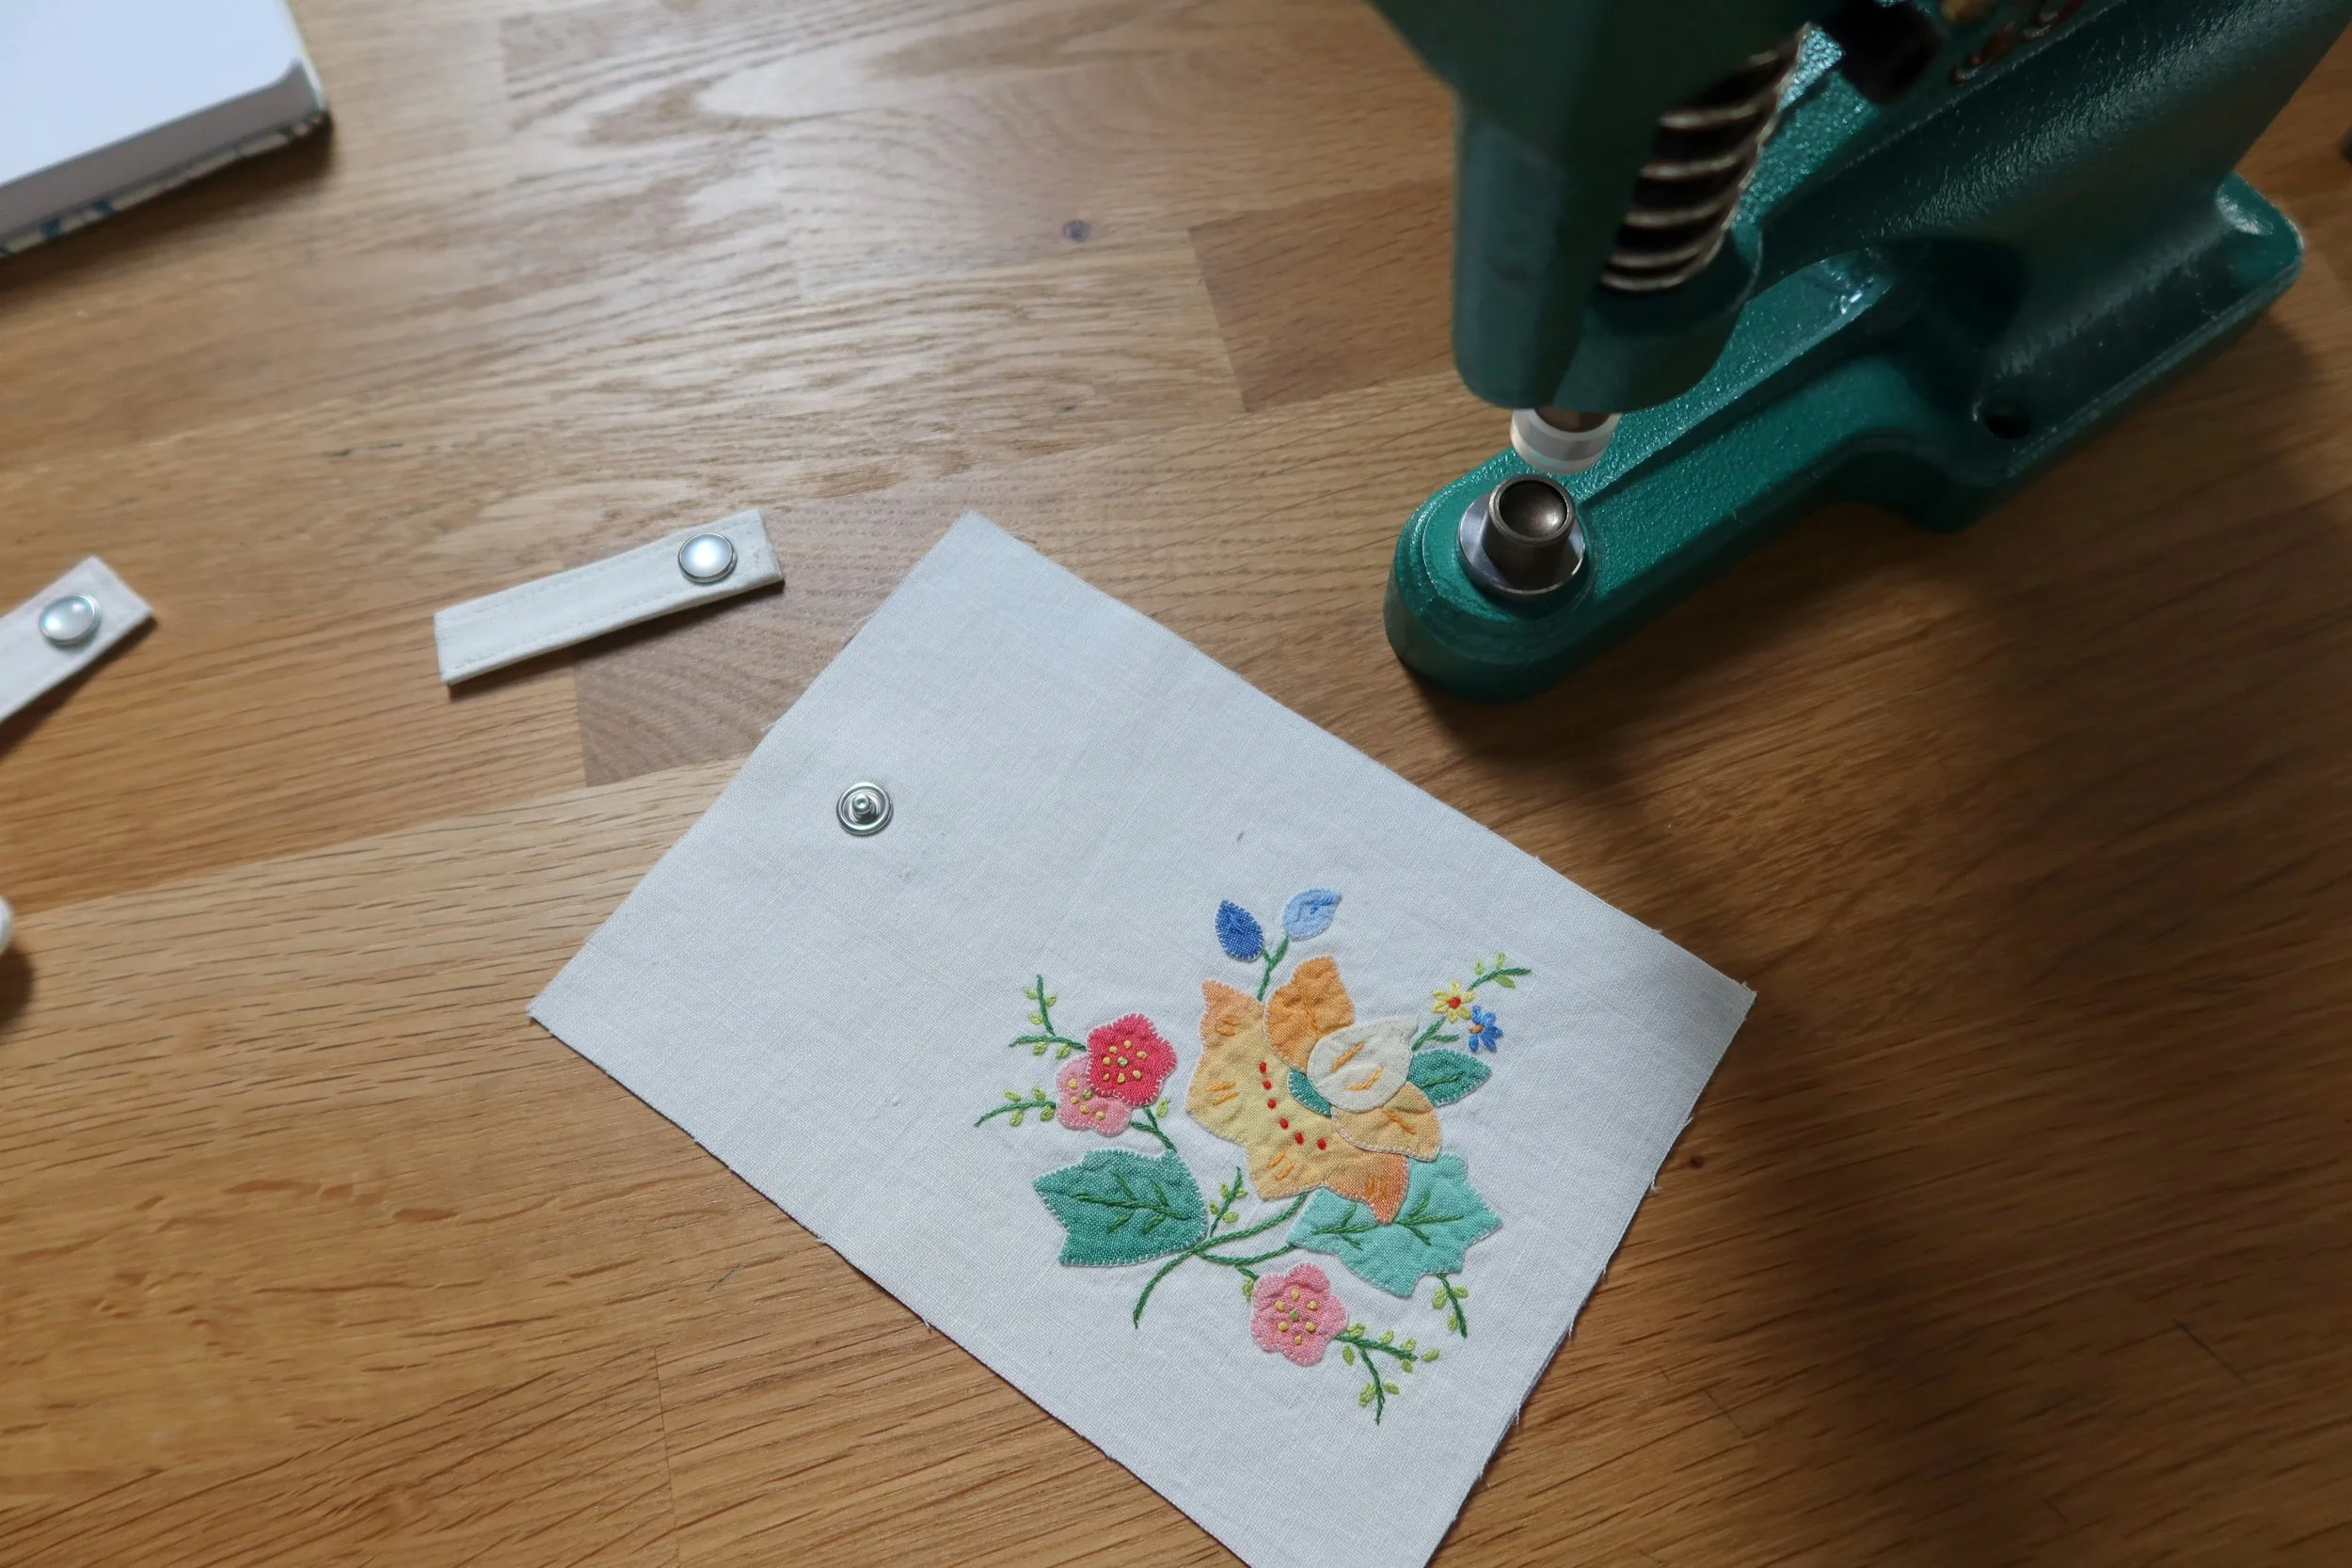
Add a pearl snap to the fabric piece following the instructions on the pearl snap packaging or press, or handheld tool. When I first started using snaps, I used a hammer and setter tool, but if you are planning to work with pearl snaps often, I recommend either a handheld tool or a press tool like shown here. (links to different options down below)
Add the other end of the snap to the front body of the wallet. On the left side of the front wallet body piece, mark 1” in and halfway down. For added strength, add a piece of heavier weight interfacing on the back of this mark. Add your snap back.
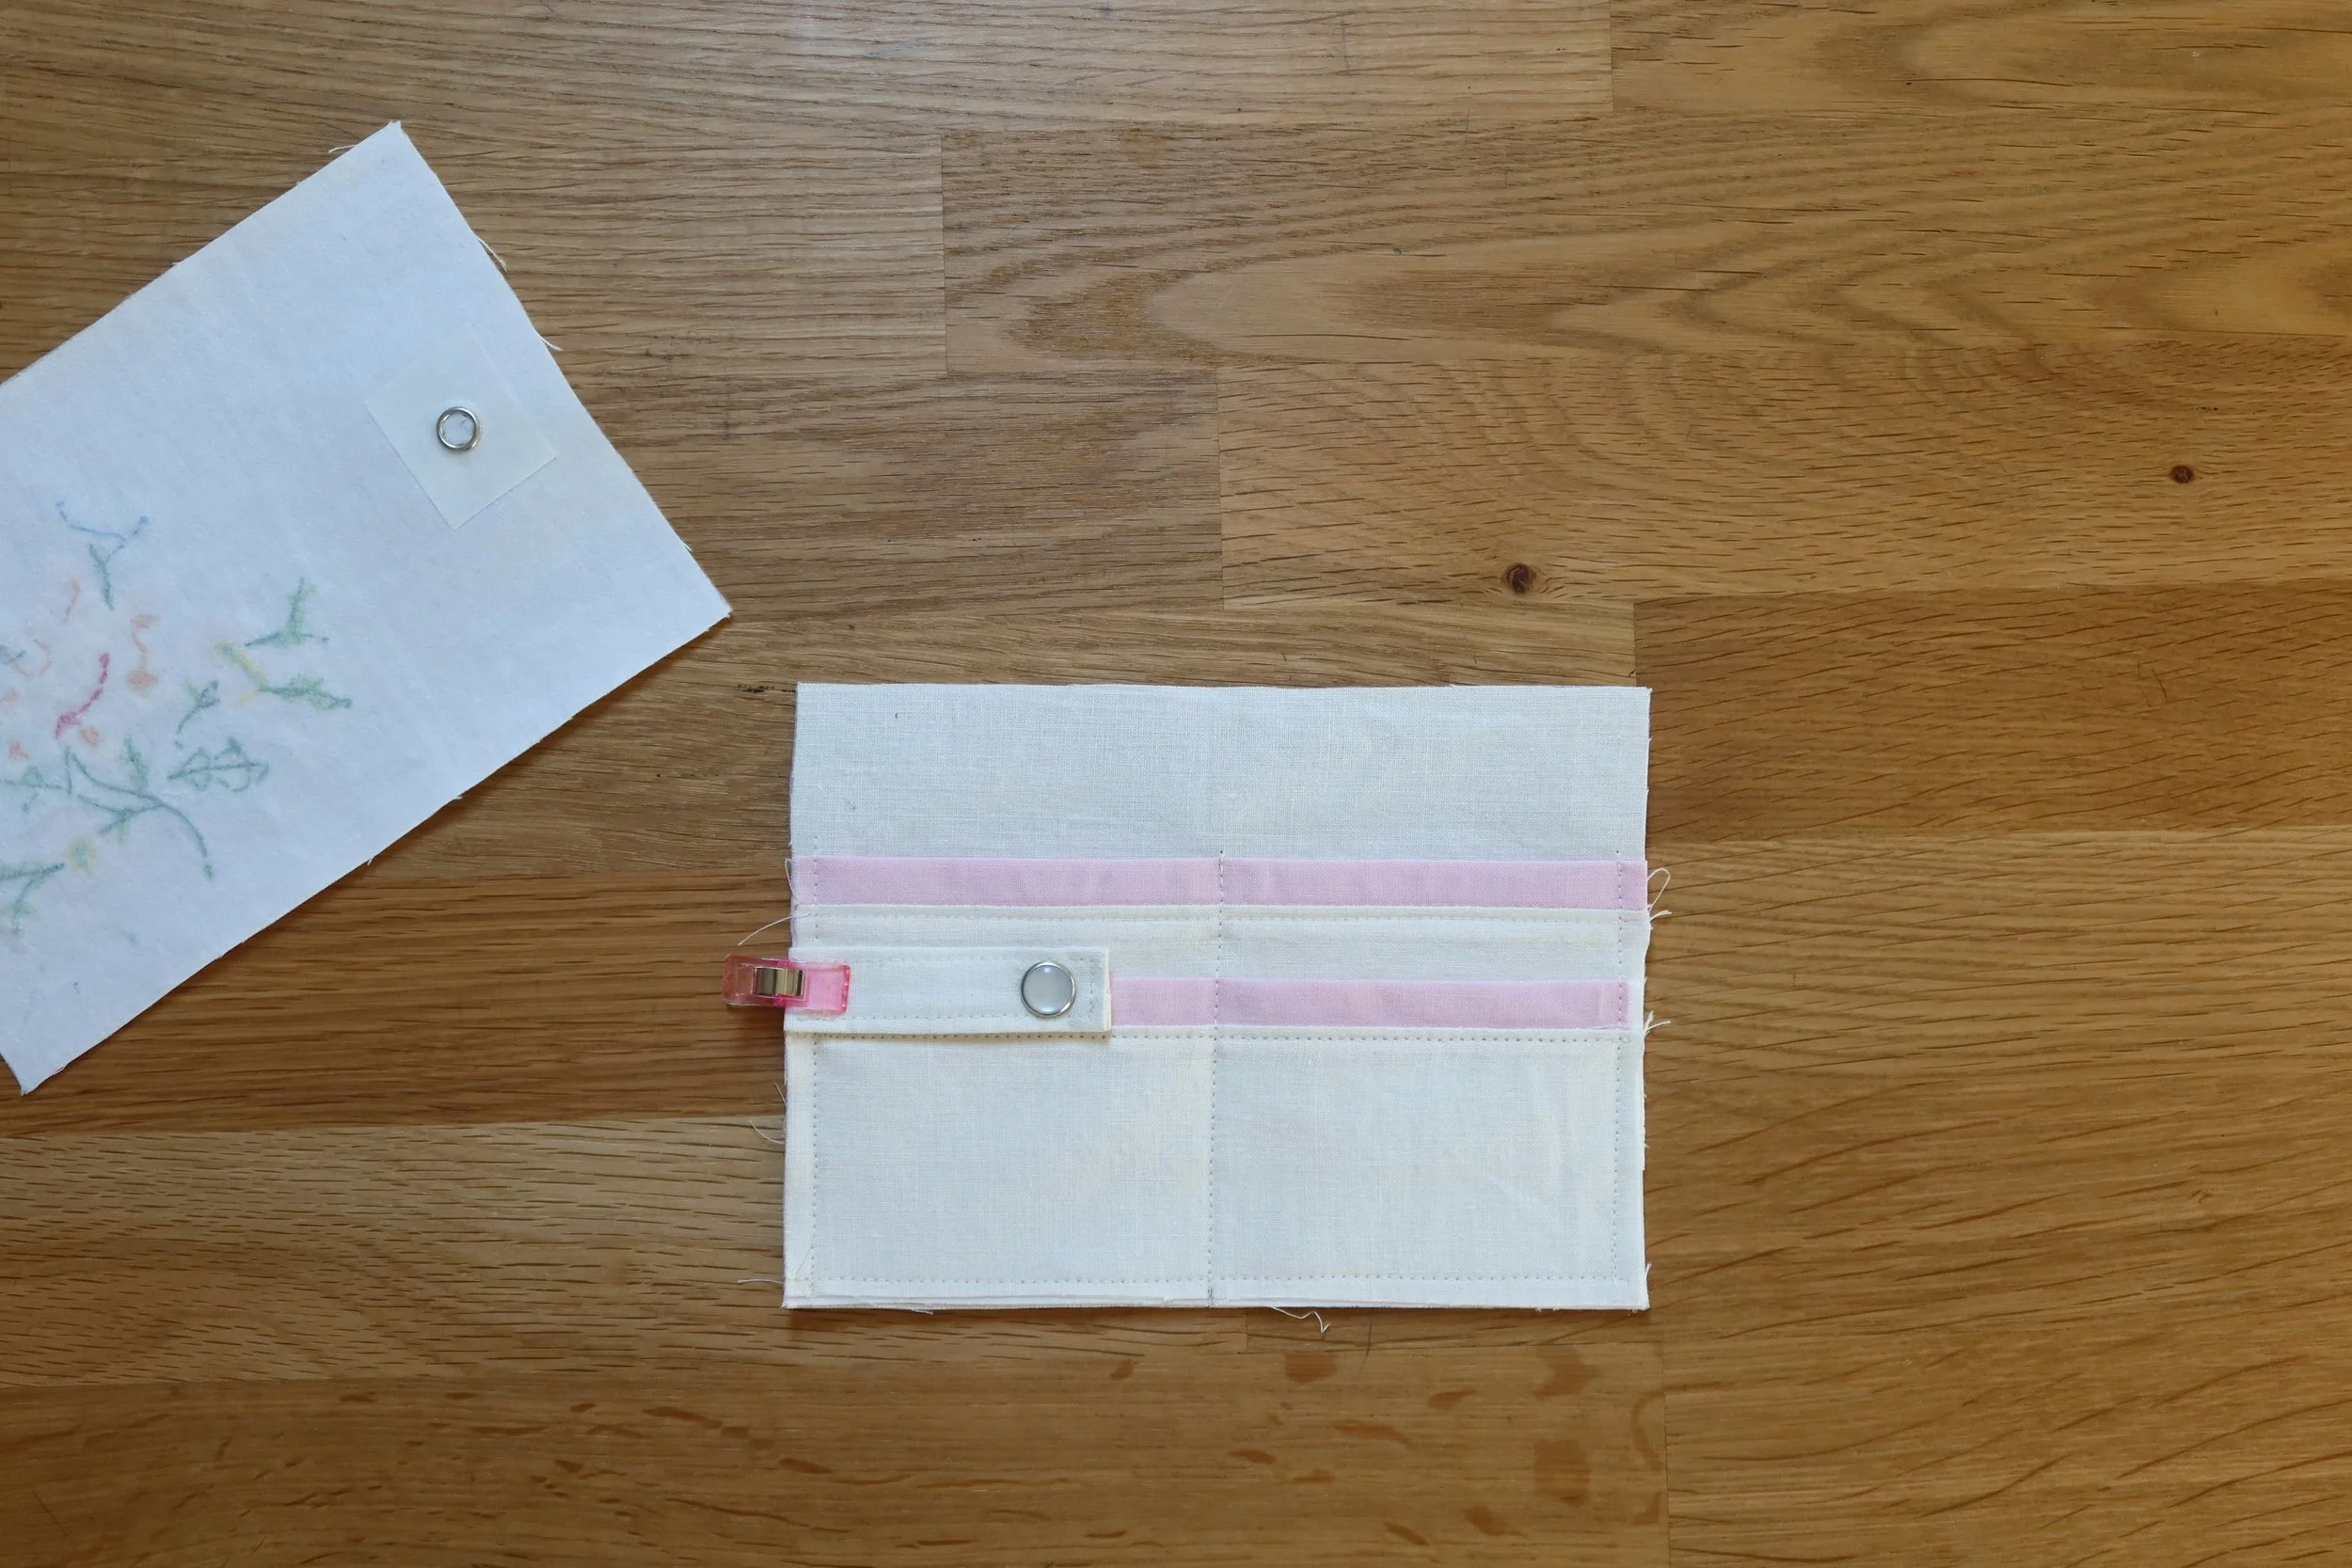
Next, mark the left side of the pocket pieces halfway and pin fabric piece with the pearl snap facing up. Stitch this piece just under the 3/8” seam allowance. If you are using elastic, this is where your elastic should be stitched, in a loop shape, with the loop towards the interior of the wallet.
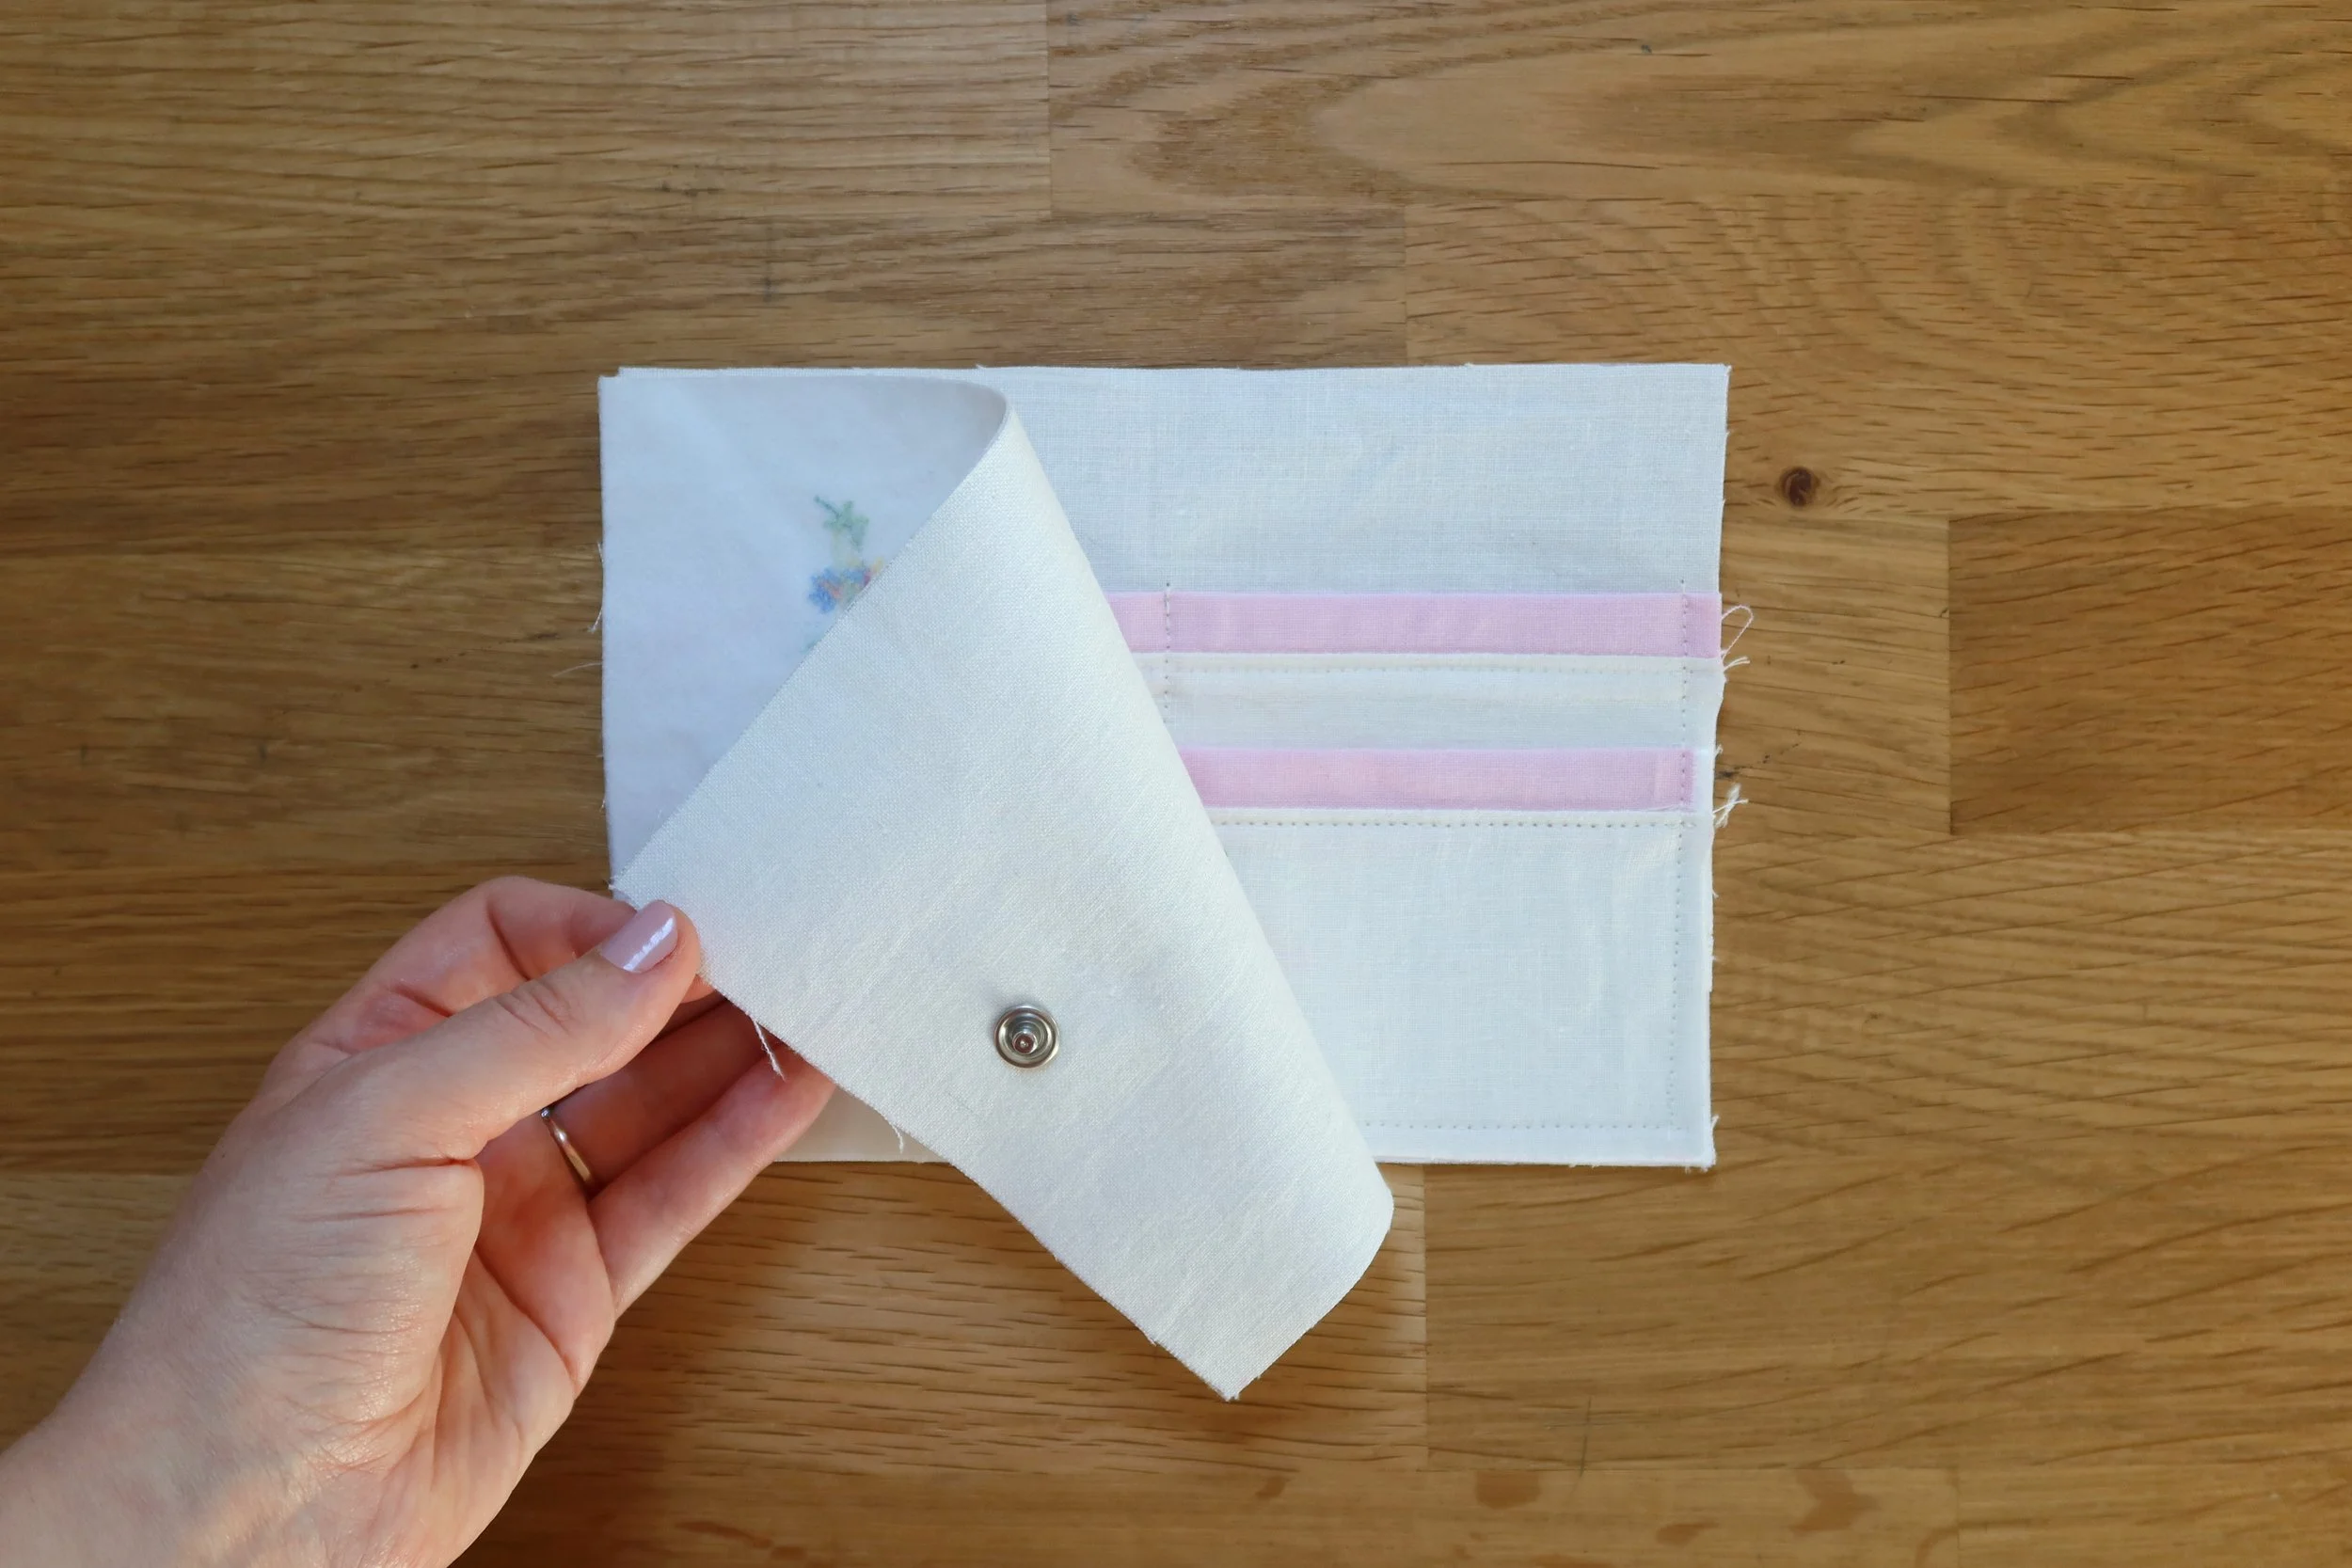
Now we build our wallet! Place wallet front body onto wallet pockets, right sides together. Stitch around wallet with a 3/8” seam allowance, leaving about a 3” gap on the top of the wallet.
Trim corners of wallet and turn wallet right sides out. You can use a wooden dowel to push the corners out. Iron around wallet, folding raw edge inside. Topstitch all the way around the wallet, and use a zipper foot to get around snap. If you chose to add elastic instead of a pearl snap, hand stitch a button on the back of your wallet.


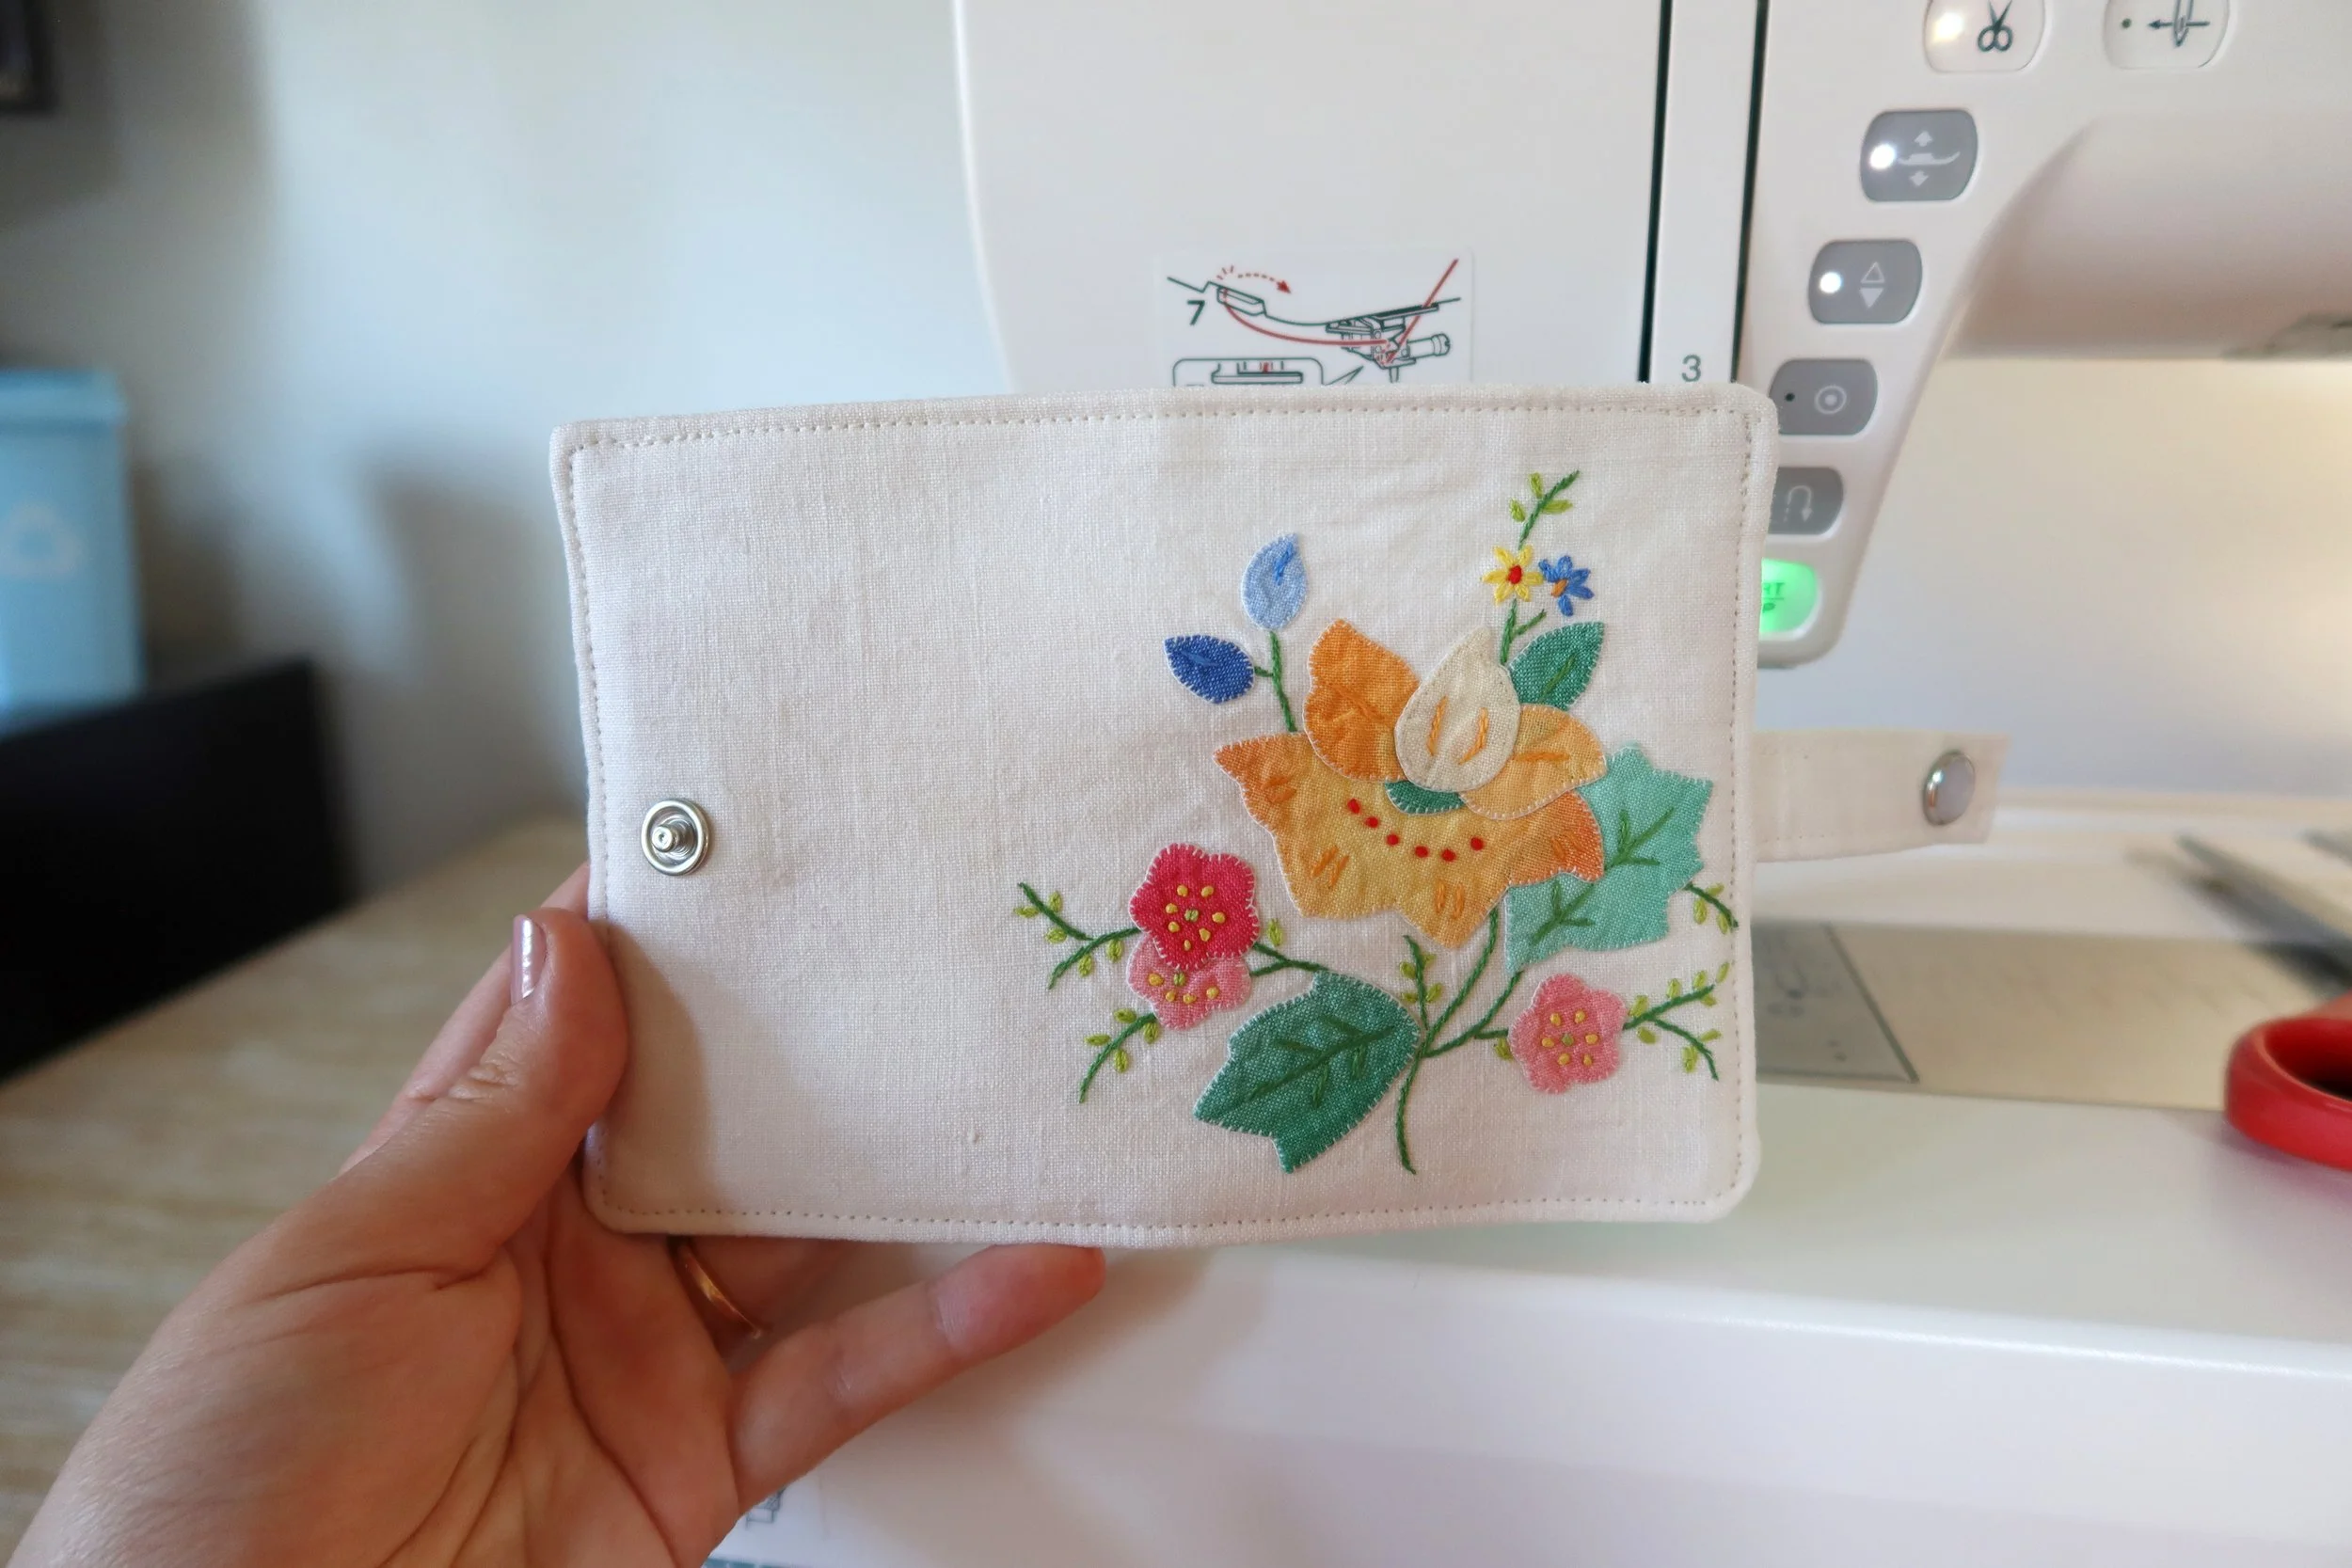
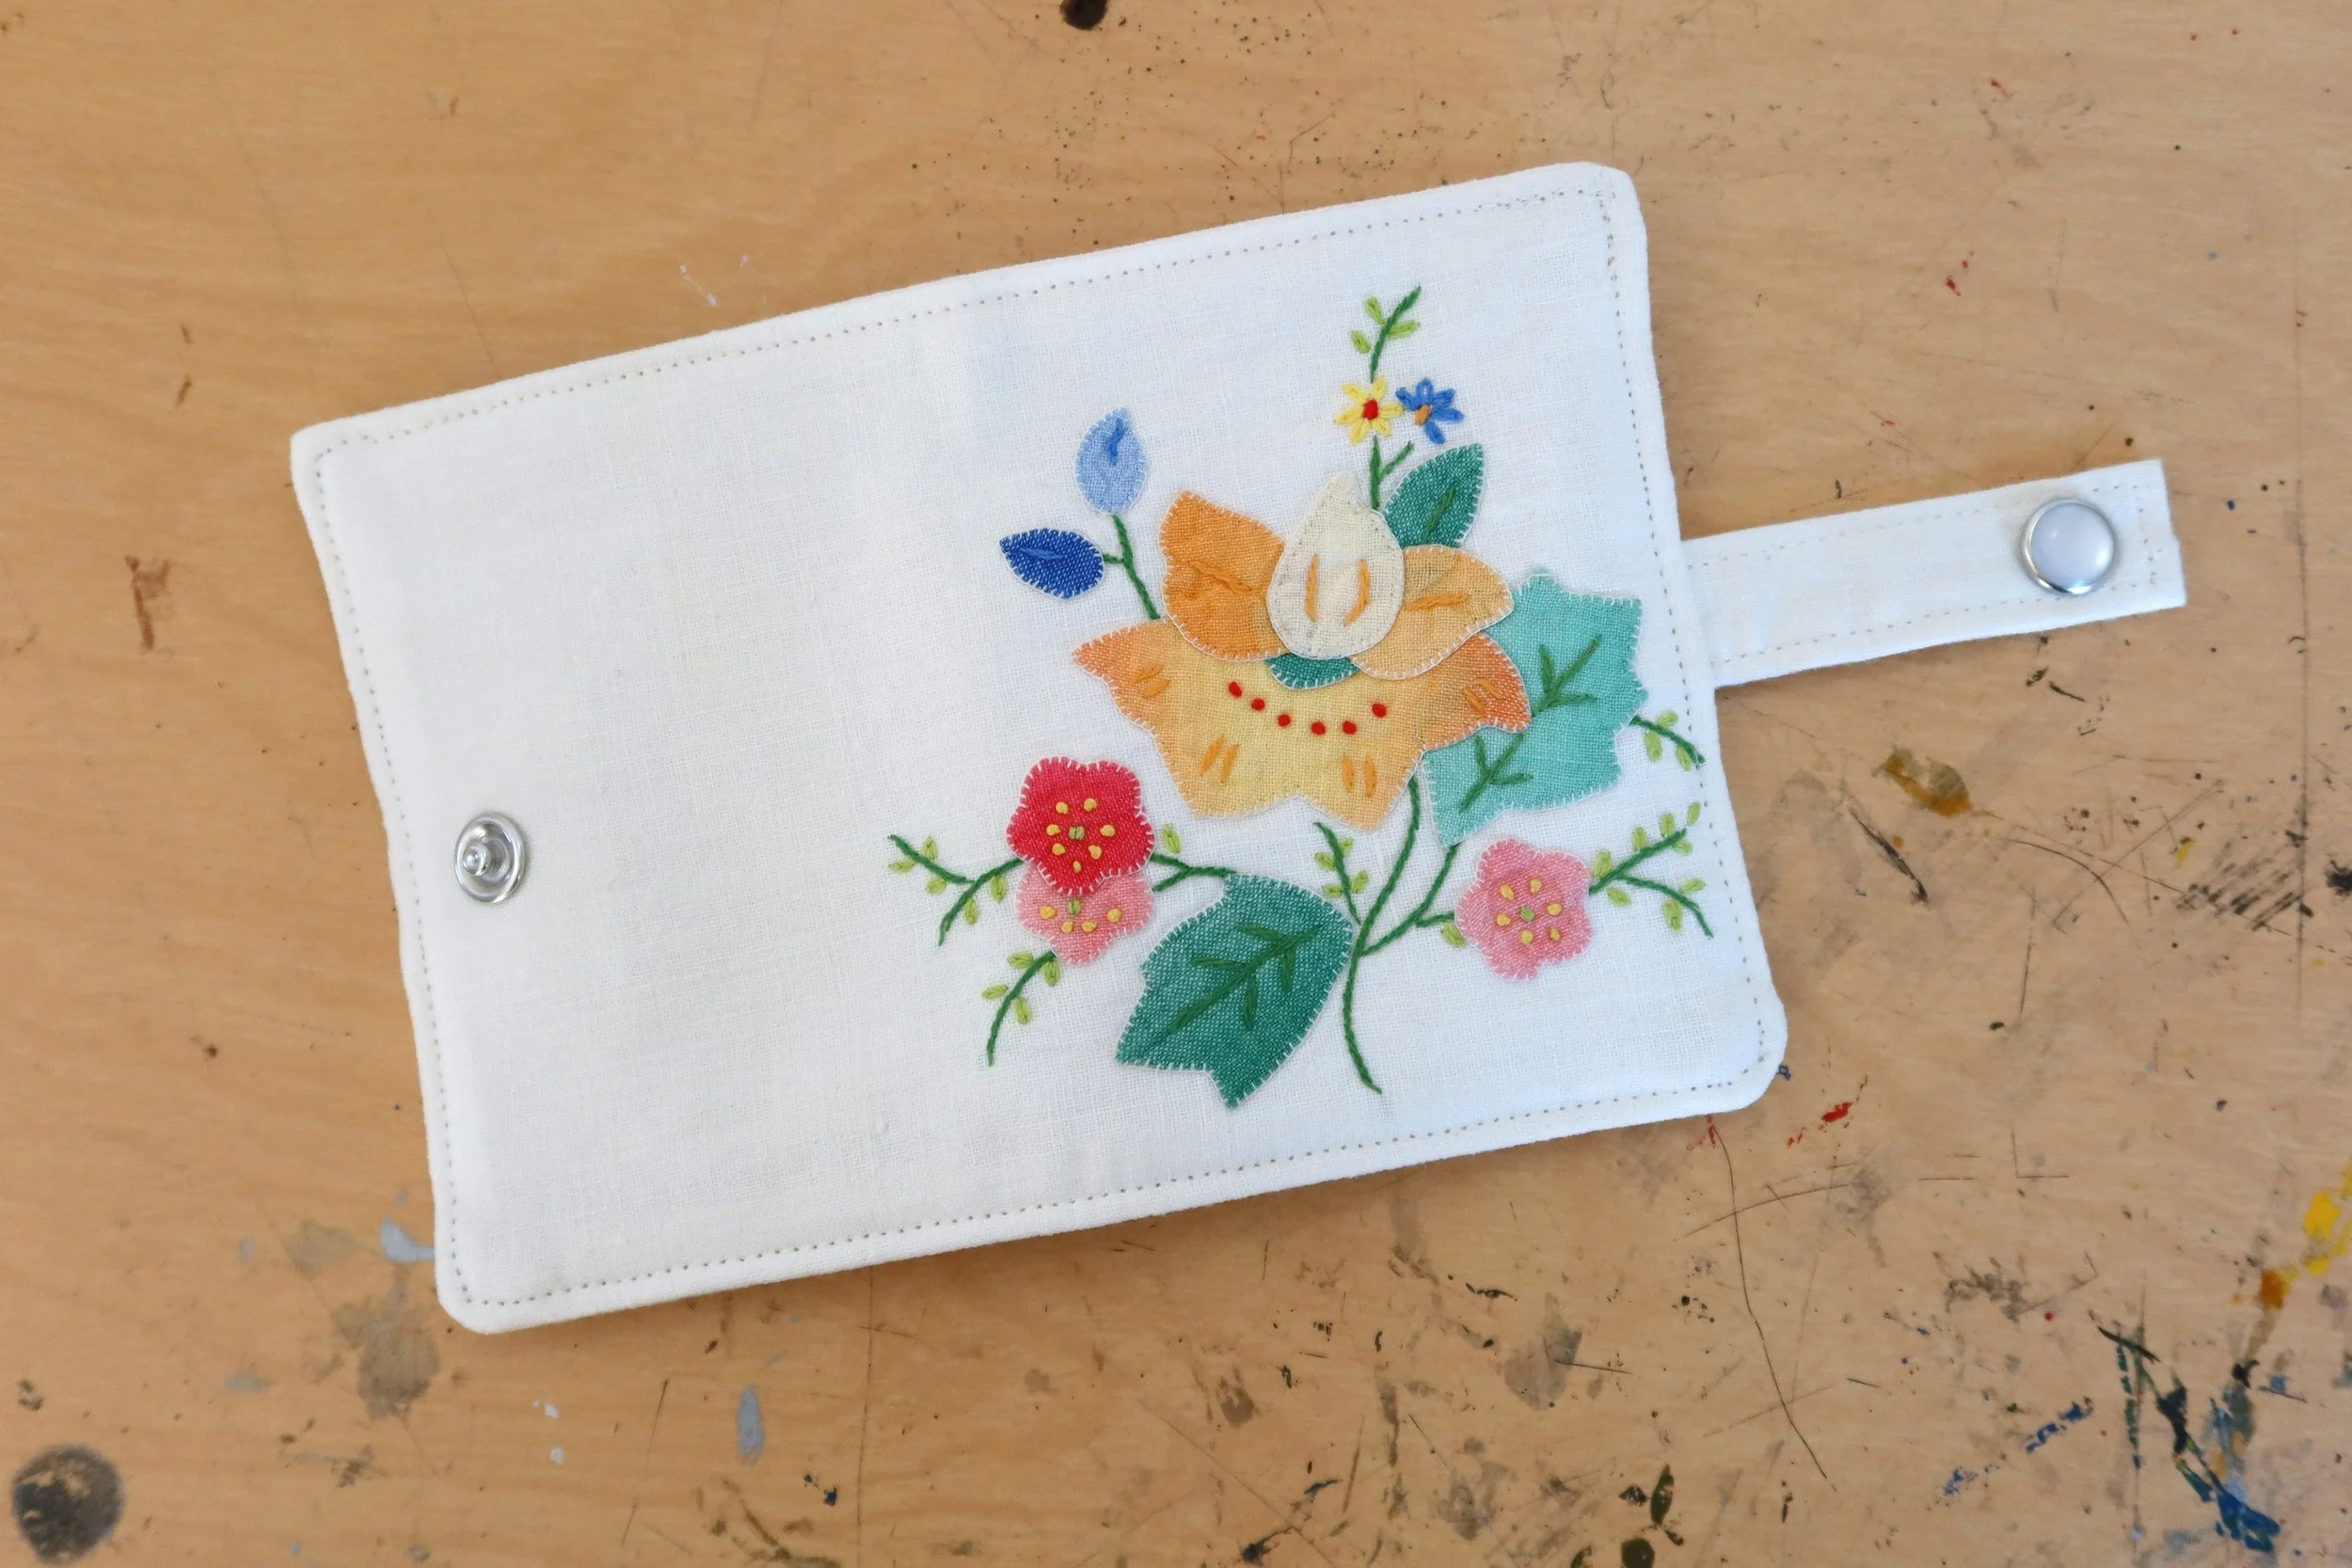
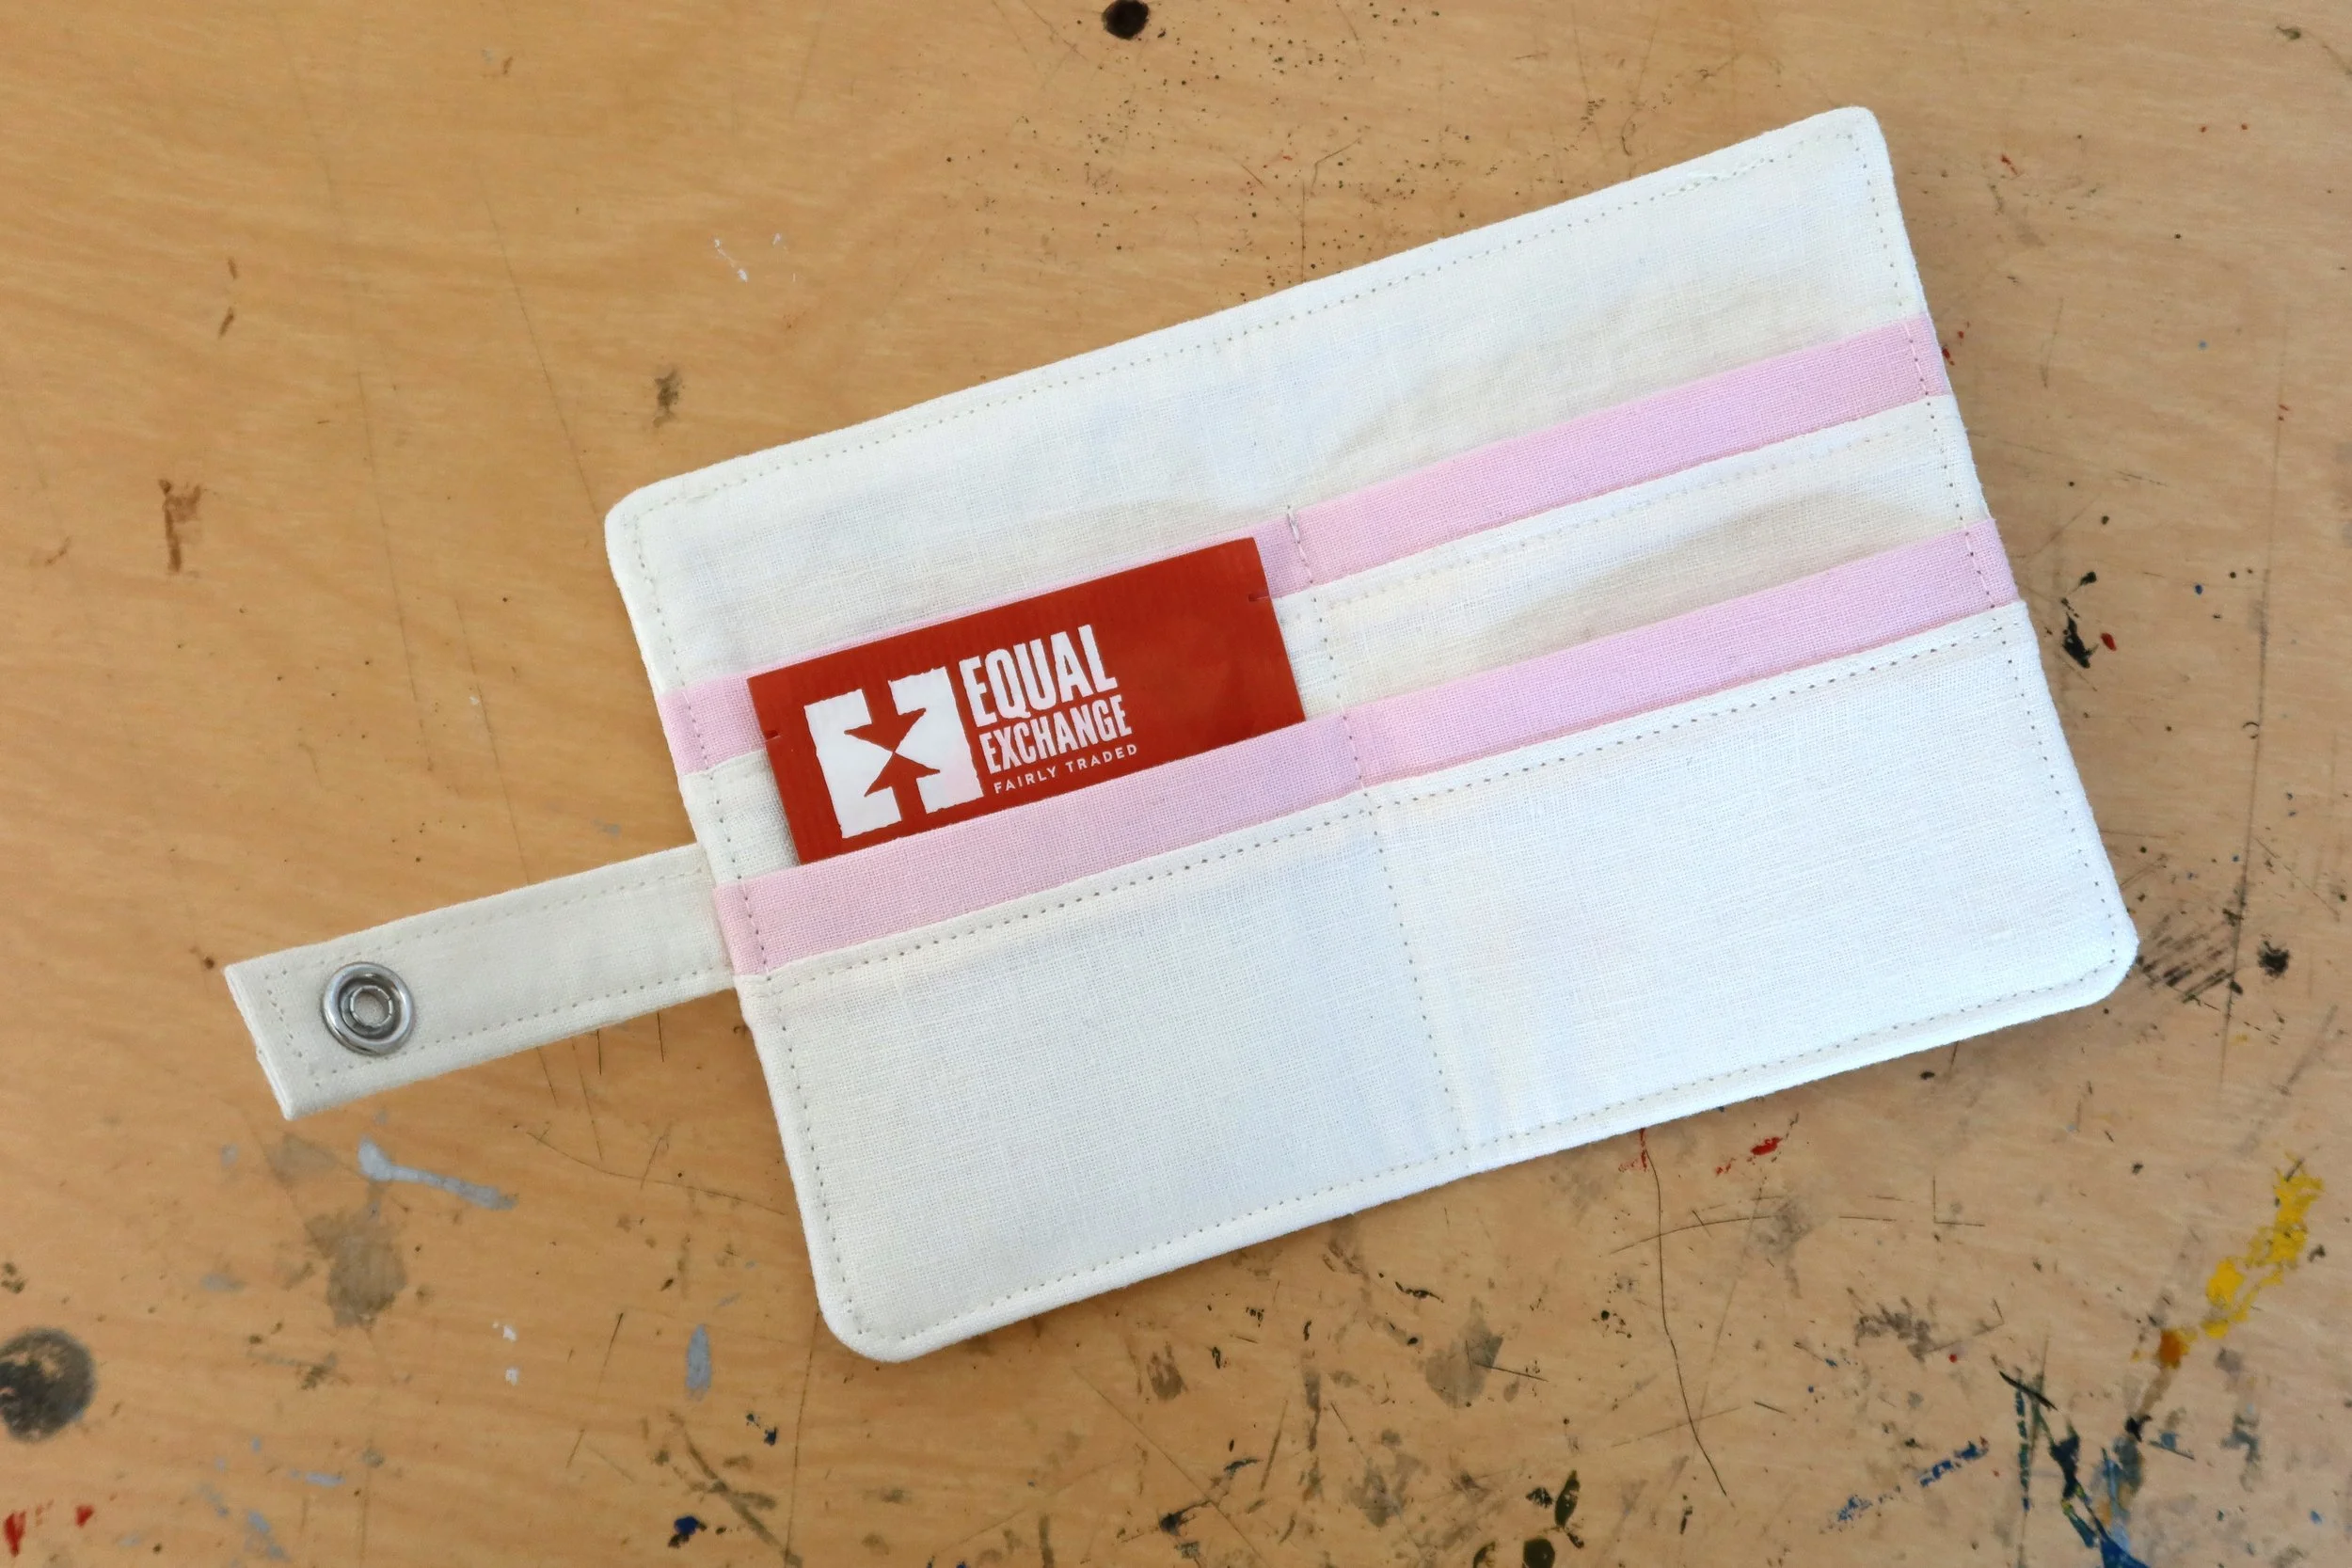
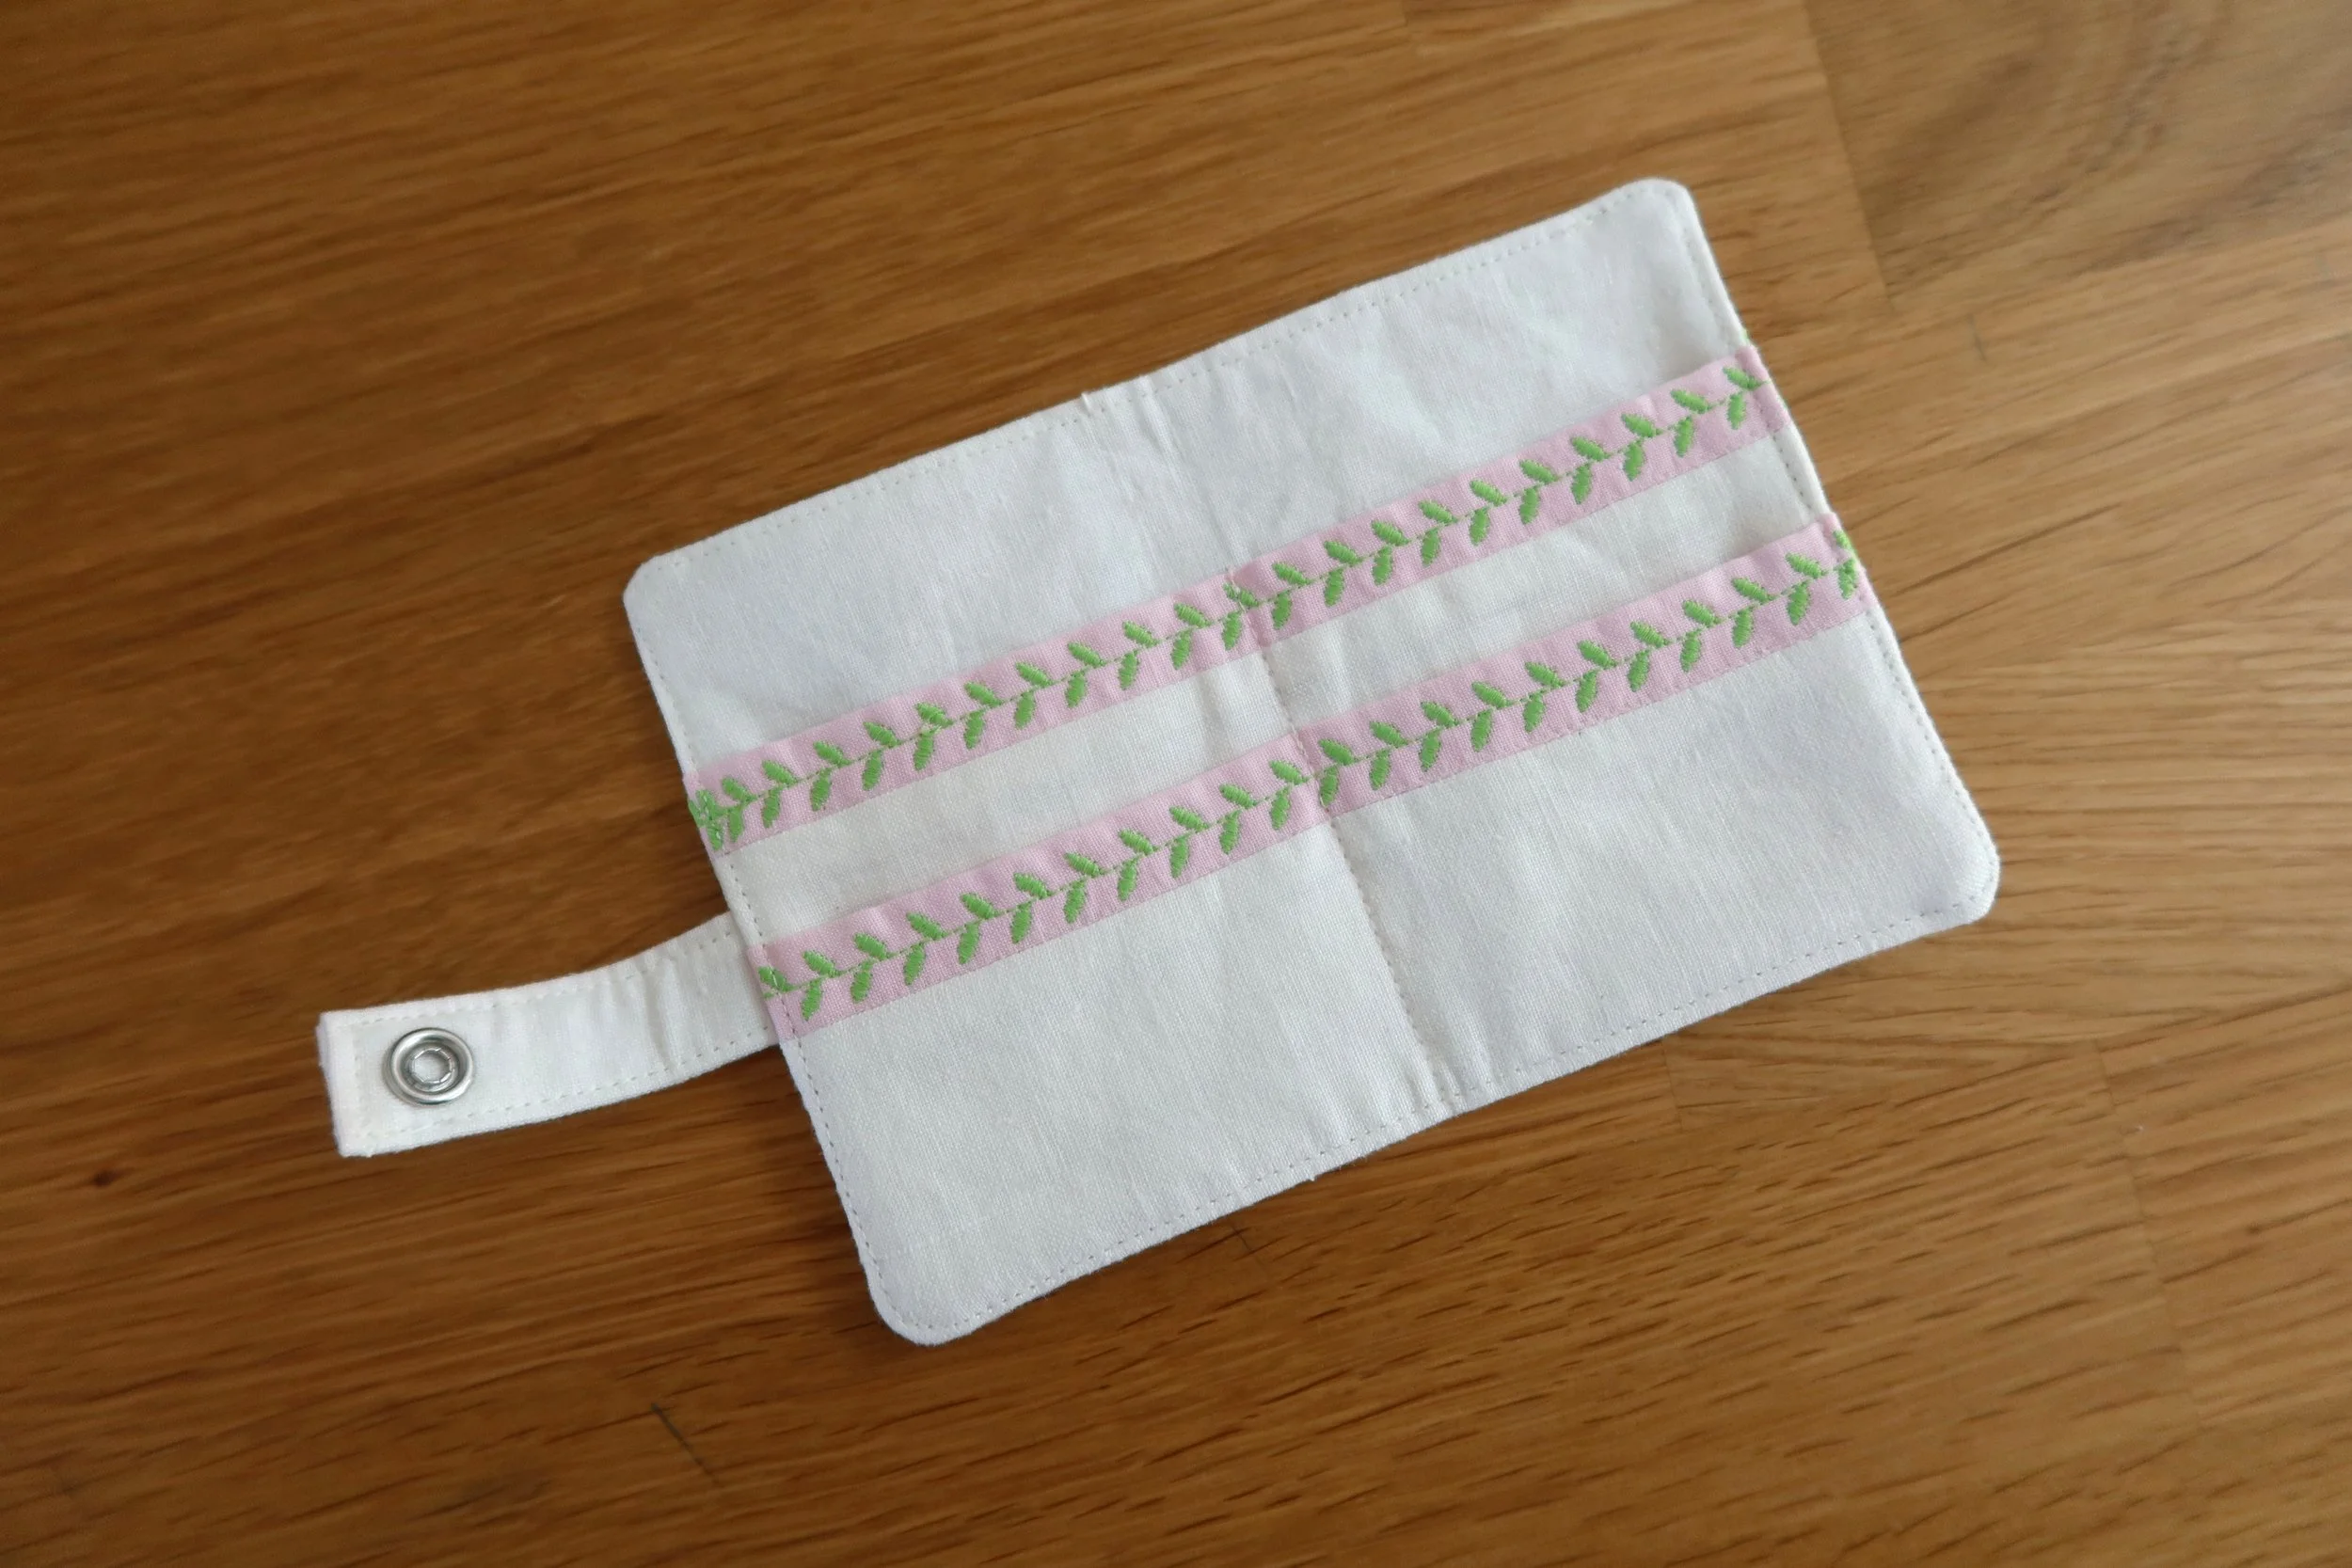
And here’s the finished project! A cute little tea bag wallet to gift or keep!
Here’s the list of tools I use:
Handheld Snap Setter Tool : This is the tool I used before buying the snap dies for my table press. Great tool but they are harder to find to purchase. You can also use a handheld pliers or a pre-made pearl snap kit.
Sewing Machines:
Janome Serger: AirThread 2000D
Iron: Oliso Auto Lift Iron